This project was submitted by one of our readers, just like you.
Papercraft Jellyfish
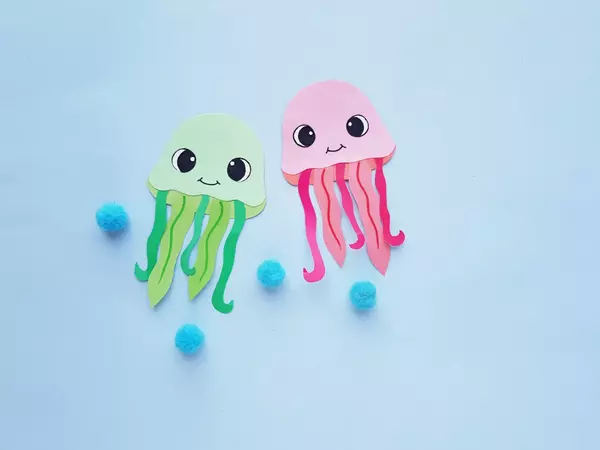
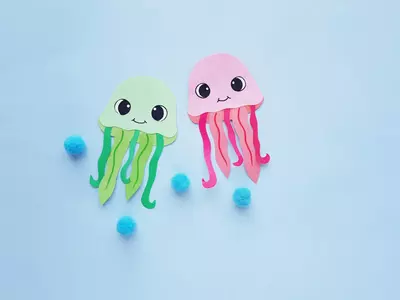
"Take a look at our Papercraft Jellyfish! Summer is finally here and that means spending more time in the water to keep cool. Whether you are heading to the beach, playing pretend in the pool, or even just wishing you were under the sea, this Papercraft Jellyfish is the perfect activity to bring along. We love to make these before visiting the aquarium each summer. We take them with us so when we get to the jellyfish, we can write fun facts on the back. Give this craft a try this summer!"
Primary TechniquePaper Crafts

Materials List
- Colored paper
- Craft glue
- Sharpie
- Pencil
- Scissors
Instructions
-
First, you will want to choose three different shades of one color of colored paper. After you have chosen your colors, the next step will be to trace the bottom and the top layer of the body’s base pattern on two different shades of the colored paper you chose before. Next, trace the wider oral arm patterns on one shade of the colored paper. Then trace the tentacle patterns on another different shade. You can cut out the eyes directly from the template. Finally, cut out all of your traced items carefully.
-
To start assembling your jellyfish, grab the body’s bottom layer cutout. Glue the two oral arm cutouts along the bottom edge of the base cutout.
-
After the oral arms are attached, you can then glue the tentacles along the bottom layer of the body’s cutout as well.
-
Now, carefully align the cutout of the body’s top layer with the top edge of the body’s bottom layer. Make sure the edges on the top and sides match. The bottom end won’t match as the top base is slightly smaller than the bottom base cutout.
-
Glue the eyes onto the top base pattern. Grab your sharpie and draw the mouth of the Papercraft Jellyfish.
-
Finally, add more details as desired to your jellyfish. As seen in the final image, you can use a sharpie that is the same color as the tentacles to trace lines along the oral arms.
Read NextFamily Portrait Planters


