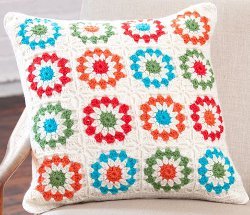
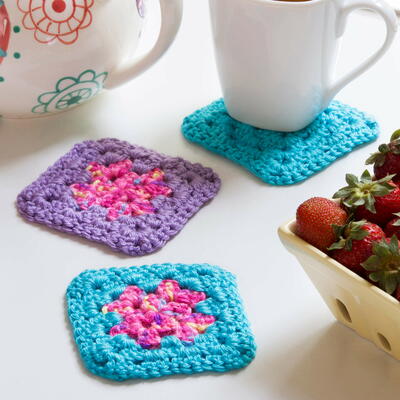
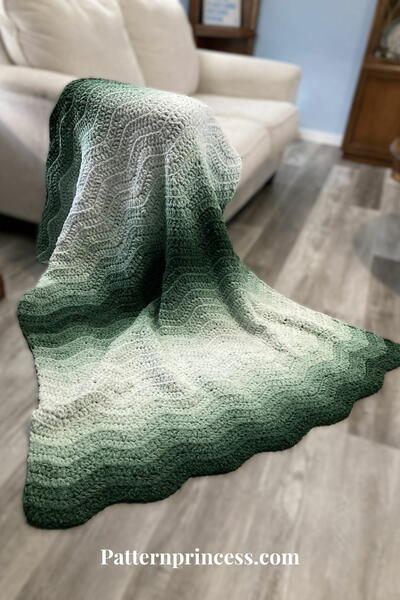
Copenhaggen Pillow
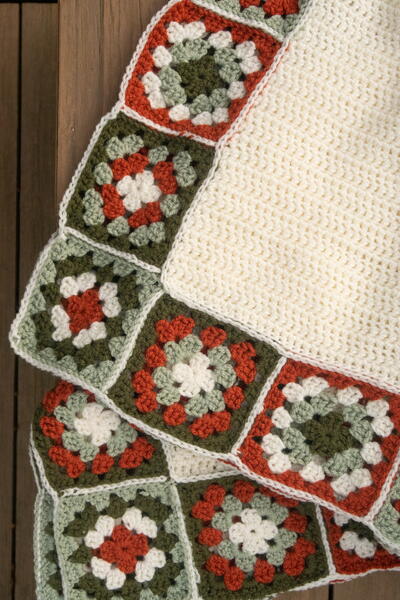
Crochet this wonderful Copenhaggen Pillow and really add some pizazz to your room. This colorful craft is easy to make and will show off your creativity in your home decor.

Materials:
- STITCH NATION by Debbie Stoller™ “Full o’ Sheep™”: 2 balls of 2205 Little Lamb A; 1 ball each of 2910 Poppy B, 2260 Clementine C, 2640 Thyme D, and 2510 Aquamarine E.
- Crochet Hook: 5 mm [US H8]
- 22” square covered pillow
- Sewing needle and matching sewing thread
- Yarn needle
Instructions:
Gauge: Each Motif = 4¾” x 4¾”.
Check your gauge: Use any size hook to obtain the gauge.
Pillow Cover: (make 16 following the Color Sequence Chart)
First Motif-
With A, ch 4; join with slip st in first ch to form ring.
Round 1: Ch 3 (counts as first dc here and throughout), 11 dc in
ring; join with slip st in top of beginning ch-3 – 12 dc. Fasten off
A, join Color 2 between first and last dc of round 1
Round 2: With Color 2, ch 3, dc in same space, *2 dc between
next 2 dc; repeat from * around, join with slip st in top of
beginning ch-3 – 24 dc. Fasten off color 2, join A between first
and last dc of round 2.
Round 3: Ch 3, 2 dc in same space, *skip next 2 dc, 3 dc
between last skipped and next dc; repeat from * around; join
with slip st in 3rd ch of beginning ch 4 – 36 dc. Fasten off A, join
Color 3 between first and last dc of round 2.
Round 4: Ch 3, (2 dc, ch 1, 3 dc) in same space, *[ch 1, skip next
3 dc, 2 dc between last skipped and next dc] twice, ch 1, skip
next 3 dc, (3 dc, ch 1, 3 dc) between last skipped and next dc;
repeat from * twice; repeat from * to ** once join with slip st in
top of beginning ch-3 – 4 corner ch-1 spaces; 9 dc and 3 ch-1
spaces on each side. Fasten off.
Second Motif: (joining across one side)
Work same as First Motif joining to previous motif(s) while
completing round 4 by replacing ch-1 spaces on side to be joined
with sc in corresponding ch-1 space(s) on preceding motif(s),
following assembly diagram for placement. Fasten off.
Border-
Round 1: With right side facing, join A with slip st in any corner
ch-1 space, ch 1, *2 sc in corner ch-1 space, sc in each st and
space across; repeat from * around; join with slip st in first sc –
56 sc on each side.
Round 2: Ch 1, *2 sc in sc, sc in each sc to next corner; repeat from * around; join with slip st in first sc.
Round 3: Ch 1, sc in first sc, *2 sc in next sc, sc in each sc to next
corner; repeat from * around; join with slip st in first sc. Fasten off.
Weave in ends.
Finishing-
With sewing needle and matching thread, sew pillow cover to top
of pillow.
Read NextGranny Square Border Blanket
Your Recently Viewed Projects
flowergirl
May 30, 2017
This pillow is so beautiful. I love the granny squares pattern used here. It's working out well so far.
bertkoenig 5812140
Jun 03, 2013
The pattern also says to follow the color sequence chart. I do not see a color sequence chart....
bertkoenig 5812140
Jun 03, 2013
The picture shows the center of each motif is a color, yet the pattern calls for using Little Lamb color (off white) for the center. Is this an error?
Report Inappropriate Comment
Are you sure you would like to report this comment? It will be flagged for our moderators to take action.
Thank you for taking the time to improve the content on our site.

