Custom Doormat
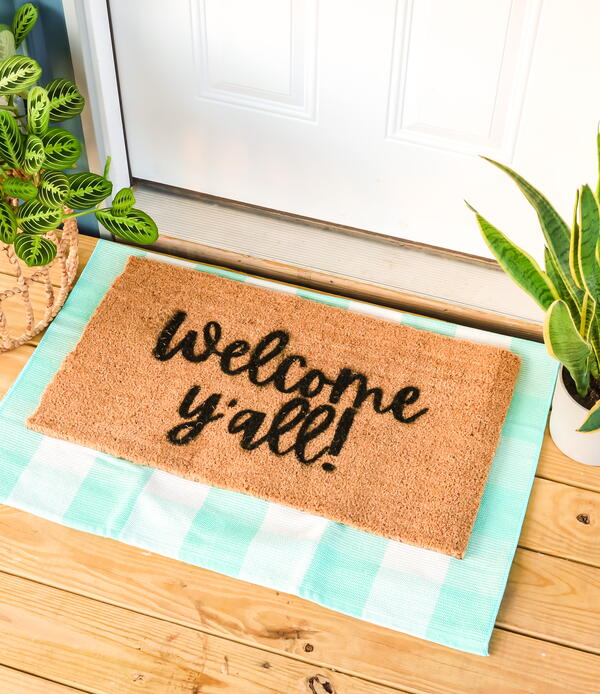
Freezer paper is my absolute favorite way to stencil on any fabric surface. However, this coir doormat is a great surface as well! This method uses freezer paper along with spray paint to create a doormat that is all your own. The coir is also really forgiving for stenciling.
Machine requirements: Any Cricut machine (though using the Joy would be hard for a project this large)
Skills: Using freezer paper, adding custom materials, using a large mat
Challenge: Freezer paper stenciling can be used on fabric projects as well. Try it on a shirt or a tea towel with fabric paint for your next project.

Materials List
- Freezer paper
- Scissors
- Light grip (blue) Cricut mat (using a 12 x 24–inch [30.5 x 61–cm] mat in a Maker or Explore series is best)
- Fine point blade
- Coir doormat
- Cardboard
- Iron
- Painter's tape
- Copy paper
- Spray paint
DIRECTIONS
-
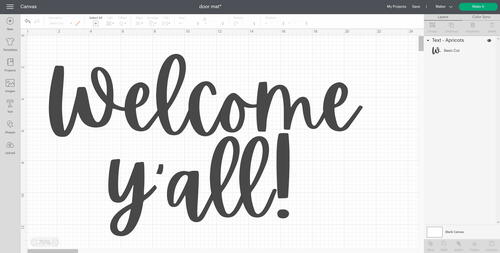
Add the text of your choice to Cricut Design Space. Be sure to resize to fit your Cricut mat and attach all text elements together.
-
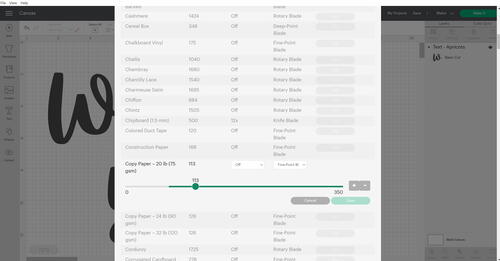
There is no material setting for freezer paper in Design Space, but you can make your own. On the home page, click on the three lines in the upper left to drop down the menu and you will see “manage custom materials.” This will only work if your machine is on and connected. I like to start with the settings for copy paper when cutting freezer paper (to see them, click “edit” beside the material).
-
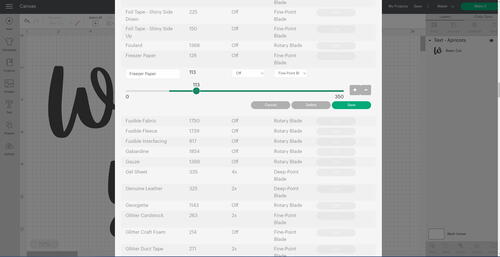
Then scroll all the way to the bottom and click “add new material.” Add the same settings here as for copy paper with the description as “freezer paper.” You can also come back here at any time and increase or decrease the pressure if your Cricut is cutting too shallow or too deep.
-
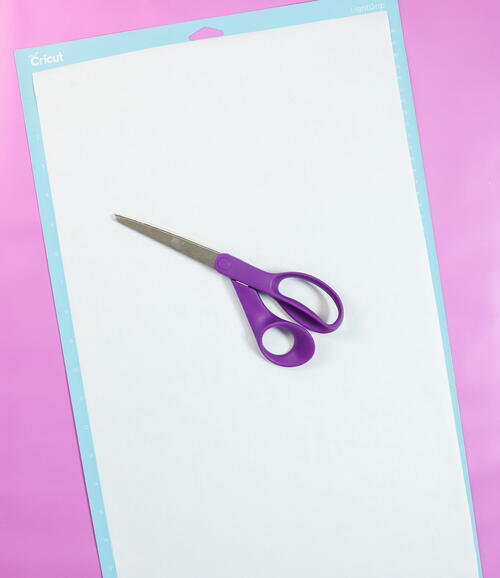
Go back to your canvas and click “make it.” You don’t have to mirror this material and it should show on a large mat. Now you can pick the custom material you just made from your material list. Remember that ONLY freezer paper will work for this project. Any other type of paper will not work. Cut the paper with scissors to the size of your Cricut mat and put the shiny side down.
-
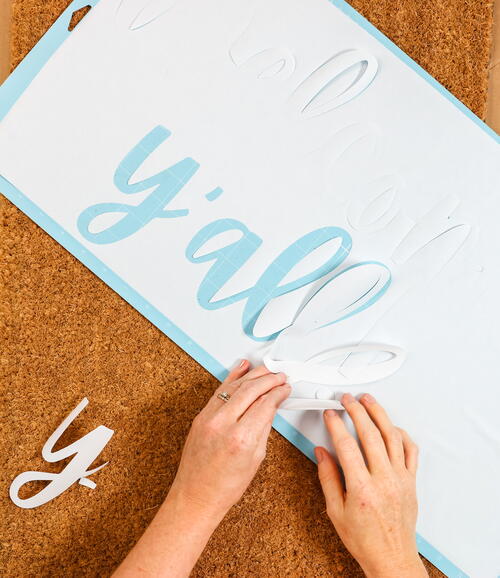
Cut your freezer paper using the fine point blade. Then remove all of the pieces that you want to be painted. I will show you how to apply those later.
-
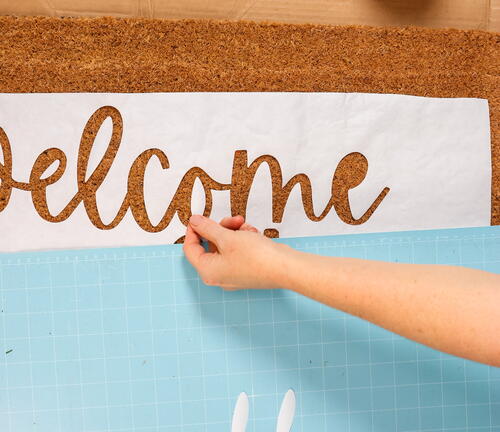
Put your doormat on a large piece of cardboard. It will be easier to move outdoors if you do this now. You can also just take your iron outside where you will be painting and do this all at once. Preheat your iron and locate your design on the coir door mat. Start pressing into place with your iron.
-
The iron will heat up the adhesive on the shiny side of the paper. This adhesive is just strong enough to adhere to the material for painting. It will not be a very strong bond. It only needs a few seconds of a press to hold. Once your outside piece is in place, remove the centers of your letters from your mat and apply each one with an iron. Repeat until you have the entire stencil on the doormat.
-
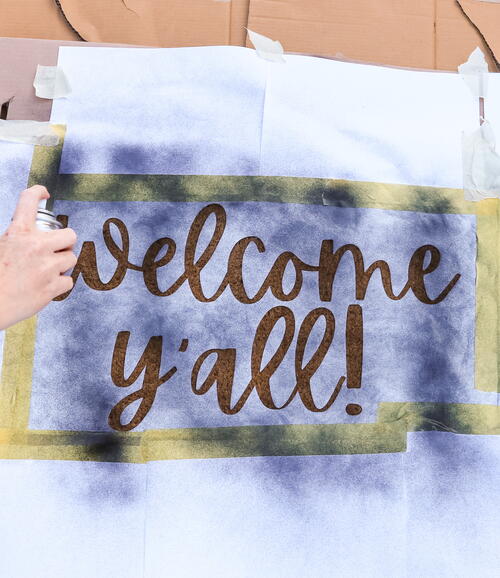
Apply painter’s tape and copy paper around the entire mat. You don’t want any overspray on your surface.
-
Lift the entire thing up by the cardboard and move outside to paint. Shake your can of spray paint well and hold it above your stencil, keeping the can perpendicular to the mat. Apply the paint in several light coats one right after the other. Be sure to do this on a day when it is not windy.
-
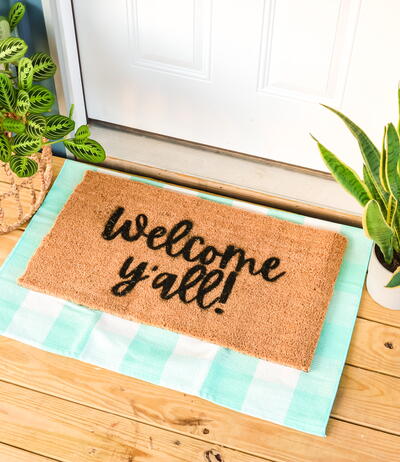
Once you have enough coats to get the look you want, allow the paint to dry 5 to 10 minutes, then carefully peel everything back. Allow the doormat to dry completely, and it is ready to add to your outdoor décor! I have made several doormats this way and used them for many months with no issues. Just be sure to use a spray paint that is rated for outdoor use.
Read NextSuper Simple Etched Mason Jar

