Recycled Fairy Jar
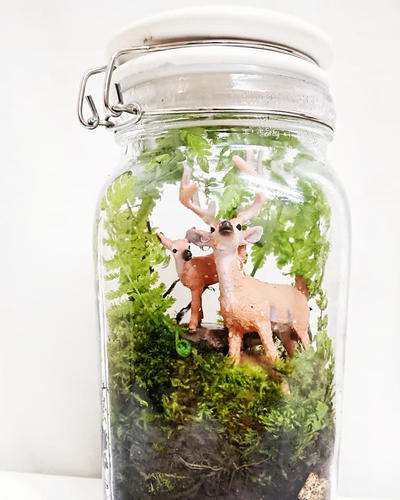
Bring out your inner girly girl and explore your imagination. Make a Recycled Fairy Jar from Heidi Borchers using a clean, recycled mason jar. Mason jar centerpieces look great on a kitchen table and add a fun touch to a summer party.

Materials:
- Aleene’s Super Thick Tacky Glue
- Aleene’s Tacky Double Stick Sheet
- Small fairy (available at Michaels)
- Cardboard – thin (I use cereal box cardboard)
- Sheet moss
- Scrapbook paper – green print (for leaves and bottom of jar), print of choice for top
- Scissors
- Silk flowers (small for inside garden and top)
- Small paper butterfly (or cut from scrapbook paper)
- Plastic dove or other embellishments (for top)
- Toothpick (to apply glue)
- Monofilament – fine
- Tape (clear)
- Straight pin (to punch hole in scrapbook paper to string butterfly)
Instructions:
-
Use lid from jar to mark circle pattern on cardboard and Aleene’s Tacky Double Stick Sheet. Cut along pattern line. Remove paper backing and adhere Sheet to cardboard. Remove paper backing to expose adhesive.

-
Place scrapbook paper over adhesive.

-
Cut paper to match cardboard.

-
Apply Aleene’s Super Thick Tacky Glue with toothpick over center area of cardboard circle.

-
Glue down moss and fairy to cardboard circle.

-
Glue flowers and leaves into moss. Let dry for approximately 1/2 hour.

-
Gently place entire piece into jar.

-
Repeat gluing process with Aleene’s Tacky Double Stick Sheets to make second scrapbook paper covered cardboard for lid of jar.

-
Using lid as pattern, cut one circle of decorative doublesided cardstock. Tape clear monofilament line to back of butterfly.

-
Punch small hole in cardstock. Insert monofilament line through hole, adjust length of line so that butterfly hangs inside jar without touching. Tape monofilament in place on cardstock. Cut away excess monofilament.

-
Apply Aleene’s Thick Designer Tacky Glue to rim of jar. Place cardstock circle over opening (letting embellishments dangle inside.) Let dry for a few minutes. Screw lid onto jar.

-
If desired, cut a strip of scrapbook paper and glue around outside rim of lid.

-
Cut leaf shape from scrapbook cardstock. Fringe edges with scissors. Score and bend slightly down center vein of leaf. Glue to outside bottom edge of jar.

-
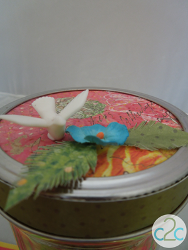
Decorate top of jar lid with additional leaves and flowers and glue decorative bird in place.


For a comprehensive video tutorial of this project, check out How to Make a Fairy Jar.
Read NextRuffled Throw Blanket
Your Recently Viewed Projects
Crafty Lou
Apr 15, 2014
I am from UK and so do not have what you call a mason jar, please could someone try to "translate" them for me. Also, it is not stated what size jar I would need please. I love what you are giving us by creating these newsletters. Imagination, creativity and Inspiration
FaveCrafts Editor JL
Apr 16, 2014
Hi there, a mason jar is just another name for a 16 ounce glass jar. Thanks!
Earl121
Apr 07, 2014
Never thought that Jar can be used in such a beautiful way. Will definitely reuse my Jar now.
Melissa Ryan
Apr 07, 2014
Hi Earl121--We're so glad to hear that! Once you make this project, we'd love to see a picture of it! Be sure to use our handy image uploader at the bottom of this project to upload your version of the Recycled Fairy Jar. Thanks, and have a great day! --FaveCrafts Editor
Report Inappropriate Comment
Are you sure you would like to report this comment? It will be flagged for our moderators to take action.
Thank you for taking the time to improve the content on our site.

