Wooden Spoon Art
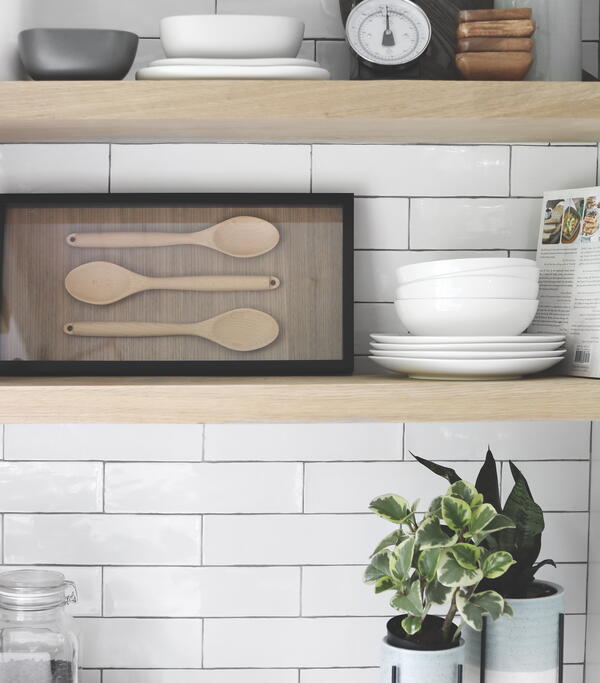
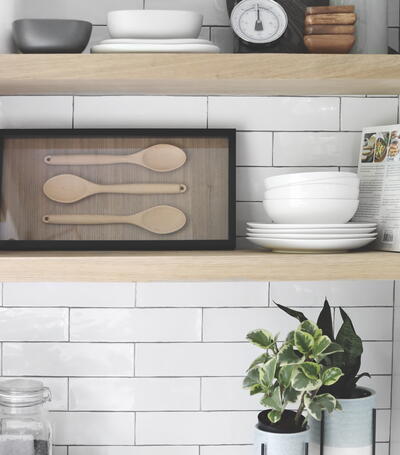
Cooking can often bring sentimental feelings of childhood memories. I love the idea of repurposing old wooden spoons, perhaps from a loved one, into art. I used wood veneer as a backing, but I also love the idea of using old recipe cards too!
Time frame: 2 to 4 hours | Workspace: Small
Materials List
- Shadow box frame (6" x 14" [15 x 35–cm] shadow box shown; my spoons measured 12" [30 cm] long)
- Backing material (wood veneer shown; most paper or wood varieties will work well)
- Pen or pencil
- 18" (45-cm) metal ruler with cork back
- Self-healing cutting mat
- X-ACTO knife with #11 blades
- Wooden spoons (3 shown)
- Easy-release tape (such as painter’s tape)
- Belt or orbital sander (optional; if needed to flatten the back of the spoons)
- Wood glue
DIRECTIONS:
-
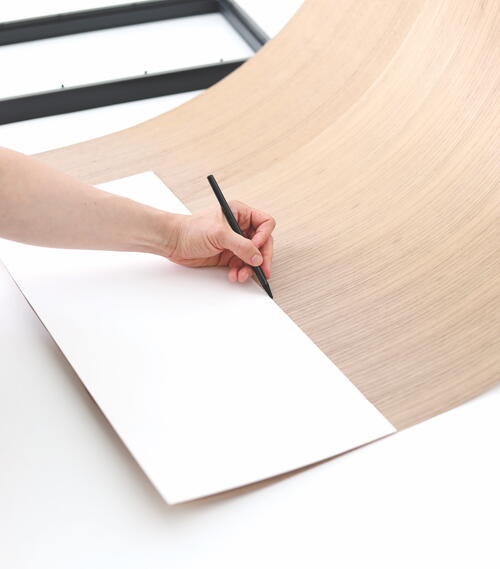
Remove the backing from the shadow box frame. Lay the backing material over the shadow box frame and trace the outline with a pen or pencil.
-
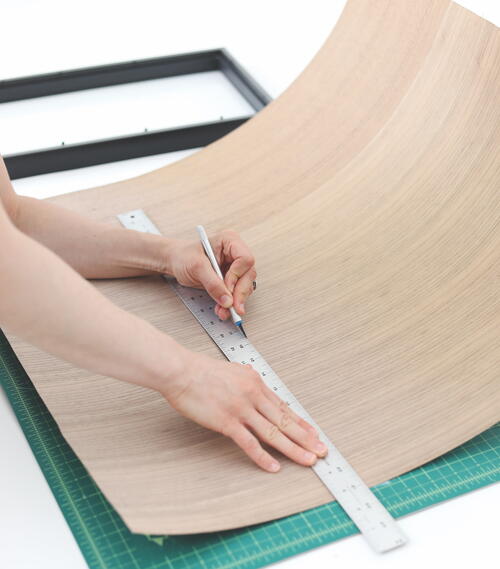
Using the ruler, self-healing cutting mat and X-ACTO knife, line up your ruler and cut out the lines created in step 1 for the backing.
-
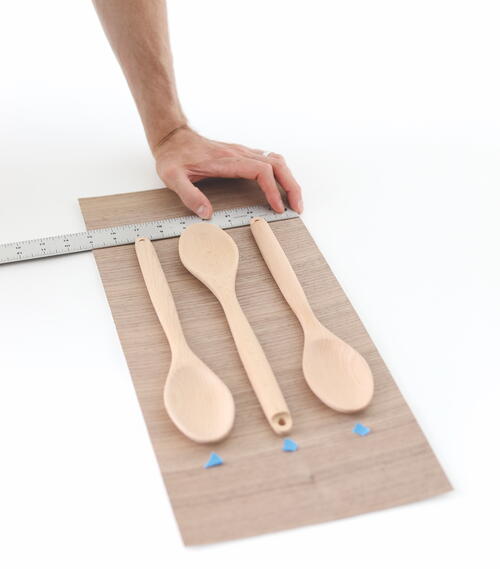
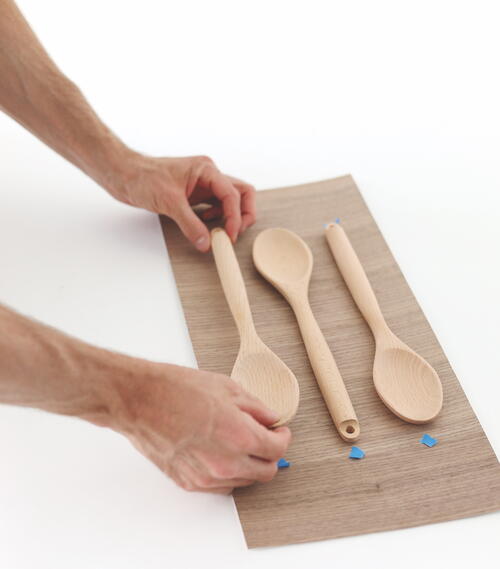
Arrange the wooden spoons according to your desired spacing and orientation on the backing. Using the ruler, mark the center of each point with a small piece of removable tape. (Tip: If your spoons aren’t relatively flat—you will want a ½- to 1-inch [13-mm to 2.5-cm] flat surface for the glue to bond—use a belt sander or orbital sander to flatten a section of the spoons’ backs to provide a surface that can adhere evenly to the backing.)
-
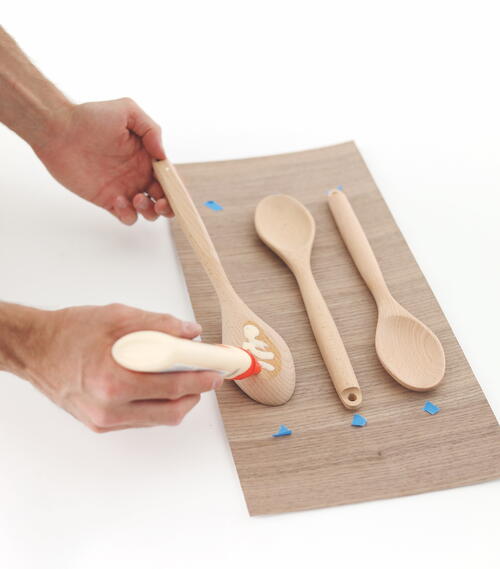
Apply an even coat of wood glue along the back of each spoon on all parts that will touch the backing.
-
Line up the spoons on the marks created in step 3. Hold them firmly in place until the glue starts to hold. If needed, place a few heavy books on top to hold the spoons in place while the glue dries. Remove the painter’s tape used to mark the spoons’ placement.
-
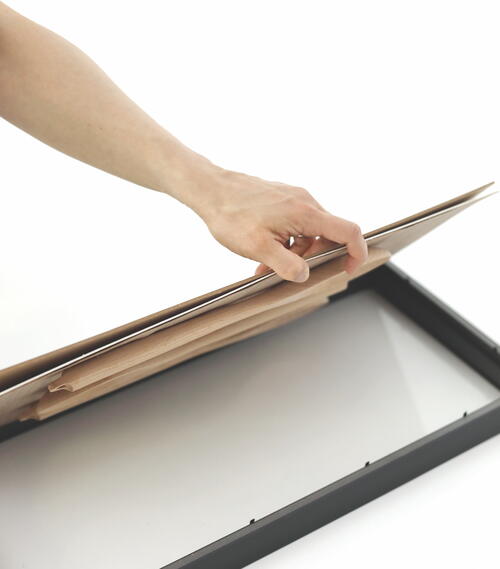
Once the glue has fully cured, insert the backing into the shadow box frame.
Read NextDollar Store Magnetic Organizer

