Sparkly Pinwheel Centerpiece
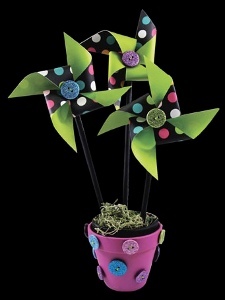
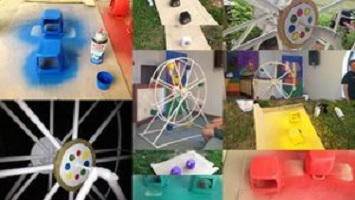
Button crafts are so thrifty and cute, perfect if you're looking for birthday party ideas! This sparkly pinwheel centerpiece would be an adorable addition to a party tablescape. Learn how to make a pinwheel with this tutorial.

Materials:
- Favorite Findings™ Glitter Buttons: #1457, #1453, #1461, #1455, #1451, #1462
- Scrapbook paper to coordinate with buttons, two 2 sided designs, 3 sheets (12” x 12”)
- Three ¼” dowel rods
- Embroidery floss: to coordinate
- Embroidery needle
- Acrylic paint: black and hot pink or to coordinate
- 2 clay pots (one should fit inside the other)
- Floral foam chunk (to go inside small pot)
- Handful Spanish moss
- Ruler
- Scissors
- Paper adhesive of choice
- Hot glue gun and glue
- Knife
Instructions:
- Paint pots. Paint dowel rods. Let dry.
- Measure to find center of paper. Cut from each corner to near center point on paper. Pull corners to center as shown. Glue in place. Repeat with remaining sheets of paper.
- Thread needle. Stitch from back to front at center of pinwheel. Stitch through buttonholes of large button. Stitch back through center of pinwheel. Tie tails around top of dowel rod. Repeat for remaining dowels.
- Trim floral foam so it fits into small pot. Add Spanish moss to top. Place pinwheels in pots. To adjust heights of rods, score around rod with knife, snap off excess.
- String floss through buttonholes of 6 small, 4 medium and 4 large buttons. Knot on back of buttons. On pot, use hot glue to adhere 6 small buttons around rim and 4 medium and 4 small on body.
Tip: Refer to photo for placement and assembly.
Read NextLiquid Sculpey Ornament

