DIY Chicken Wire Frame
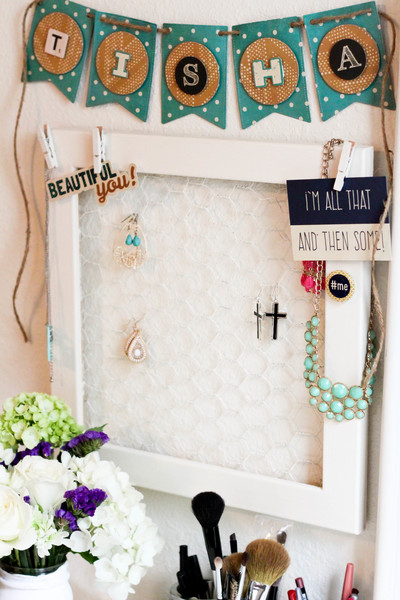
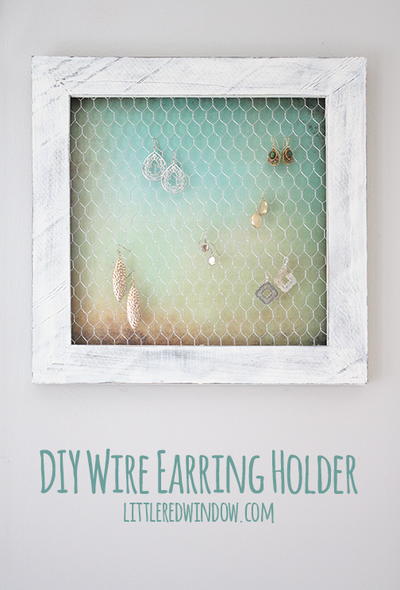
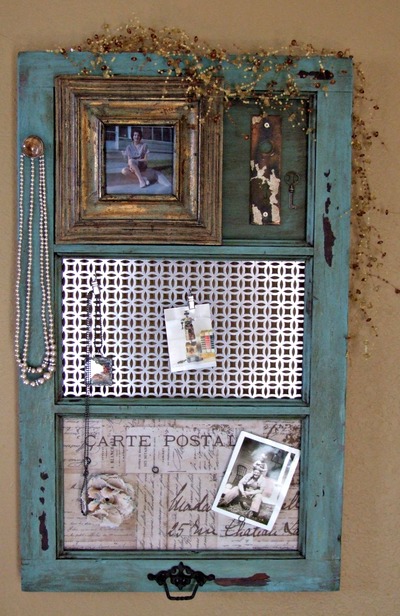
Organize jewelry, photos, notes and more with this DIY Chicken Wire Frame. Easy to make and fun to show off, this simple organizational project is a great way to store your favorite accessories and photos. The great thing about this frame is that it doubles as stylish bedroom decor, so it serves a duel purpose. Perfect for adults and teens, this decorative storage frame is sure to help keep your life organized and pretty.
Primary TechniqueGeneral Crafts

SeasonSummer
Materials List
- MD Hobby & Crafts Chicken Wire
- MD Hobby & Crafts Gold Foil
- MD Hobby & Crafts hobby shears
- MD Hobby & Crafts gloves
- Antique white paint
- Wood frame
- Spellbinders butterfly dies
- Clothes pin
- Scrapbook Adhesives by 3L Dodz small
- Paint brush
- Hammer
- Finishing nails or staple gun
If you do not want to make your own frame, you can buy unfinished wood frames from your local big box craft store. I used Valspar Satin Antique White paint to paint my project. I suggest 2-3 coats.
Instructions
-
Attach chicken wire to the back of the frame either using finishing nails or a staple gun.
-
Trim off excess wire, and hammer the edges into the frame (so it doesn't scrape your wall).
-
Using Antique White paint, paint the frame and chicken wire. Paint the clothespins as well.
-
paint the clothespins as well
-
While the paint is drying, die cut the gold foil using a butterfly die. If you want texture to the butterfly, run through a diecut machine using an embossing folder or texture plate.
-
Adhere the gold butterfly to the clothes pin, using a Scrapbook Adhesives by 3L Dodz small.
-
Hang the frame.
-
Add jewelry, photos, and quotes to the frame.

