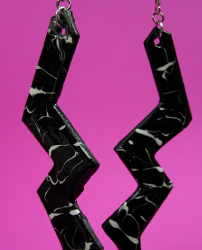
Retro Lightning Bolt Earrings
Want to make a huge statement in a short amount of time? Make your own Retro Lightning Bolt Earrings by Savannah Starr and show off your unique style! Jewelry craft ideas don't get more fun. Use a vintage technique to achieve the look of enamel.

Materials:
- Aleene’s Quick Dry Tacky Glue
- Aleene’s Spray Acrylic Sealer – Gloss
- Cardboard shapes
- Foil (for palette)
- Hole punch (small for earring findings)
- Acrylic paint (I used black and white)
- Craft sticks
- Pin or toothpicks
- Earring findings and jewelry pliers
Instructions:
- Cut cardboard to desired shape. Punch hole for earring finding. Pour small puddles of Aleene’s Quick Dry Tacky Glue onto foil. Add several drops of acrylic paint to each puddle and mix with craft sticks.

- Use craft stick to pick up colored glue and smooth onto cardboard surface. (Hint: I like to roll pieces of blue masking tape and place them on my work surface underneath my cardboard shape so that it is slightly raised off the surface.)

- Next, dip toothpick into second color (white in this example) and drizzle it over the black paint. Continue to pick up color and drizzle until desired pattern is achieved.

- Take tip of pin (or toothpick) and draw it through the lines of color to give more of a marbelized effect. Set aside to dry but be sure to find the hole that you punched and keep it clear of glue so that you can add your earring findings in the final step. Repeat to create second earring. Paint back of earrings with coordinating color or repeat look of enamel technique on the back of the earrings.

- I like to add a coat of Aleene’s Spray Acrylic Sealer in the gloss finish to add a shiny coat to the front of my earrings. Add jump rings and fish hook earring findings. I LOVE my lightning bolt look of enamel earrings!

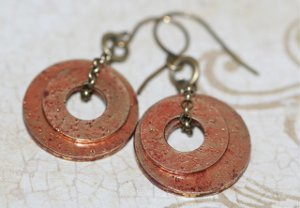
For a comprehensive video tutorial of this project, check out How to Make Look of Copper Enamel Earrings.
Read NextHeart on a Wire Earrings

