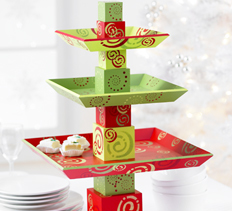
Retro Striped Christmas Tray
If you're looking for Christmas crafts to make, this Retro Striped Christmas Tray from Plaid is one of the best decoupage projects to tackle! Turn a simple tray into a decoupaged, colorful tray for serving holiday treats.

Materials:
- Finished wood tray, white
- FolkArt Acrylic Paint – Graffiti Pink, Fresh Foliage
- Mod Podge Matte
- Scrapbook paper, 3 sheets – coordinating holiday
- EK Success Large Paper Punch – ornaments
- Wood craft balls, 4 - 2-inch large with a flat side for adhering to a surface
- Ribbon, 3 feet of coordinating
- Buttons –recommend Blumenthal Lansing
Instructions:
- Take one sheet of your scrapbook paper and trim to fit the inside of your tray. Set aside.
- Use the paper punch to create ornament shapes from the other two sheets of paper. Set the ornament shapes aside.
- Paint the craft balls with Graffiti Pink. Allow to dry and then use the end of your paintbrush to add Fresh Foliage polka dots. Set the balls aside.
- Mod Podge the paper to the inside of your wood tray. Add a medium layer of Mod Podge and apply the paper. Smooth down thoroughly and allow to dry for 15 – 20 minutes.
- Seal the inside of the tray with a coat of Mod Podge. Adhere the ornament shapes to the tray with Mod Podge, then allow to dry for 15 – 20 minutes.
- Seal the entire tray with a coat of Mod Podge. Allow to dry and then add another coat.
- Glue the craft balls onto the bottom of the tray as feet.
- Glue the ribbon and buttons onto the top of the tray as shown. Allow to dry for 24 hours before using.

