Adorable Felt Flower Fairy
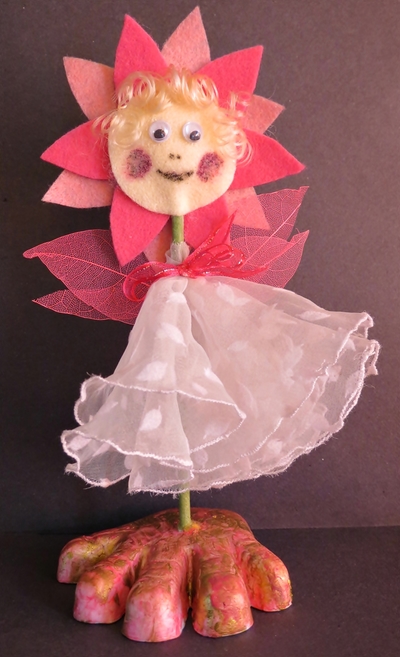
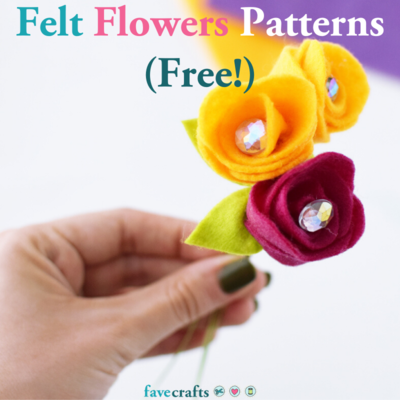
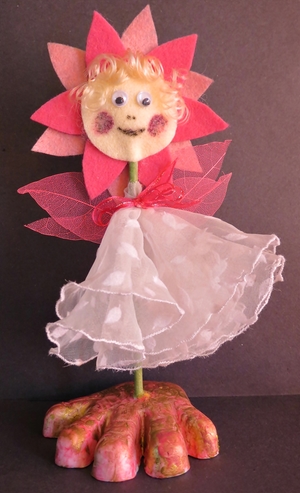
You have a baby shower invitation on your refrigerator and you don't know what gift to bring. Make this Adorable Felt Flower Fairy and the mother-to-be can use it to decorate her little girl's room. This DIY felt flower fairy will ignite a young girl's imagination and she will dream at night of magical lands and fairy princesses. The simple pattern shows how to make a felt flower, and you could bring your own personal touch by changing the colors and shape of the petals. Give the gift of imagination to little girls everywhere with this felt flower fairy.
Primary TechniqueGeneral Crafts

Materials
- Dark pink; light pink and flesh felt
- One wooden kebab skewer
- Green floral tape
- Small amount of curly blonde synthetic doll hair
- Small amount of cotton filling
- Pair of 8mm wiggle eyes
- Dark pink and black colored felt-tip pens
- 2 circles with a diameter of 6.4“ cut from soft white printed organza fabric
- 0.2” wide organza ribbon
- 3 pink skeleton leaves
- 80 mm polystyrene hand
- Acrylic paint in the following two colors: pink and pale gold
- Paintbrush
- Overlocker machine and white nylon thread
- Polystyrene glue
- Clear drying craft glue (such as Bostik Clear)
- Pencil
- Ruler
- Standard scissors
Instructions
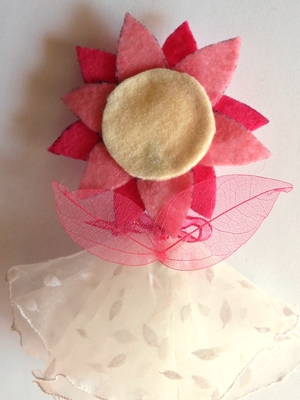
- Cut two circles with a diameter of 1.6” from the flesh felt.
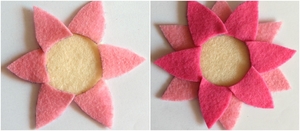
- Cut 6 leaves from the dark pink felt and 6 from the light pink felt, using the pattern below.
- Glue the light pink petals around the one flesh circle, followed by the dark pink petals.
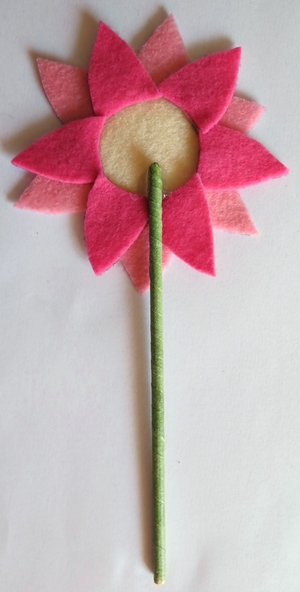
- Cut the kebab skewer to a length of 5.2” and wrap green floral tape tightly around it.
- Glue the one end of the kebab skewer to the circle with the flower petals.
- Glue a small amount of cotton filling over the circle with the flower petals.
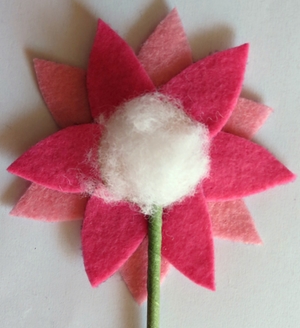
- Glue the second flesh circle on top of the first.
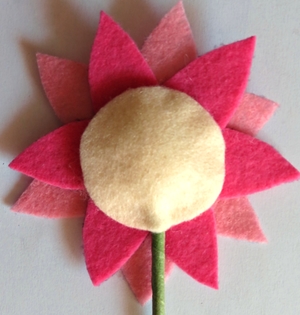
- Add the hair and wiggle eyes.
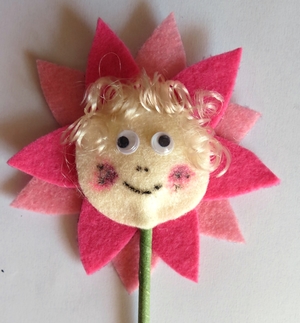
- Use felt-tip pens to add the rest of the facial features.
- Use an overcast stitch to prevent the organza circles from fraying. Cut a small hole in the center of each organza circle, add a drop of glue to the skewer just below the flower and push the bottom end of the kebab skewer through the opening.
- Gather the fabric around the skewer and use the ribbon to make a bow to keep the “dress” from slipping down. Cut the ends of the bow shorter to make it neat.
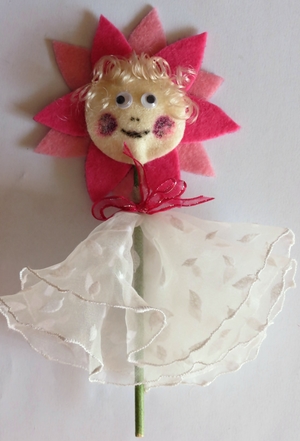
- Cut one skeleton leaf in two. Glue one and a half skeleton leaf to each side at the back of the fairy to make the wings.
- Give the polystyrene hand an uneven wash with the pink paint. Allow to dry and then do the same with the pale gold paint.
- Push the bottom part of the skewer into the polystyrene hand. Add a drop of polystyrene glue and allow to dry, making sure that the fairy is standing upright.
Read NextWinter Candy Jar Gnome Bottles
Your Recently Viewed Projects
Hannah
Aug 23, 2017
I love this! I am definitely making this for my daughter. Will probably not include the bottom part so she can use this for writing.
Report Inappropriate Comment
Are you sure you would like to report this comment? It will be flagged for our moderators to take action.
Thank you for taking the time to improve the content on our site.

