Victorian Dream Doily Flower
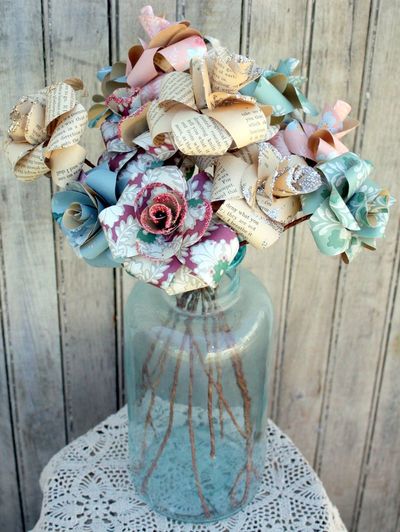
Embellish anything from a scrapbook layout to your summer hair style with this Victorian Dream Doily Flower. Made with a paper doily, this DIY paper flower tutorial is great for kids and adults alike. You can use it as an embellishment or attach a hair clip or pin to the back and use it to accessorize your hair or your wardrobe. These adorable paper doily flowers would also make great gifts for Mother's Day or Valentine's Day. Arrange them in a bouquet for a simply stunning display.
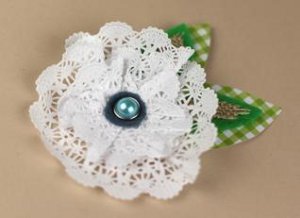
Materials:
- XL Glue Dots®
- 1" Glue Lines®
- Mini Glue Dots®
- Doilies
- Scissors
- Felt
- Burlap
- Patterned paper
- Pearl
Instructions:
-
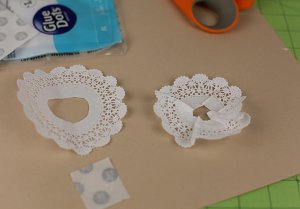
Take an XL Glue Dot and cut the same size hole out of the center of a doily.
-
Peel off one of the liners covering the XL Glue Dot and adhere the doily around the edge. Pleat the inner circle of the doily if it's too big for the XL Glue Dot. This will form the bottom layer of our flower.
-
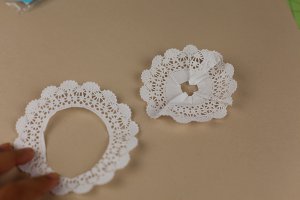
Layer another XL Glue Dots onto the flower. Cut out another inner circle from another doily, this time making the circle slightly larger than the first one.
-
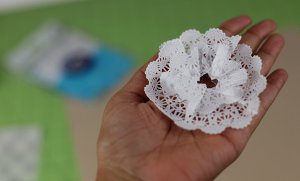
Crumple and adhere the second doily onto the flower base. Add as many layers as you wish in this manner to make a dimensional flower.
-
Next cut out leaf shapes in felt, burlap and patterned paper. Adhere everything together using 1" Glue Lines.
-
Add a felt center and pearl to the flower as well with Mini Glue Dots.
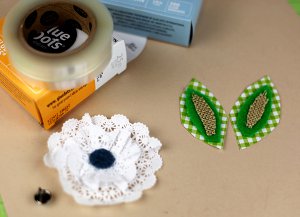
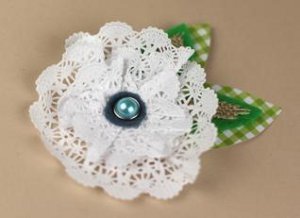
- Adhere everything together and you have a pretty flower ready!

![Pill Bottle Crafts: Reuse Pill Bottles [15 Ideas]](http://irepo.primecp.com/2017/06/334076/PILL-BOTTLE-CRAFTS-Header_Category-CategoryPageDefault_ID-2274135.jpg?v=2274135)
