Craft Foam Frame
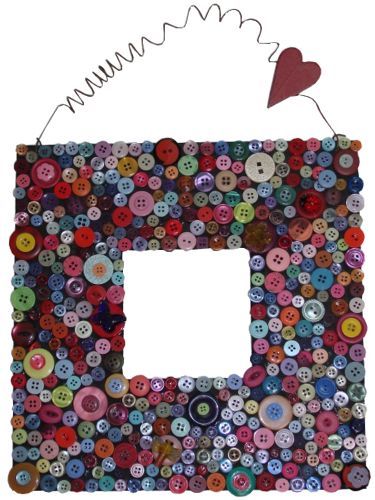
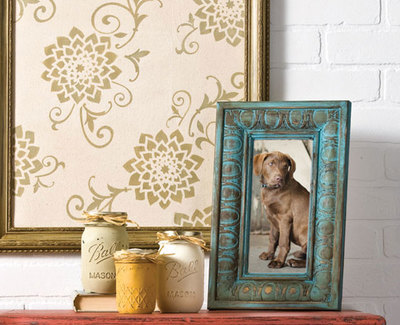
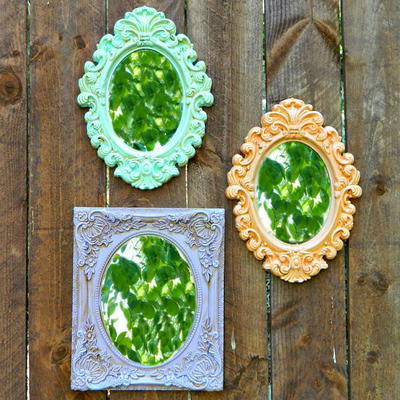
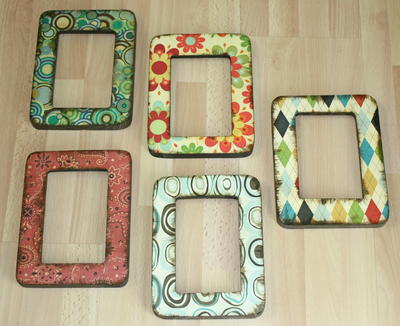
Use your Fiskars Fuse Creativity System® to emboss foam sheets. This Craft Foam Frame makes a great accessory to any home decor, and could also be a sweet gift for teachers, family members, or friends. This easy to make DIY frame has a mosaic look without the fuss of having to glue down tiny tiles. Get a fashionable and fun look for much less with this quick and easy craft project.
You can find this project, as well as many others, in our free downloadable eBook, Fuse Creativity System Project Guide: Fun Party Themes, Ideas for Handmade Cards, and More Paper Crafts from Fiskars!

Materials:
- Fuse Creativity System® Starter Set
- Large Expansion Pack 101040 – Pillowbox
- Medium Design Set 100780 – Circle
- Medium Expansion Pack 100890 - Medium Scalloped Square
- Medium Expansion Pack 101910 – Mirror
- Micro-Tip Scissors (No. 5)
- Assorted craft foam
- Flat toothpick
- Flat-faced frame
- Foam brush
- Mod Podge
- Modeling paste
Instructions:
-
Run assorted craft foam pieces through the Fuse machine, using assorted Fuse letterpress plates and a medium base plate instead of a die.

-
Apply two coats of Mod Podge to the debossed foam and allow it to dry fully.

-
Cut foam into random, small shapes.
-
Spread modeling paste onto one side of your frame front and press the foam shapes into the paste. Press gently with even pressure, making sure to not let the modeling paste ooze up higher than foam.

-
Continue with each of the other three sides until filled. Frost the sides of the frame as well.

-
Allow the frame to partially dry for a half hour. Before the paste fully sets, press a flat toothpick between foam pieces to level the paste. Allow it to dry fully and enjoy!

Read NextColor-Blocked Picture Frames

