Lattice Design Painted Frame
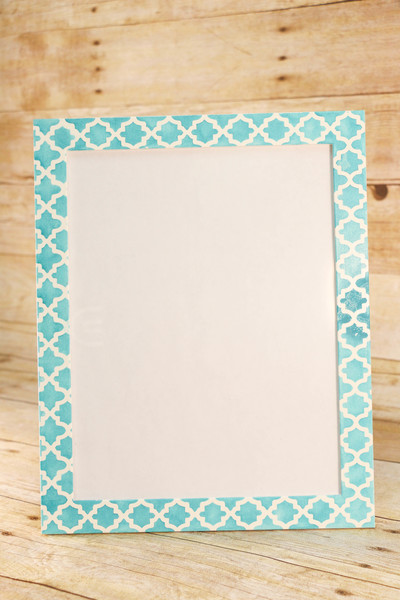
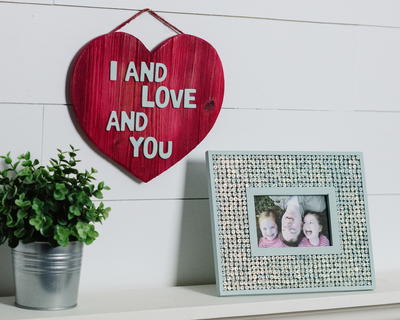
Modernize your home decor with this Lattice Design Painted Frame. You can make this picture frame any contrasting colors you want for your DIY home decor. Easy painting ideas like this one aren't always this lovely and they don't always fit any occasion or setting as this one does. You'll learn how to stencil this cool lattice design on this DIY home decoration. Might as well give your pictures that say thousands of words and good home with a painting craft like this one.
Primary TechniquePainting

For more great home decor craft projects from Stencil Ease®, check out 13 DIY Home Decor Ideas.
Materials:
- Stencil Ease® Modern Lattice Designer Series
- Stencil Ease® Repositionable Adhesive Spray
- Ikea® NYTTA Frame, White
- DecoArt® Americana® Acrylic Paint, Desert Turquoise
- Rustoleum® PAINTER'S TOUCH® ULTRA COVER 2X Primer, White
- Shurtape Technologies LLC Frog Tape®
- Stencil Ease® 5/8” Stencil Brush, White Bristle
- Paper Towels
- 2 Paper or Plastic Plates
- Remove the glass from the frame and set aside.
- Tape off the outer edge of the Ikea® NYTTA Frame using the Frog Tape®
- Very lightly spray Rustoleum® Painter's Touch® Ultra Cover 2X White Primer and let it dry (only for about 20 minutes).
- Spray the back of the Stencil Ease® Modern Lattice Stencil very lightly with the Stencil Ease® Repositionable Adhesive Spray and let the adhesive dry.
- Apply the stencil to the surface of the frame. Be sure to align it so that it’s even on the frame where you would like it.
- Pour some of the DecoArt® Americana® Desert Turquoise Acrylic Paint onto the plate.
- Load your Stencil Ease® 5/8” White Bristle Stencil Brush with Desert Turquoise DecoArt® Americana® Acrylic Paint and then swirl the brush onto your paper towel until it seems like all of the paint is removed. This creates a dry brush and leaves the perfect amount of paint on your bristles. Using a dry brush prevents paint from seeping under the cut-outs of the stencil. This part of the process is essential if you would like clean/ crisp lines when you lift your stencil.
- Either stipple (lightly tapping over the stencil cut-outs) or swirl the paint onto the frame.
- You can immediately remove the stencil and line up the design for your next repeat, either vertically or horizontally. Just use the design you just painted to line up the next repeat.
For more information about Stencil Ease® or to purchase Stencil Ease® products, please visit www.stencilease.com.
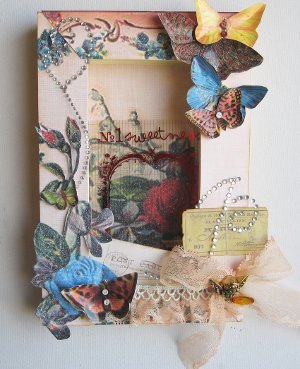
Read NextEasy Decoupage Frames
Your Recently Viewed Projects
Marilyn B
Jun 05, 2017
Wow, this stencil,patterned frame is very trendy now and I love this color used, but of course you can whatever color you desire. For some extra interest, you could glue so,e rhinestones or buttons on the corners in an arranged pattern, or even glue one in the center of each cross cross for a really dramatic effect. Thank you for the inspiration and directions!
Report Inappropriate Comment
Are you sure you would like to report this comment? It will be flagged for our moderators to take action.
Thank you for taking the time to improve the content on our site.

