Orchid Cone
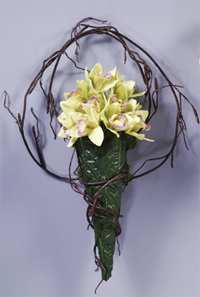
Here's a beautiful and unusual way to display your flowers. This Orchid Cone can be made in two hours.

Materials:
- STYROFOAM Brand Foam:
- Cone, one 9" x 4"
- Green hydrangea leaves, 20 or more
- Light green orchids, 13
- Wired root vine, 9 ft.
- Green reindeer moss, one bag
- Florist pins
- Floral shears
- Craft stick
- Glue gun and glue sticks
Instructions:
- Starting at the bottom and overlapping the leaves, cover the cone of STYROFOAM brand foam with the hydrangea leaves. Use craft stick to flatten the leaves against the cone (do not let your fingers touch the hot glue). Or, roll the leaf-covered cone on a flat surface to firmly adhere leaves to cone.
- Glue reindeer moss to the large end of the cone and fill any gaps between the edges of the cone and leaves. Glue a very small piece of reindeer moss on the small end of the cone between the leaf ends.
- Trim the stems of the orchids to approximately 2" and insert them into the large end of the cone. Determine the front and back of the cone, and position orchids in a pleasing arrangement. To secure stems, remove each one, apply glue to end of stem, and reinsert into cone.
- Loosely wrap one end of the wired root vine around the bottom small end of the cone; continue wrapping vine snugly around cone. Use a florist pin to secure the root to one side, close to the top edge of the cone.
- Form excess vine into a loop hanger and secure end to the other side of the cone with a florist pin.
- Repeat, creating a second larger loop, by wrapping the root back over the first hanger and securing to the opposite side of the cone.
- Wrap some of the root tendrils around each other and adjust both hangers to allow the cone to hang straight and even.
- Cover any exposed florist pins using small pieces of reindeer moss.
®™ Trademark of The Dow Chemical Company ("Dow") or an affiliated company of Dow. For more project ideas, please see styrofoamstyle.com.
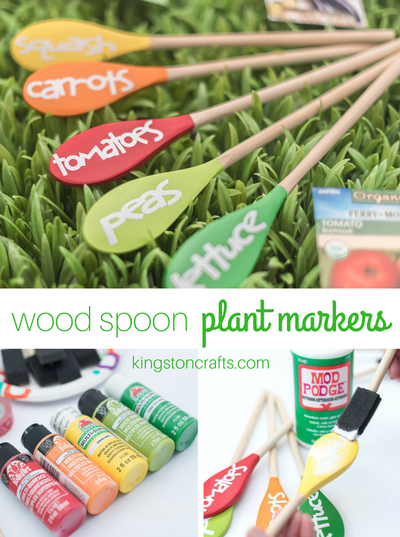
Read NextWood Spoon Garden Markers

