Will Sharpie Stay on Glass? How to Draw on Glass Permanently or Temporarily
Learn how to seal Sharpie on glass among other glass decorating techniques here.
From shop windows advertising seasonal sales to custom-decorated wine glasses, the tools and techniques to writing on glass are numerous. Depending on the project, you may want either temporary or permanent methods. Here's how to draw on glass permanently and temporarily.
Get free crafts delivered straight to your inbox when you subscribe to FaveCrafts.
Will Sharpie Stay on Glass?
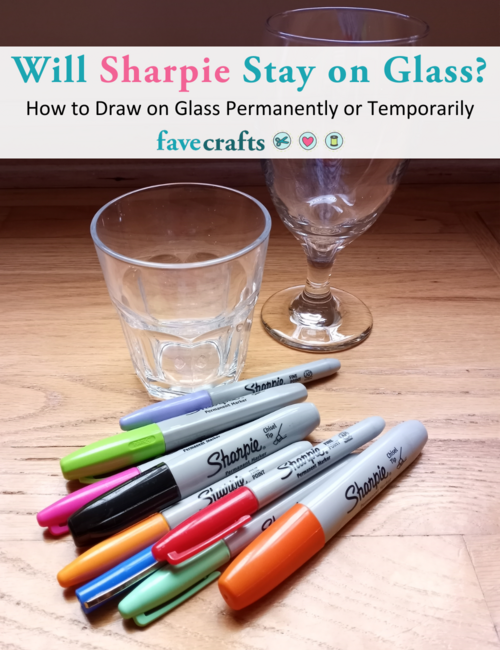
Sharpie is one of the more popular brands of craft pen, coming in a myriad of colors and thicknesses. Unlike dry erase or school-grade markers, Sharpie drawings will stick to glass, with a few caveats. Markings made with Sharpie can stand up to minor handling, but will fade if subjected to too much rubbing. Mild soap, such as dish soap, will wash Sharpie away completely.
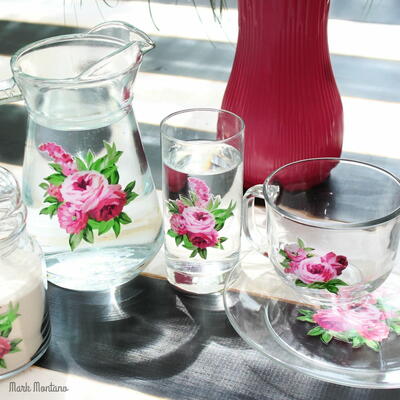
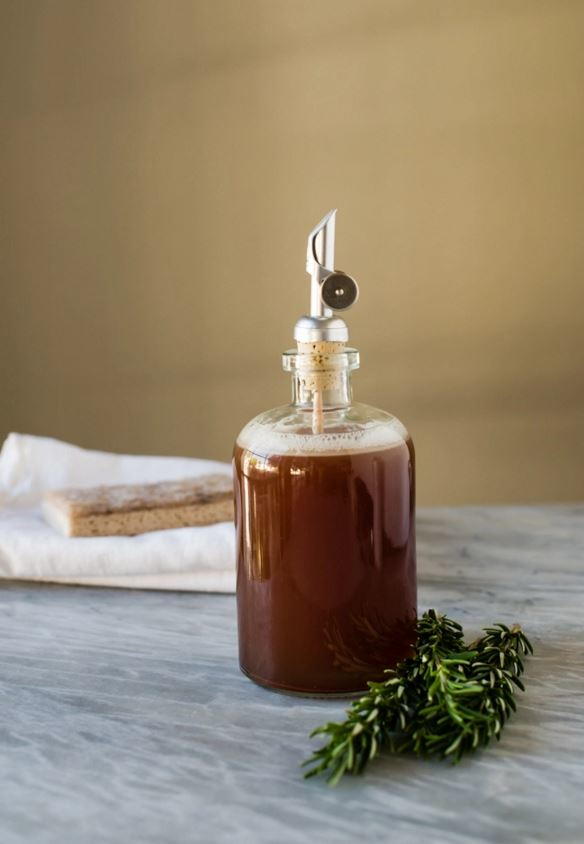
Make your own dish soap: get the Herb-Infused Natural Dish Soap DIY.
Thus, use Sharpie for projects such as votive candle holders, Christmas ornaments, or other objects intended to be only minimally handled. If you want a more permanent design, use oil-based Sharpie markers. Other art markers, especially acrylic or oil-based, can also be used. However, many of these tools require you to 'bake' the design on.
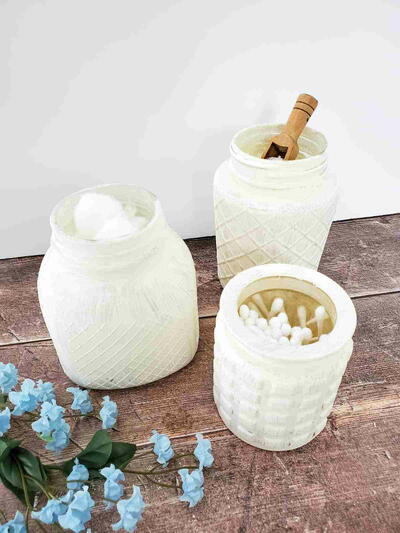
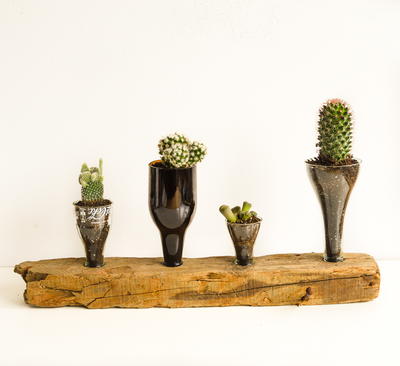
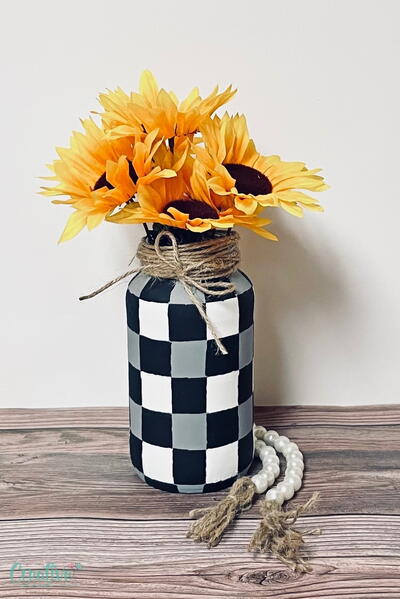
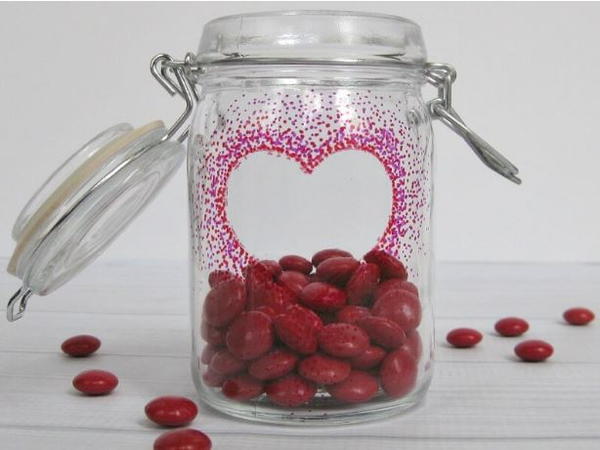
Learn how to make this glass canister here.
Baking Sharpie on Glass
Here's a great technique on how to draw on glass permanently. It's a bit time-consuming, but the pattern will stand up to handling and mild washing. You can use this on glass items, like wine glasses, and ceramics, like mugs.
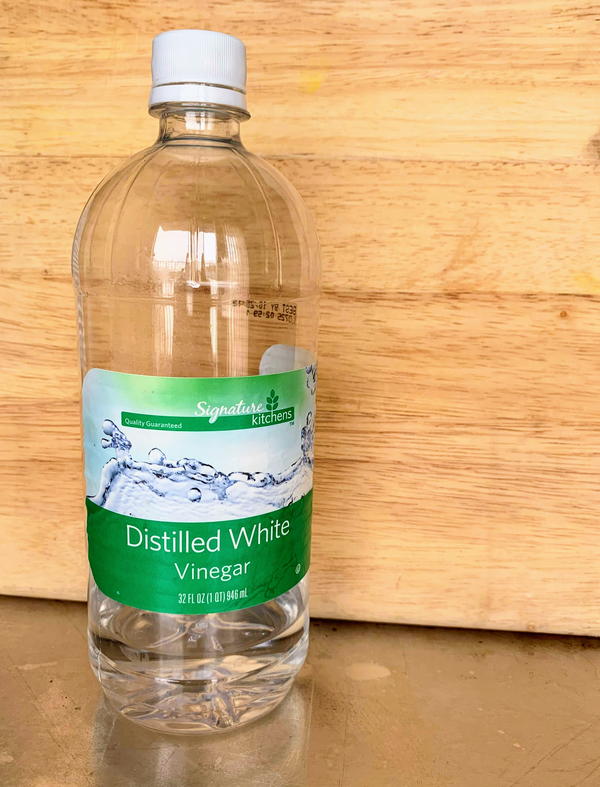
1. First, wash your glass piece with some diluted white vinegar. This will remove any hidden oil, dirt, or other substances that would interfere with your design. Let it air-dry.
2. Sketch your design on using a dry erase marker, erasing any mistakes. Then, go over the design with your chosen brand of art markers. Along with Sharpie, Artistro, Beric, and Chalktastic all make specifically glass-paint markers.
Tip! One trick you can use is to print out the design you want, and tape it to the inside of the glass. This works best for transparent or translucent pieces. Remove the stencil before baking.
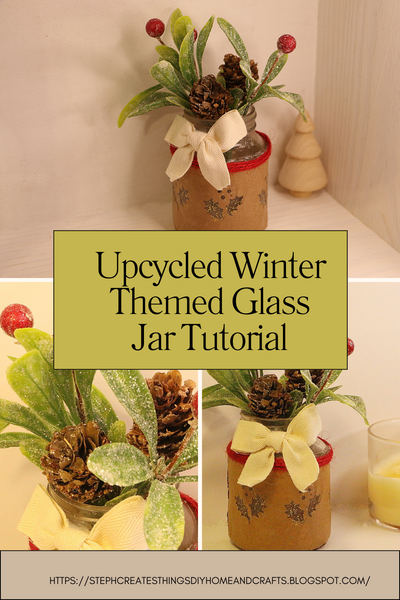
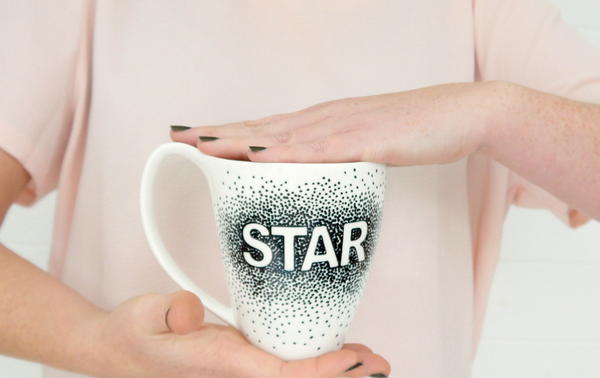
Get the tutorial for this Message Sharpie Mug.
3. Once you've finished your design, let the project dry for at least 24 hours, undisturbed and out of direct sunlight.
4. Then, load your items into a cold oven. Set the temperature to 350-365 degrees Fahrenheit, and let everything 'bake' for about thirty minutes.
5. Then turn off the oven and allow your project to cool off naturally.
The design must still be hand-washed gently, but will be far more permanent than otherwise.
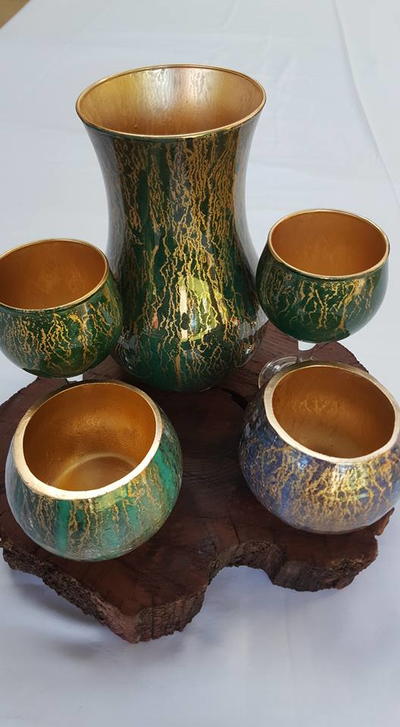
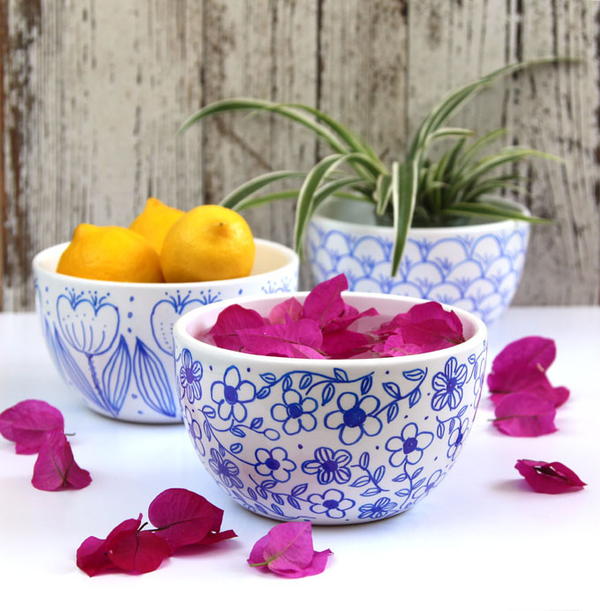
Learn how to make these beautiful Permanent Marker Art Bowls.
Other Techniques
Here are a few other ways to write on glass permanently.
Nail Polish
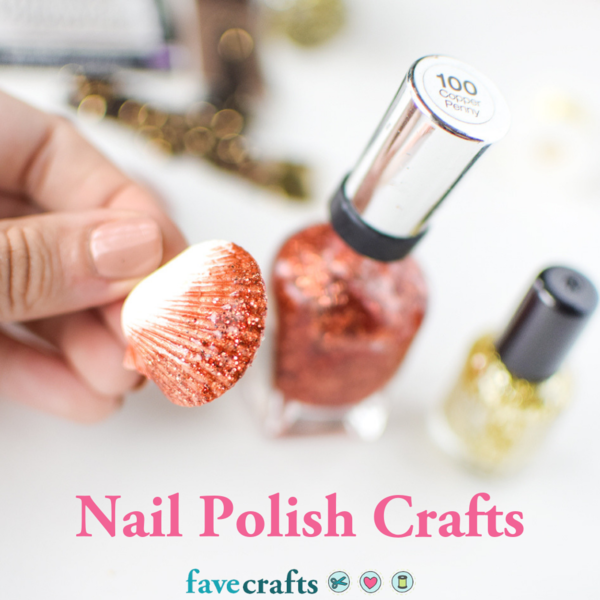
This definitely isn't a food-safe method, so don't paint anything you plan to eat out of. Treat the nail polish like any other paint, using either the standard brush or your own to decorate the glass. The trade-off is that nail polish usually lasts much longer.
Discover more of our favorite nail polish crafts when you browse the collection! 12 Nail Polish Crafts
Sealant
A clear sealant such as Krylon Crystal Clear, can help preserve your designs. This works best for glitter paint. When you're done, just apply a coat, let dry, and reapply as necessary. As above, this does not work for food-grade products. However, this can extend the life of any Sharpie-based projects.

