How to Make a Phone Stand at Home
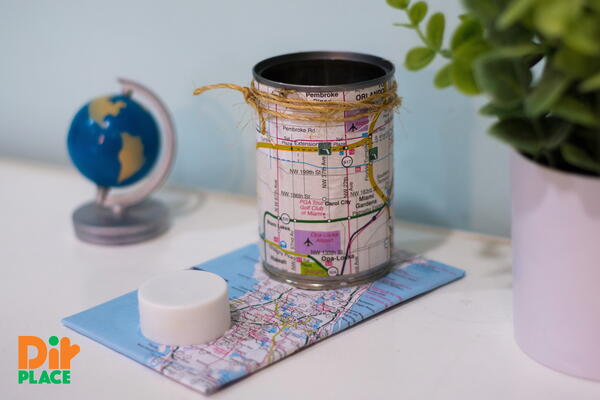
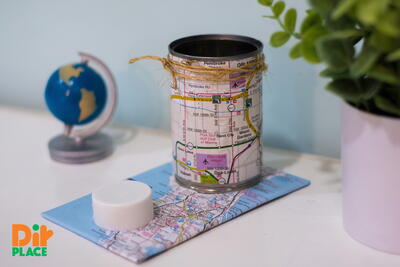
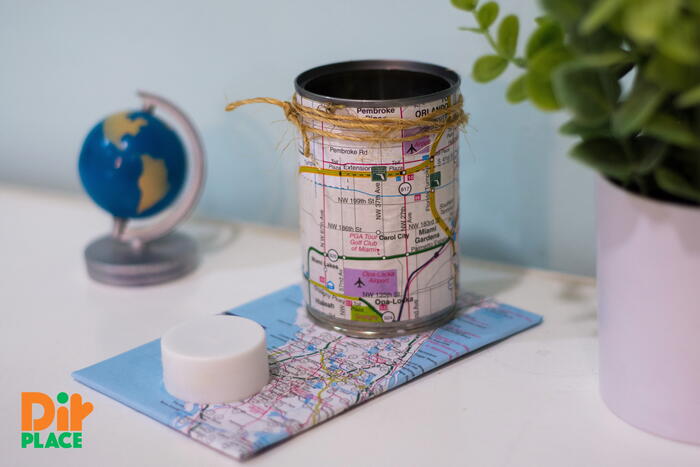
Learn how to make a phone stand at home using materials you already have on hand! This is a great recycled craft that will make phone meetings easier. Use this DIY phone stand to easily record yourself or video call with loved ones hands free. Best of all, this project has another purpose: it also stores writing utensils! Use recycled materials to make this adorable project, and dress up your office space in the process. This tutorial features a printable PDF and a video tutorial so crafters can learn how to make this project using the format that best meets their learning needs. Enjoy your new cell phone stand!
Estimated CostUnder $10
Time to CompleteIn an evening
Main MaterialRecycled Materials
Primary TechniqueGreen Crafting

Project TypeMake a Project
Materials List
- Empty tin can
- One piece of patterned paper to cover can
- Cardboard (4” by 6.5”0) 0r (8cm by 17cm)
- One piece of patterned paper to cover the cardboard (6” by 8.5”) or (15cm by 21 cm)
- One piece of paper to cover the bottom of the cardboard (4” by 6.5”0) or (8cm by 17cm)
- Cork or other stopper for the front
- Patterned paper to cover the stopper if necessary
- Glue
- Scissors
- Pencil
Instructions
Video Tutorial
-
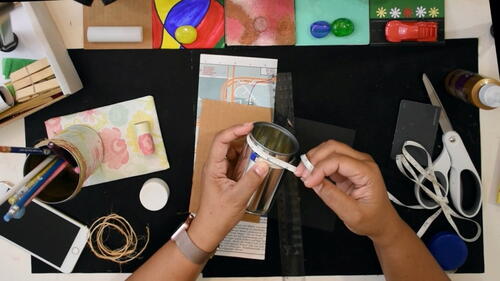
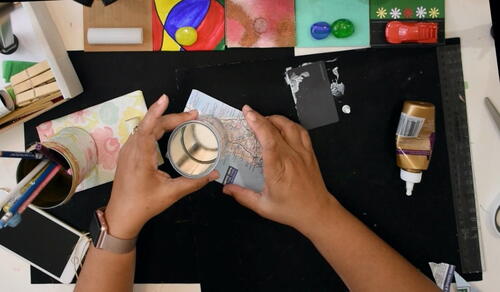
Measure the tin can and cut a piece of paper to go around and overlap about ½ inch or 1cm.
Note: Click images for larger version. -
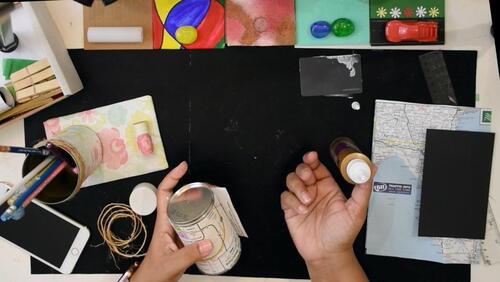
Cover tin can with patterned paper.
-
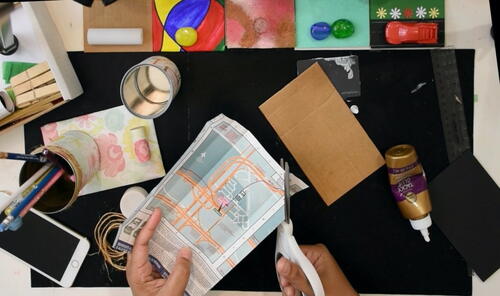
Cover the cardboard with patterned paper. You can ensure the edges are neat by cutting away some of the excess at the corners.
-
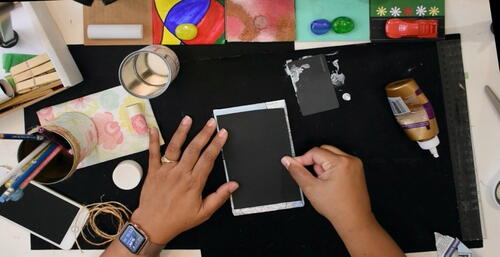
Cover the bottom of the cardboard.
-
If necessary cover your stopper with patterned paper.
-
Glue the can to the back of the cardboard base and place it on your desk.
-
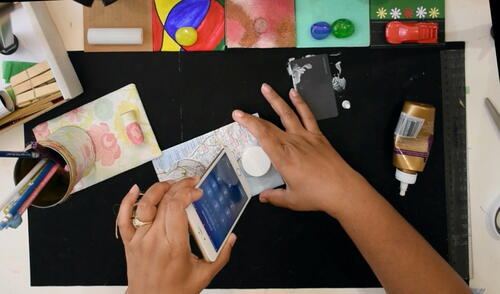
Place your cellphone against the tin can and put on your camera so you can see yourself. Use the image to determine where the stopper should be. Mark the space lightly with a pencil and glue the stopper in place.
-
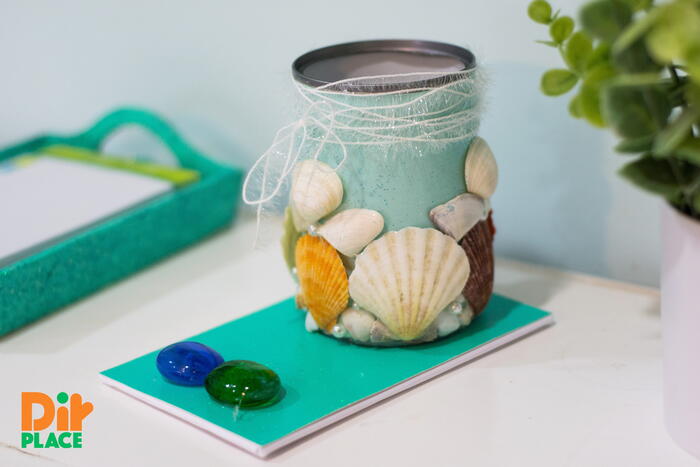
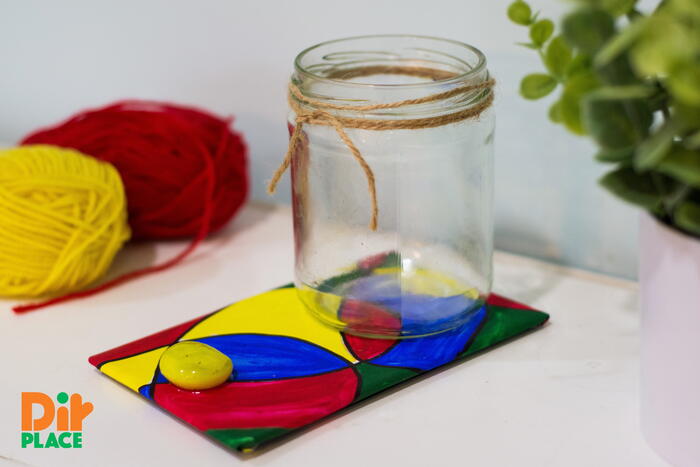
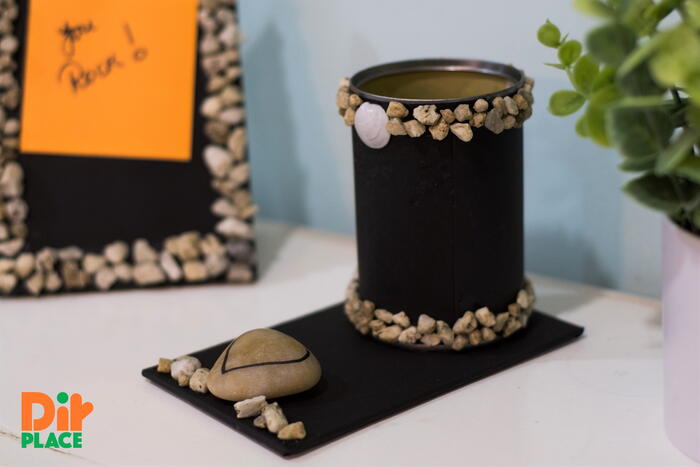
NOTE: You can create different versions of this.
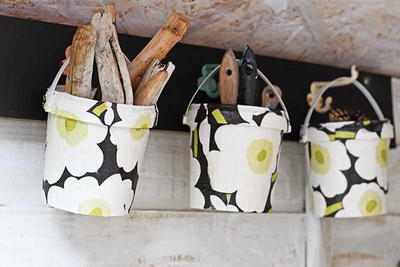
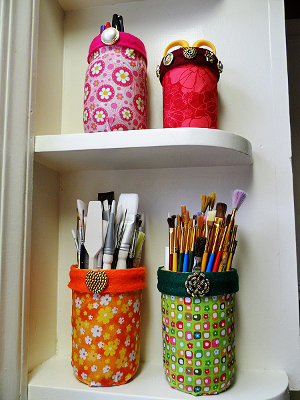
You may even choose to get creative and use shells, pebbles, rocks, sticks. You can use old toys for stoppers. You can create your own patterned paper too! You can use fabric in place of paper.
Our Youtube Channel:
http://www.youtube.com/c/DIYPlace
This video: https://youtu.be/5W__zX3YmyU
Why You'll Love This Recycled Craft
Here are the top 3 reasons to make the DIY phone stand craft project:
1. Functional and Versatile: This phone stand is not only a practical accessory for your phone, making hands-free video calls and recording easier, but it also doubles as a storage space for your writing utensils. It's a multipurpose craft that helps you stay organized and efficient in your workspace.
2. Eco-Friendly and Budget-Friendly: By using recycled materials to create this phone stand, you are not only reducing waste but also saving money on purchasing a store-bought phone stand. It's a sustainable and cost-effective way to upgrade your office space with a personalized touch.
3. Customizable and Creative: This craft project allows you to unleash your creativity and personalize your phone stand to match your style and preferences. You can experiment with different colors, patterns, and decorations to make it truly unique. It's a fun and creative way to express yourself while improving your workspace functionality.
Overall, this DIY phone stand project is a fun, eco-friendly, and budget-friendly way to add a personalized touch to your office space while improving your phone usage experience. Give it a try and enjoy the benefits of a handmade accessory that is both practical and stylish!

