Spooky Halloween Table Display
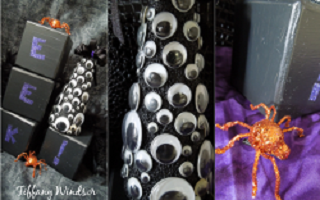
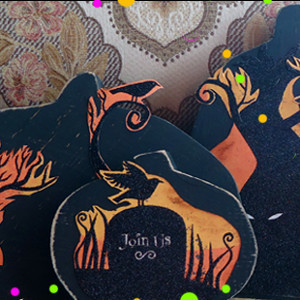
If you're looking for Halloween projects, DIY ideas and more, you'll love this simple project. Create a Spooky Halloween Table Display from Tiffany Windsor that you can show off all season long. This is a great project if you plan to throw a Halloween party.

Materials:
- Aleene’s Tacky Double Stick Sheets
- Aleene’s Super Thick Tacky Glue
- Aleene’s Spray Acrylic Sealer – Gloss
- Wood blocks (I found mine at my local thrift store)
- Acrylic paint – black
- Tulip Glitter – purple
- Paint brushes – one for paint and one soft for brushing off excess glitter
- Alphabet stencils (or die cut alphabet)
- Styrofoam cone – size of your choice
- Wiggle eyes – various sizes
- Optional: bow for top of tree
- Glittered spiders
Instructions:
-
Lightly sand blocks to remove any rough edges. If you are upcycling blocks, sanding will also help to roughen the painted surface to help the new paint to stick.
-
Paint blocks and set aside to dry.
-
Transfer alphabet lettering to Double Stick Sheets and cut out with scissors or cut lettering with die cutter.
-
Remove paper backing from lettering and adhere to blocks.
-
Remove paper from lettering to expose adhesive. Sprinkle with glitter. Gently press glitter into adhesive. Brush away excess glitter with soft brush. Return excess glitter to original container. Spray block with Gloss sealer.
-
Paint Styrofoam™ cone with black paint. Let dry.
-
Glue eyes onto cone with Super Thick Tacky Glue. Let dry. If desired, attach looped bow to top of tree with chenille stem or wire pressed into top of cone.
- Group together with glittered spiders for fun Halloween display.
For a step-by-step tutorial of this project, check out How to Make a Halloween Blocks Tabletopper.

