How to Napkin Applique
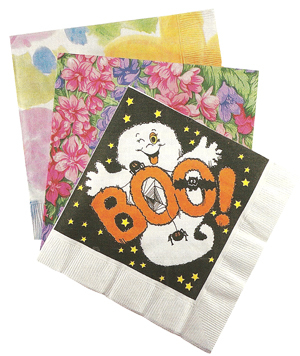
Use inexpensive paper napkins for projects such as mache, wood, wearables and more. Heidi Borchers of Inspired at Home shows us how in this tutorial. When looking for napkins, pick out ones with all over prints, rather than images in one corner.
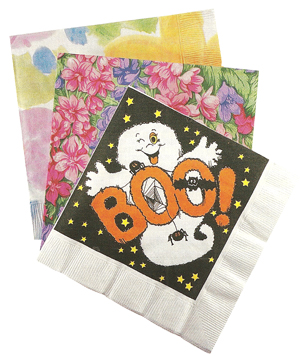
Unfold napkin and lay flat. With a dry iron at medium setting, press napkin to remove wrinkles and fold lines. If you are working with a very thin napkin or a gossamer-type napkin, use a pressing cloth for this step. Cut out desired design. Remove bottom plies of napkin, using only the one printed ply. If applying napkin to a wearable, insert a Tulip® Fashion Form™ which prevents the glue from seeping through to the back layer of wearable.
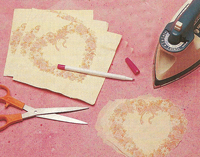
When working on fabric, you only want to apply the glue to the area where you are applying the napkin. Place napkin cutout on fabric in desired position. Using a water or air-soluble disappearing ink pen, trace around cutout. Remove cutout. Brush a thin coat of Aleene’s® Paper Appliqué Glue® onto fabric inside the marked line. Remember that the glue will erase the marked line from many disappearing ink pens so carefully apply the glue to follow the pattern line without erasing it completely. Apply glue evenly. Do not leave puddles of glue. Place the cutout on the glue-covered area and gently press out any air bubbles or wrinkles, working from the center out to the edges of the cutout.
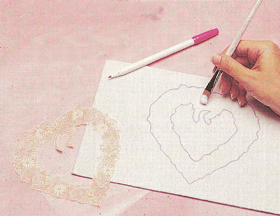
Lightly brush the top of the cutout with a thin coat of glue. The glue will dry clear with a slight sheen. Be certain to cover all the edges of the cutout with the glue. If you do not get the napkin cutout completely sandwiched between two layers of glue, it will come off when washed.
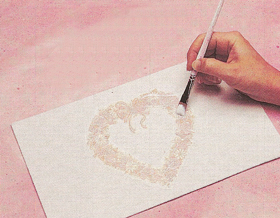
The fabric can be embellished immediately with dimensional paint. If you wish to embellish further, let the glue dry completely before proceeding. Let glues and paint dry for at least 24 hours before wearing or using. Do not wash the garment for at least 1 week. To launder, turn the garment inside out, wash by hand, and hang to dry.
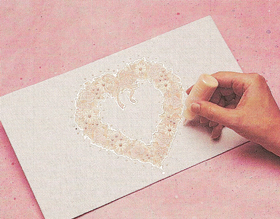
Heidi’s Designer Tip: Remember that your fabric or craft surface must be white or light beige for best looking results.
Read NextHandmade Paper "LOL" Card
Your Recently Viewed Projects
Report Inappropriate Comment
Are you sure you would like to report this comment? It will be flagged for our moderators to take action.
Thank you for taking the time to improve the content on our site.

