Vintage-Inspired Holiday Gift Tags

Repurpose your old gift tags this holiday season with these Vintage-Inspired Holiday Gift Tags! Adorn your gifts with these homemade holiday gift tags to give your presents a vintage flare that will be sure to put a smile on your loved one's face. Use your creativity to design these gift tags in whatever style interests you. Using foam adhesives, these gift tags have unique dimension and texture. Decorate your gifts or your Christmas tree with these Vintage-Inspired Holiday Gift Tags this winter. This is the perfect seasonal and sustainable craft!
Be sure to check out the Scrapbook Adhesives by 3L Extravagant Crafting Prize Giveaway as part of our Christmas in July celebration! You'll also want to enter to win the Christmas in July Sleigh of Prizes!
Main MaterialPaper
SeasonWinter
HolidayChristmas, Winter
Materials List
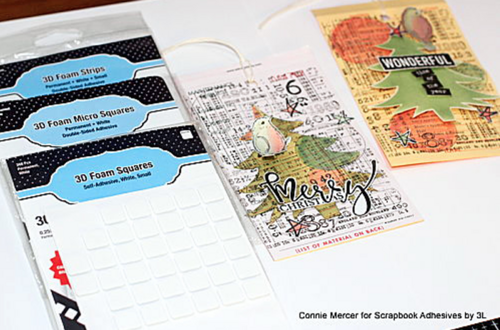
- Scrapbook Adhesives by 3L®
- 3D Foam Squares White Regular
- 3D Foam Squares White Small
- 3D Foam Squares Micro White
- 3D Foam Strips White
- Ink and Blending Tool
- Ranger Ink (Distress Oxide Ink and Archival Ink)
- Stamps
- Darkroom Door and Crafty Individuals
- Stencils
- Vintage Ephemera (Old gift tags that you can repurpose)
- Twine
Introduction
Repurpose vintage merchant tags found in attics, thrift shops, and garage sales to make vintage-inspired holiday gift tags! Spread holiday cheer with these tags to decorate a package or even on the tree. Give them dimension by popping up the stamped elements for interest and a refresh with various 3D Foam adhesives from Scrapbook Adhesives by 3L®. Let Connie Mercer show you how!
-
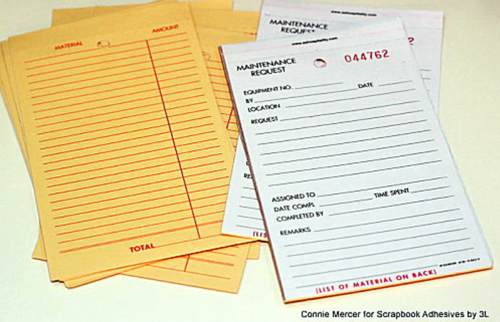
Vintage Inspired Tags Prep
Gather various tags in your stash. These three-ply maintenance request tags will be used. They have a wonderful foundation to place stamped images and/or to write a handwritten message. -
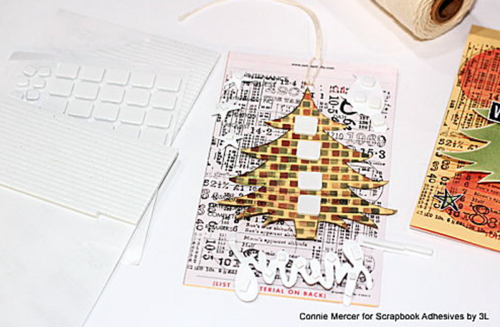
Embellish the Surface
Using a combination of stamps and stencils with a holiday theme, create a fun mixed media background along with the embellishment shapes for the front of the tags. Then directly stamp on the tags using Archival Jet Black ink for balance and definition. Distress Oxide inks were used to
add color to the images. Once you have the embellishments created and cut out, it’s ready to place on the tags. -
Assembling the Tags
Starting with the trees, 3D Foam Squares White Regular were placed on the back of the trees. The 3D Foam Squares Micro White were the perfect size for the small stars and script sentiment. Lastly, 3D Foam Squares White Small were adhered on the back of the birds and 3D Foam Strips for the words. -
The Finishing Touches
To complete the tags, thread the twine through the tag openings and splatter each tag with white acrylic paint.
Read NextYarn Wrapped Hearts

![Pill Bottle Crafts: Reuse Pill Bottles [15 Ideas]](http://irepo.primecp.com/2017/06/334076/PILL-BOTTLE-CRAFTS-Header_Category-CategoryPageDefault_ID-2274135.jpg?v=2274135)