Petite Kids Cushion
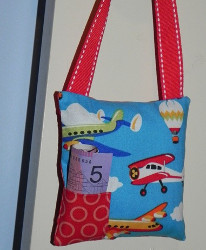
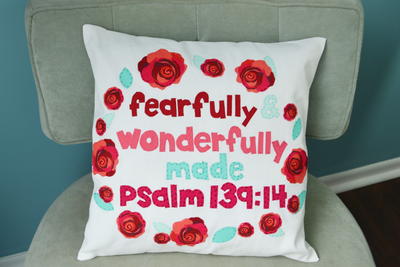
Kids love it when adults find creative ways to show they care. This Petite Kids Cushion by Samelia's Mum is the perfect way to do just that. It is a simple DIY cushion tutorial for busy moms like you. You can use stuffing or seeds for the inside, but if you are using it as an idea for the tooth fairy, keep in mind that stuffing might be easier in the long run. Your children will wake up to this cool homemade craft and happily celebrate one of life's milestones: losing their first tooth.

Materials:
- 2 x 5” squares of fabric
- 2” x 4” piece of fabric (pocket)
- Ribbon (optional)
-
Polyester filling or something to stuff the little cushion
Instructions:
-
Fold 1/8” along the long side of the pocket and press.
-
Fold in half and place on the corner of the print square. Top stitch it down to the print fabric.
-
Pin ribbon in place.
-
Place the backing fabric on top – right sides together and stitch along the top using a 1/4” seam.
-
Sew along the bottom next, making sure you move the ribbon out of the way.
-
Stitch along one side and finally sew the remaining side, ensuring you leave a small gap to turn out the cushion.
-
Clip the corners and turn it out. Use a pencil or knitting needle to poke out the corners so you have lovely points.
- Stuff with the polyester filling.
Read NextT-shirt Yarn Dreamcatcher

