How to Make a DIY Jewelry Organizer
If you're looking to craft that perfect DIY jewelry holder, this tutorial will get you started.

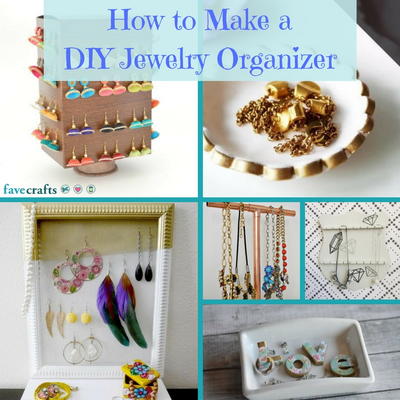
One of the most difficult situations that arises when you start crafting and collecting unique jewelry is the issue of storage. Whether you're looking for a DIY earring organizer, a DIY necklace holder, or just some general jewelry box ideas, it's not always easy to find a solution that's perfect for your needs. In How to Make a DIY Jewelry Organizer, we've come up with a few quick and clever DIY jewelry holder ideas that will help you find a solution that's more than suitable. In this tutorial, we want to showcase crafts that are fun, smart, and perfectly tailored to your needs.
We understand that sometimes DIY jewelry box ideas just don't cut it. There are so many unique and creative pieces of jewelry out there, and they can't all fit inside of a box. The last thing any crafter needs is a tangled mess of necklaces, earrings, rings, and beaded bracelets all woven together. Those tangles aren't pretty, and they take way too much time to fix. With this DIY jewelry organizer tutorial, we aim to assess your needs and keep those tangles at bay.
Don't forget your tools! If you're looking for the proper equipment to make your own jewelry, check out
Step 1: What type of DIY Jewelry Organizer Should You Make?
When it comes to crafting the absolute perfect DIY jewelry organizer, the very first step is assessment. What are your needs? Do you have a greater need for a stand that keeps your necklaces from getting tangled, or is finding something that will store your rings and earrings of utmost importance? Depending on your needs, the size and shape of your organizer could change. For people who have fewer bracelets and necklaces, a simple box might do the trick. With a box, you could keep all of your smaller items that can be easily lost, like rings, safely housed inside one container. If your jewelry is mostly composed of rings and earrings, there isn't much concern for items getting tangled or interwoven.
Step 2: How Much Space Do You Have?
Now that you've decided what kind of jewelry organizer that you should make, the next step is finding out how much space that you have available. This step can be difficult, but it's essential to think about space early because you want to make sure you can craft the most functional organizer. If you're planning on storing all of your jewelry on top of a dresser, it would be a good idea to use a tape measure to measure your potential space. How tall can your DIY jewelry holder be? What's the maximum width you can make a box?
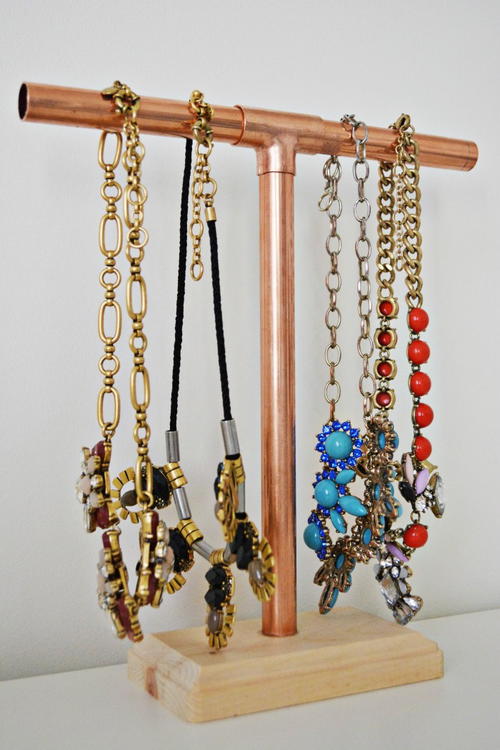
For example, if you have a need for storing necklaces and plenty of height available, this Easy DIY Jewelry Stand might be a simple and practical solution for keeping your necklaces and bracelets organized. This stand is sturdy and takes advantage of the space available to it, and it's a great example of crafting something to suit very specific needs.
Step 3: What If You Have Very Little Table/Dresser Space Available?
Many people often run into the problem of having too many items and not enough places to store these items. No matter how big our living spaces are, we always find ways of filling them up to capacity. Thankfully, there are always solutions available. If you have plenty of jewelry and very little room with which to craft the ultimate DIY jewelry organizer, there are still plenty of options to consider. Does your jewelry organizer have to sit atop a dresser or a table, or is there a bare wall that you can use?
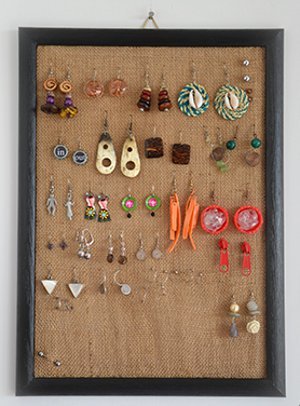
The world is full of wonderful DIY jewelry storage ideas, and when people have struggled to find room for an organizer on a dresser, they have taken to crafting cute and fun displays for their walls. This Framed Flair Jewelry Holder and Framed Burlap Earring Organizer are just two of many nifty ways to make the most of the space available to you.
Step 4: Display vs. Practicality
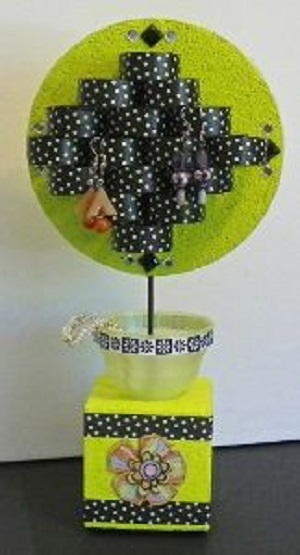
The final step in How to Make a DIY Jewelry Organizer weighs mostly on what you would like your DIY jewelry holder to look like. Do you want to craft something beautiful and artistic that showcases all of your amazing jewelry pieces, or are you searching for something that's more functional and practical without all of the bells and whistles? Not all jewelry organizers can balance the art of the display and complete functionality, so it's good to know which way you tend to lean. Displays like the Wire Tree Jewelry Organizer tend to be more about the look and aesthetic of the display rather than making the most use of space. On the other hand, this Clever Accessory Organizer is all about the function and making sure each small item has its own special place.
Ultimately, the choice is yours. Not all DIY jewelry organizers are created equal, but they're each beautiful, unique, and smart in their own respective ways.
Clever and Creative DIY Jewelry Organizers
These phenomenal crafts are the perfect projects to get you started on making your own DIY jewelry organizer. Whether you're looking for something built with necklaces and bracelets in mind or just a cool holder to display your earrings, this list has great ideas for a variety of preferences
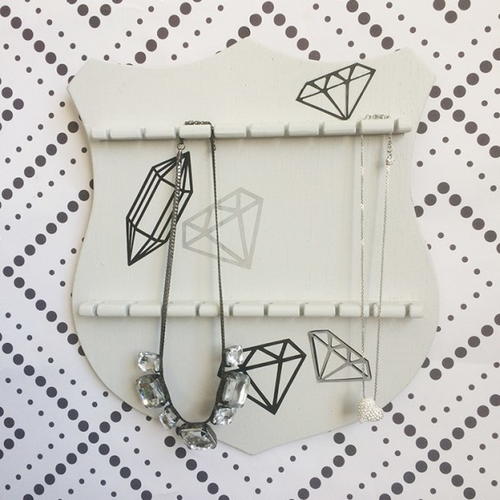
Make your own DIY jewelry stand using paint, washi tape and other easy-to-find supplies. Now you can display your favorite baubles with pride.
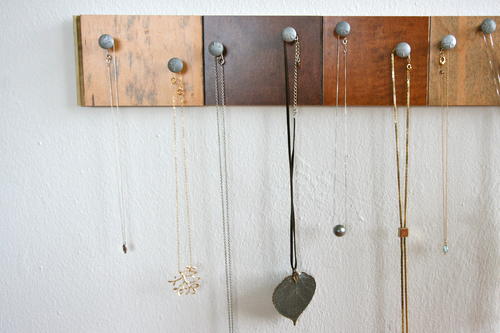
Keep all your necklaces in one secure place with this convenient Wooden Necklace Organizer. Use wood floor samples (or a wooden board) and screws to create the basic frame of your organizer.
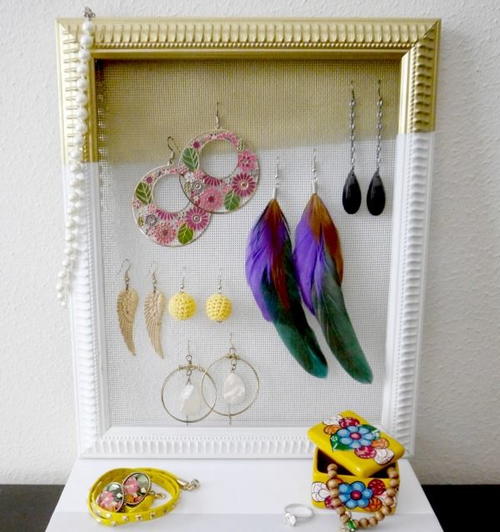
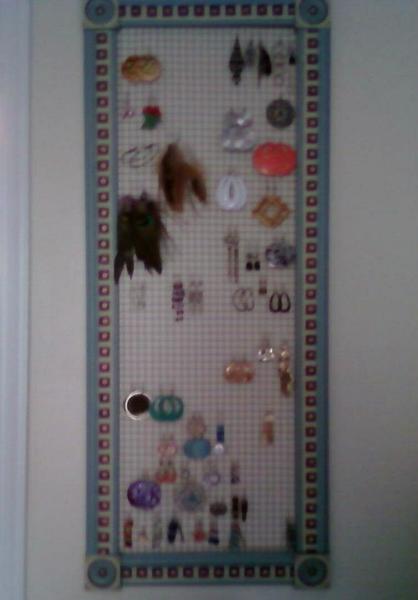
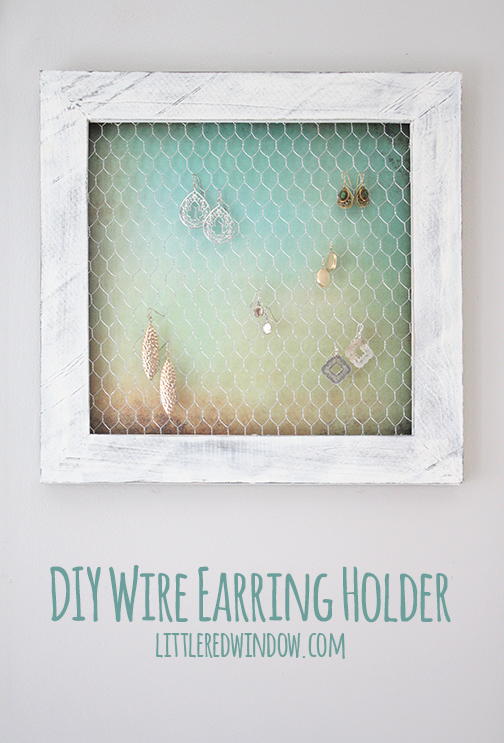
Make this adorable Framed Earring Organizer out of an old frame and some wire mesh. It will cost you only a few dollars to buy the screen, and you can pick up a large old picture frame from the thrift store.
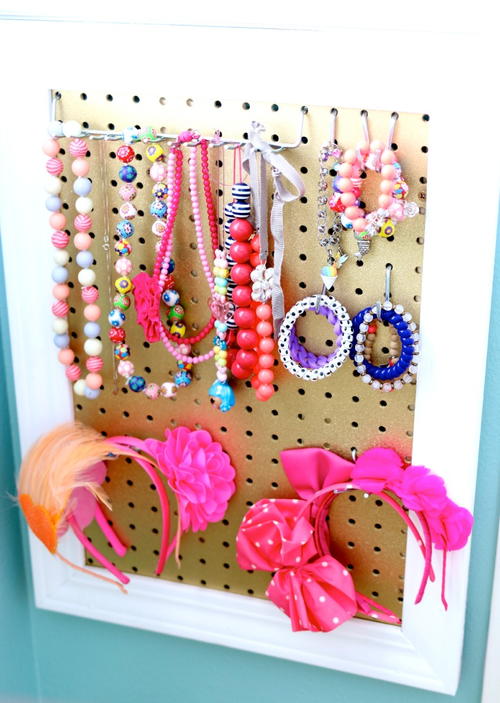
For the little fashionistas in your life or pack-rats-in-training, this no-nonsense DIY storage idea is a wonderful DIY storage project.
This Chicken Wire Earring Holder will solve your problems while creating a fun piece of wall decor at the same time.
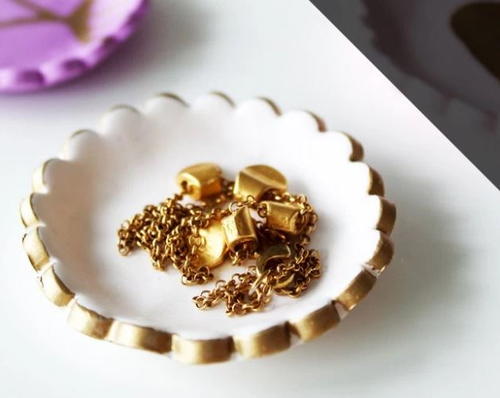
With clay and a bit of gold paint, you can put them together in no time. You can choose a colored clay for the base and decorate it by painting the edges gold or adding stripes, polka dots, or any other design you want.
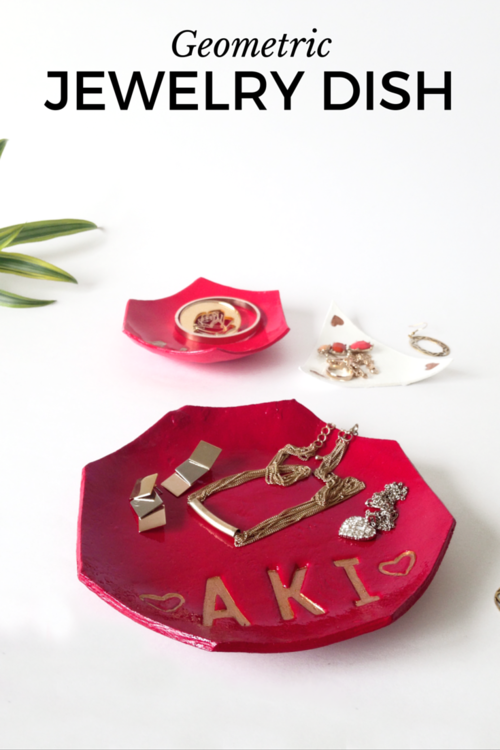
Easy to customize and make. Let me know how you organize your jewelry and your thoughts on this bold yet pretty custom jewelry dish.
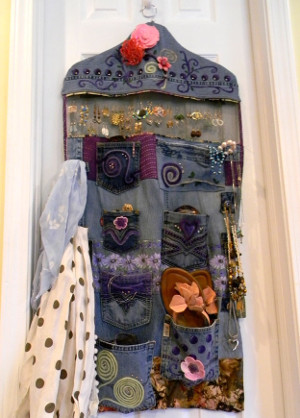
Basically, this is the perfect DIY jewelry organizer for the crafter and recycling fanatic. Put your old jeans to good use with this great DIY jewelry holder.
Transform an old frame into this amazing Framed Burlap Earring Organizer. Burlap lends itself very well to earring organization, since the weaving often results in larger holes, perfect for earrings.
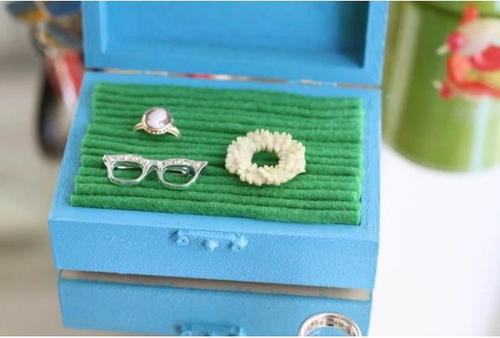
Keep your jewelry safe from scratches with this gorgeous DIY Painted Jewelry Box. You can use an old wooden box and revamp it with some paint to update the look.
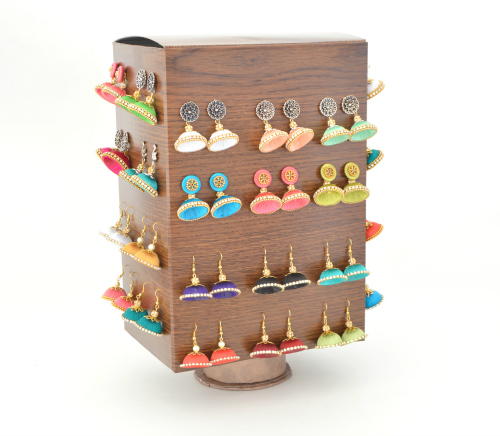
I am showing you how to make a rotating jewelry storage using cereal box and other found items at your home.
I found this vintage spoon rack at a local thrift store. I decided to paint it and add some design elements to turn it into a jewelry holder.
This DIY storage idea is quick, simple, and inexpensive to make. It's great for keeping precious items separate and free from being pulverized in a drawer or box.
This distressed wood framed earring holder looks lovely on the wall and is super easy to customize to match your room! Plus it's hand and keeps your jewelry organized!
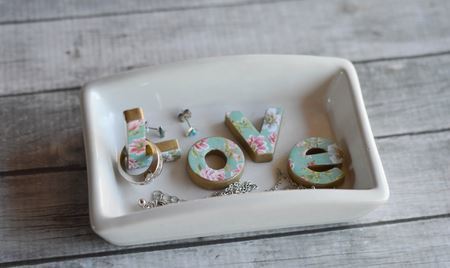
All you need is a thrifty soap dish, plastic letters, scrapbook paper, and glue to make a handmade gift that any one of your girlfriends would love.
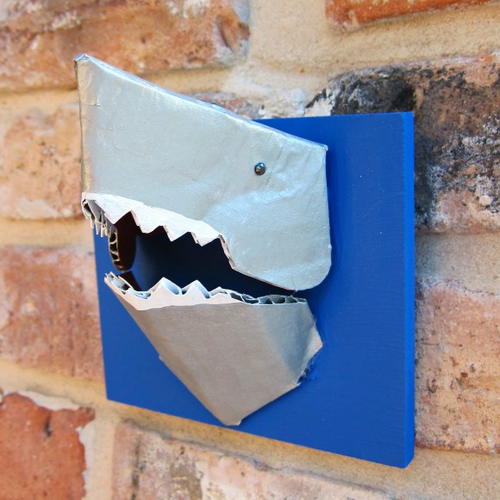
This animal craft hangs from the wall and can store your necklaces and other jewelry so that you won't waste room by keeping them on your dresser.
Read NextDIY Pearl Bracelets in 2 Ways
flowergirl
May 31, 2017
I think displays are best for necklaces and bangles since they tend to tangle up and get ruined especially if they're beaded. A box is best for those studs and ear cuffs you like but if you have drop earrings hang them on the display too.
Report Inappropriate Comment
Are you sure you would like to report this comment? It will be flagged for our moderators to take action.
Thank you for taking the time to improve the content on our site.

