This project was submitted by one of our readers, just like you.
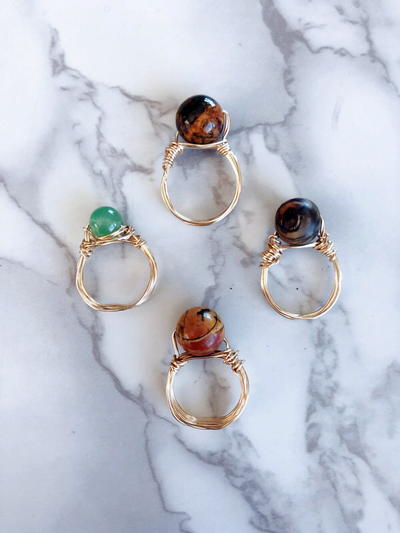
How to Make Stone and Wire Wrapped Rings
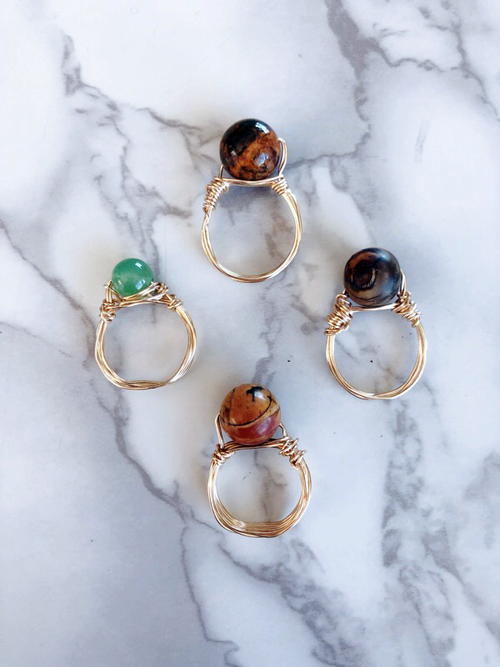
"These DIY wire wrapped rings are surprisingly simple to make and are perfect for the absolute beginner jewelry-maker! What I love most about this little DIY is that you can make so many at a time. Give some to friends or make them in different sizes and wear several at a time for a boho-layered look. The stacked wire layers in the back can be separated for a bigger presence on your finger or kept tightly wound for a more delicate look. Add stones in different sizes and colors to create interesting and completely new looks. This project is easy to complete on a quiet afternoon and make great, thoughtful gifts."
Project TypeMake a Project
Bead TypeWire
Time to CompleteUnder an hour
Bead Technique UsedChainmail/Wirework
Bead Project TypeRing

Instruction
-
First let’s begin with an introduction to your ring mandrel. These tools are really inexpensive (this one was about $5) and lets you control what size your ring will ultimately be when you’re done. The notches and marks define the different ring sizes. So, if you are a size 7, wrap your wire around the “7” etc. The notches in between the numbers represent half sizes.
-
Start by trimming about an 11″ section of wire and setting your ring mandrel/ ring gauge at the center.
-
Slide both ends of the wire through your stone bead in opposite directions. Pull tight around your ring mandrel to get an accurate size.
-
Wrap the excess wire on either side of your stone in opposite directions around your ring gauge/ ring mandrel until you have about 3″ left on either side.
-
The backside of your ring mandrel has an indent that makes it easy to slide the excess wire under your wrapped strands. Wrap both wires under the wrapped layers and pull tight with jewelry pliers.
-
Repeat until you have no wire left over and your wire is securely fasted.
-
If there are any rough edges of wire remaining, sand them softly with extra fine sandpaper and tuck them into the stone so they won;t be uncomfortable.
Read NextDIY Pearl Bracelets in 2 Ways


