Little Nativity Toilet Paper Roll Craft
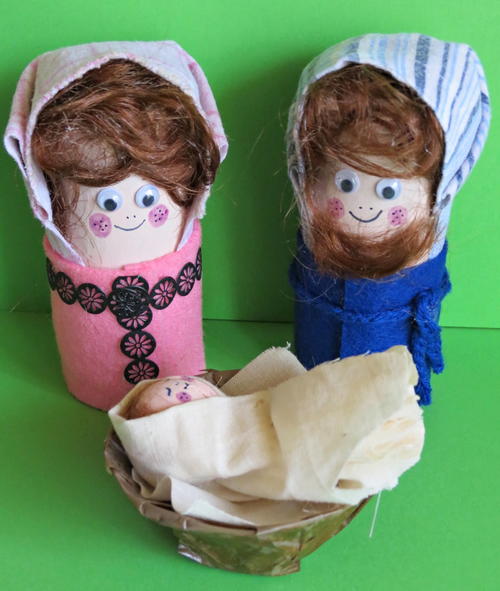
Gather up the kids, dig into your craft supplies and start working on this Little Nativity Toilet Paper Roll Craft. Christmas toilet paper roll crafts can help you save money and enjoy the holiday season. This project is easy enough to work on with young crafters but still fun and entertaining for adult crafters, too. Everyone has toilet paper rolls sitting in their recycle bin or trash can, so there's really no excuse not to make this creative Christmas craft.
Primary TechniqueGreen Crafting

Materials:
- Two empty toilet paper rolls
- Empty egg carton tray
- Empty 2 liter plastic soda bottle + cap
- 4.6” x 5” blue-and-white striped material cut from old pajamas
- 4.6” x 5” pink-and-white striped material cut from old baby blanket
- 6.3” x 2” pink felt
- 6.3” x 2” dark blue felt
- 6” square cut from unbleached linen
- 8.4” x 2.4” cut from unbleached linen
- 2.4” square cut from unbleached linen
- Curly brown synthetic doll hair
- Two pairs of 8mm wiggle eyes
- Black decorative lace tape
- Dark blue knitting yarn
- Round plastic bead with a diameter of 0.6”
- Flesh and brown acrylic paint
- Artline 210 Fineliner black pen
- Pink felt-tip pen
- Brown packaging tape
- Quick-drying matt spray varnish
- White thread
- Paintbrush
- Standard scissors
- Measuring tape
- Quick-drying craft glue (such as Bostik Clear)
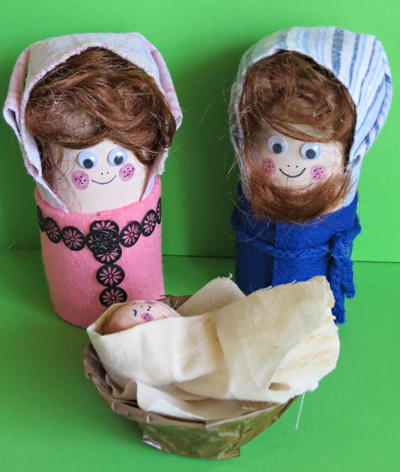
Instructions for making Mary and Joseph:
- From the egg tray, cut two circles that would fit on top of the toilet paper rolls.
- Paint both circles and the toilet paper rolls with the flesh paint and allow to dry thoroughly.
- Glue a circle to the top of each toilet paper roll and cut off any protruding edges.
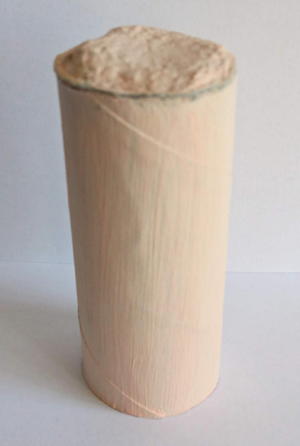
- Add hair to the top of each toilet paper roll. Use the scissors to shape the hair neatly.
- Use the pink-and-white striped material to add Mary’s head scarf and the blue-and-white striped material to add Joseph’s head scarf. Fold each scarf neatly around the head and use glue to keep it in place.
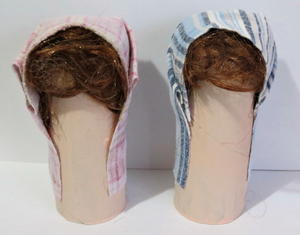
- Add the wiggle eyes.
- Use the black pen to add a nose and a mouth, the pink pen to add rosy cheeks and the black pen again to add freckles.
- For Mary, glue the strip of pink felt around the bottom of the toilet paper roll the two ends must meet in the front. Do the same for Joseph, using the blue felt.
- Use the synthetic doll hair to add Joseph’s beard, again shaping it with the scissors.
- Glue a strip of black decorative lace tape down the front and around the collar of Mary’s dress.
- Finger knit a 9” long chain with the blue wool and tie it around Joseph’s robe. Neatly glue the ends in place, so that the woolen chain won’t slip down.
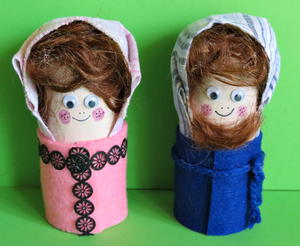
Instructions for making the crib:
- Below the bottle’s neck support, cut a strip of 1.2” wide.
- Use packaging tape to glue the strip into a circular shape again to form the crib.
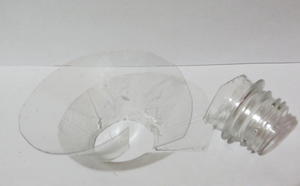
- To create a mock wooden effect, cover the inside and outside of the crib with several uneven layers of packaging tape. Also use packaging tape to close the bottom of the crib.
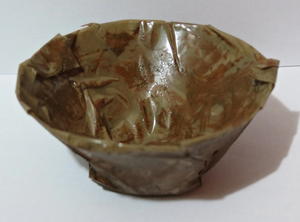
- Give the inside and outside of the crib an uneven wash with the brown paint and allow to dry thoroughly.
- Spray the inside and outside of the crib with the matt spray varnish and allow to dry thoroughly.
- Glue the bottle cap to the bottom of the crib’s inside to add some weight to the crib.
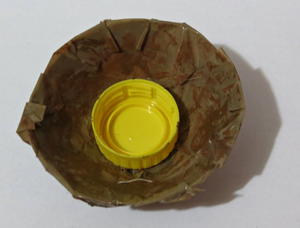
- Glue the 2.4” linen square on top of the bottle cap.
Instructions for making the baby:
- Place the bead into the centre of the unbleached linen square and wrap it up. Use a piece of thread to secure the fabric around the bead.
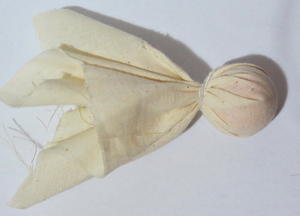
- Use flesh paint to add a face to the covered bead.
- Use the pens to add eyes, a nose, a mouth and rosy cheeks.
- Glue a few strands of hair to the baby’s forehead.
- Wrap the baby in the 8.4” x 2.4” strip of linen and use glue to secure the “blanket.”
- Neatly trim the linen blankets shorter so that the baby will fit properly in the crib.


