Tie Dye Knit Scarf
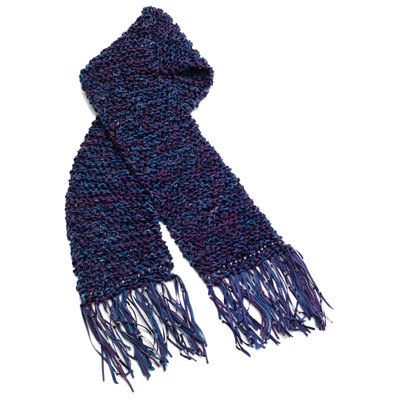
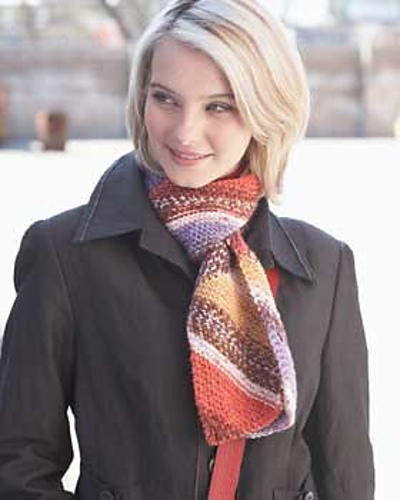
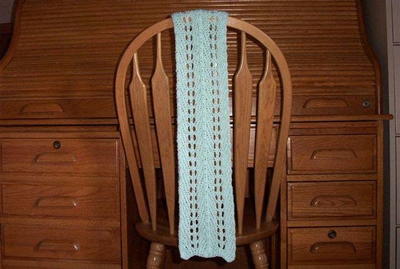
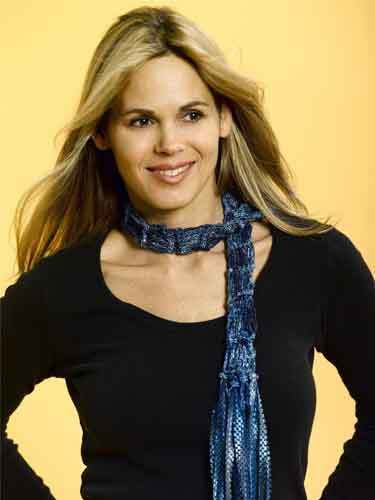
Do something new and exciting with fabric dye: tie-dye the yarn and then knit a scarf. The tie-dye yarn gives you beautiful variations in color throughout the scarf. The scarf knitting pattern from I Love to Create is included. Find this project and many more fabric dye projects in the free eBook for fabric dye inspiration and instruction, Fun with Fabric Dye.

Materials:
- Tulip® One-Step Tie-Dye Kits™- Psychedelic
- Designer Glass Beads
- Hard plastic sheet to create H shape form, top of shoe box plastic container
- Scissors
- Needle, large eye beading needle
- Ribbon, 1/8” Navy 120 Yards
- Plastic cups
- Plastic covering for work surface
- Mesh garment laundry bag small size
- Paper towels
- Plastic bucket or bowl
- Rubber bands
- Plastic apron
- Scissors
- 100% Pure Cotton Worsted Weight Yarn, 1 Skein White Knitting needles, #15
Instructions:
- Cut hard plastic sheet into an H shape with a 6” high cross bar and 8” to 10” wide. Cut two strips, equally spaced from center about ¾” wide. NOTE: This will allow dye to soak through from side to side. Pull yarn from skein and wind around center area of plastic, starting on one side and working evenly to other side and back again. Secure end by tying in a knot around strands of yarn. Note: This is a double yardage skein and it is desirable to band two H forms together for added strength.
- Protect work surface with plastic. Prewash by hand the wrapped yarn. Remove as much liquid as possible. Lay on work surface. Press as much of liquid out as possible using paper towels.
- Mix dye wearing gloves. Fill red and blue bottles with water. Shake well until all powder is absorbed. To create a deep purple, pour equal portions of blue and red into a large plastic cup. Mix and pour back into an empty bottle. Label bottles as mixed purple. Fill purple and blue bottles to top with water. NOTE: Keep dry dyes together for future projects.
- Lay wrapped yarn on paper towels. Starting on one end of yarn, apply a stripe of mixed purple then a narrow stripe of blue, alternating all the way down yarn. Because of amount of yarn on form, press nozzle into yarn making sure dye goes all the way to center. When one side is covered in dye, turn over and repeat process on other side. Let sit as directed on box instructions.
- Wearing gloves and apron, apply rubber bands across yarn to hold in place. Place under running water in a laundry sink until most of dye is removed. NOTE: Make sure water runs through center area because of amount of yarn on form, it may need to be pulled away on the ends to allow water to reach it. Add more rubber bands if needed.
- Place in mesh laundry bag. Run through gentle wash and rinse cycle of washer with a slow spin, if possible. NOTE: If bag is larger than form, wrap tight and add rubber bands to outside of bag. Dry in dryer, leaving in mesh bag and with rubber bands in place. NOTE: Because of amount of yarn on form you may want to air dry in a warm place outside mesh bag and remove rubber bands.
- When dry, wind into a ball for knitting. Note: There is enough yarn for two scarves or one scarf and another project.
- Cast on 15 stitches using dyed yarn and ribbon at same time. Knit every row until scarf measures 52” to 56” or desired length. Bind off.
- Cut 10” lengths of yarn and ribbon for fringe. Take one piece of each and run through end and loop over. Attach fringe across each end of scarf.
- Thread beading needle with ribbon. Slide on about 16 to 20 beads. Weave through yarn about ½” from end of scarf, pulling a bead to top each time ribbon is on top. Thread one bead onto each piece of ribbon fringe. Tie a knot to hold in place. Tie at several different heights so beads do not line up along bottom edge.
Read NextSlouchy Cowl

