Winter Stars Part 3 of 3
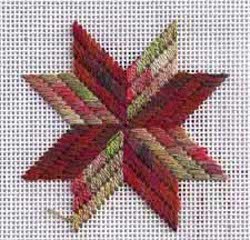
In the final part of the series from Nuts About Needlepoint, Winter Stars Part 3 of 3 will give you the direction needed to complete this needlepoint quilt pattern. You will love what the outcome of this needlepoint project. The winter stars quilt is a wonderful homemade craft.

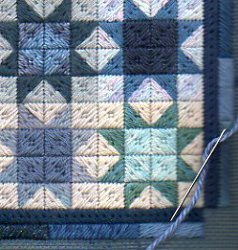
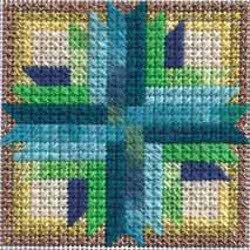
With the corner blocks and the final borders in place the Winter Stash Project is complete. I’m delighted by the way my scrap bag of blues worked out. The blue to blue-violet color scheme was lots of fun, the white, cream, and gray backgrounds kept the piece from being boring.

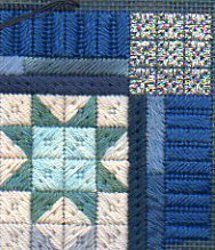
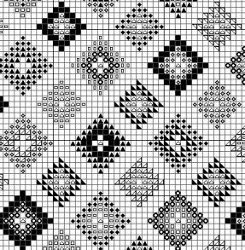
Since I didn’t use metallics in the main part of the piece, I decided to use a Kreinik 1/16″ ribbon for the corner blocks, diagrammed above. The stitch is a small version of Triangle Block from Father B. Because my thread is light (Vintage Silver) and the canvas is dark, the canvas shows through some. A closer match on the colors wouldn’t have this.
Triangle is made of all straight stitches. Four triangles of five stitches each are arranged into a block. There are nine of these blocks in each corner.

The final border is an Alternating Diagonal Gobelin Stripe Variation. When I was thinking about this Monday night, I wasn’t up to counting much and I wanted something which would be even on the sides. So I decided to use one of the smaller blocks in the center as the starting point.
I knew I wanted alternating stripes to take advantage of the directional light of the pearl cotton. But my block covers seven threads. To make it come out even I used two stripes covering three threads, with a line of Continental between.
It creates an interesting rhythm.
To finish it off I will “bind” it with one row of Continental. If you are framing it, you’re done. If you are making a pillow, you might want to add three rows of Baasketweave to make a margin for finishing.
Read NextLittle Amish Quilt Bookmark

