Binder Photo Clip
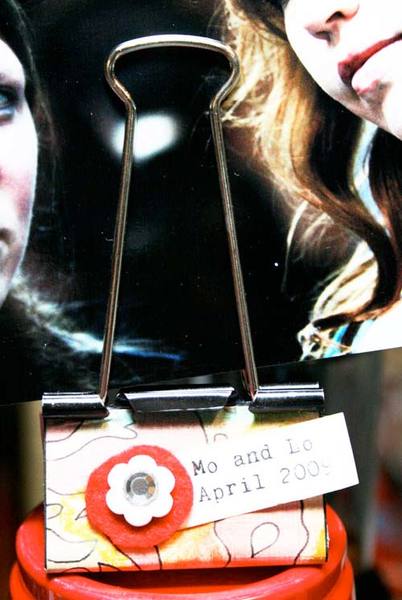
Decorate a binder clip with patterned paper and oil pastels to create a decorative photo holder, from Sakura of America. Create a whole set of binder clip photo holders for a table top.

Materials:
- Gel Medium
- Patterned Paper
- Sakura Pigma Micron (.05)
- Cray-Pas Oil Pastels by
- Sakura
- Paintbrush
- Large Binder Clip
- 4x6 Photo
- Paper Trimmer
- Computer and Printer
- Felt
- Flower Shaped Button
- Rhinestone
- Glue Dots
- Fabri-Tac
Instructions:
- Cut a piece of patterned paper to 2x3.25” (be sure to measure your own binder clip to confirm that it’s the same size as mine).
- Gently fold patterned paper around the binder clip, lightly creasing it.
- Remove patterned paper and use a Sakura Pigma Micron to outline the existing pattern.
- Use Cray-Pas Oil Pastels to color the patterned paper. Use your finger to smudge the oil pastels.
- Apply gel medium to the binder clip with a paintbrush.
- Wrap paper around binder clip and smooth with fingers.
- Paint another coat of gel medium over the patterned paper. Let it dry.
- Print out the names of the people in your photo and the date taken. Adhere the journaling strip to your binder clip using a glue dot.
- Add a circle of felt, flower shaped button, and rhinestone to complete the look. Use Fabri-Tac to attach the felt.
Read NextVintage-Inspired Clipboards

