Beginner Watercolor Tips
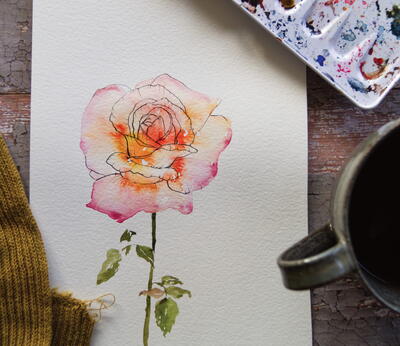
Learn watercolor painting for beginners and incorporate this fantastic technique into your crafting!

Discover fabulous beginner watercolor tips as showcased by Stephanie Paxman from Crafting in the Rain! See why she loves watercolor, and you will too! It is a stunning technique that artists and novices alike can incorporate into their projects. Try something new this year and learn watercolor!
From the Designer: "Thinking about getting started with watercolor? This relaxing form of painting can be very beautiful and even be therapeutic. Especially in the beginning, the artist is forced to “let go” as the blending can sometimes be a bit unpredictable. Here are a few beginner watercolor tips to help as you learn and practice."
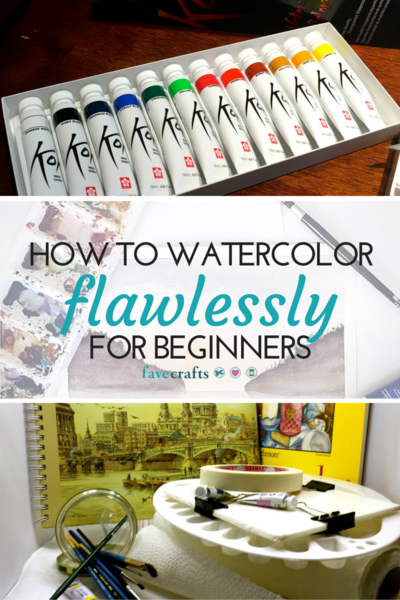
Supplies to get started with learning to watercolor:
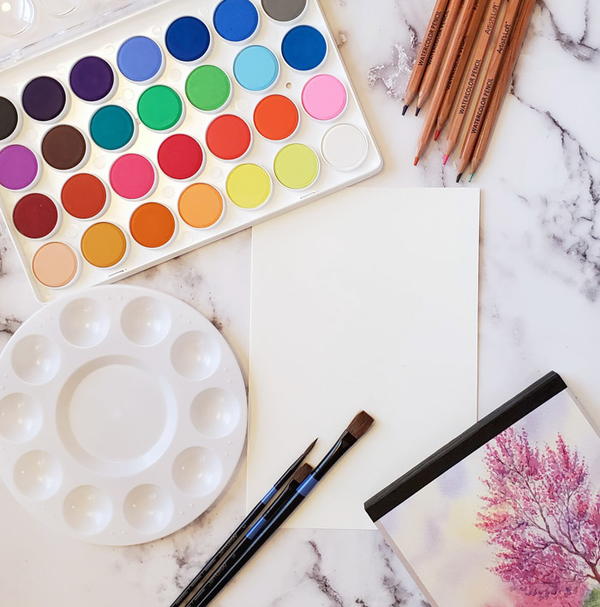
Watercolor paper. Watercolor paper is heavier and produced to absorb water correctly. It won’t wrinkle excessively, ball up or disintegrate. Watercolor paper can be found in a variety of sizes and weights. The watercolor paper pad shown is 9x6 inches.
Watercolor paint. Found at crafts stores or online, watercolor is available in tube and dried cake forms. Dried paint sets can be a little easier to manage. Tube paint is very useful for blending custom colors.
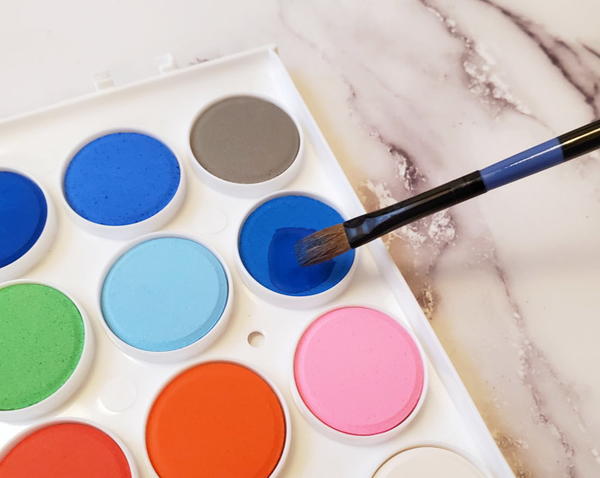
You can also find a wide variety of price points. But as you might expect, you’ll have a better experience if you don’t choose the cheapest option available.
Watercolor pencils. Another option for creating watercolor art is watercolor pencils. These look like regular colored pencils, but they react to water.
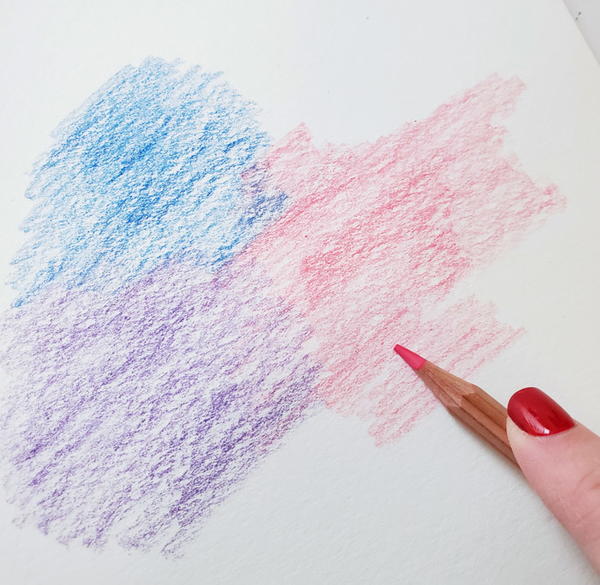
After coloring on paper, a wet brush creates results similar to actual watercolor paint.
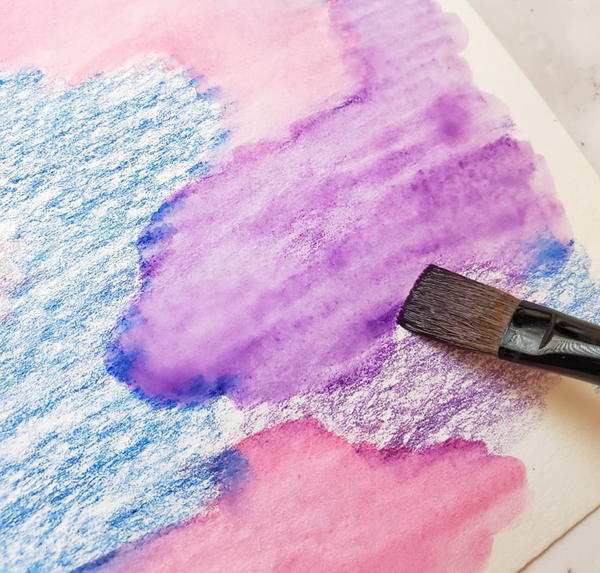
For a more intense pigment, wet the watercolor paper first, or dip the pencil tip in water before coloring.
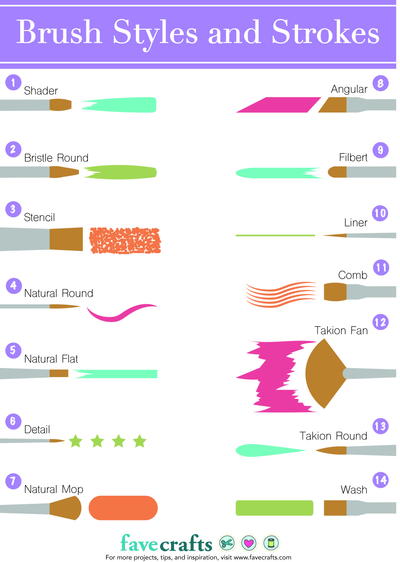
Watercolor brushes. Some brushes are designed to hold water and come in a variety of shapes to produce different paint strokes on the paper. Look for a brush assortment that is specifically labeled for watercolor.
Plastic pallet. A small pallet can hold clean water or be used to mix new shades. Add more pigment from the cake or tube. Pick up more paint in a brush to dilute what is already painted on the page.
Remember that more water makes paint lighter and less makes it darker.
Experiment with painting on wet paper or dry paper. Dry paper will produce more distinct edges. Paper that has been brushed down with water first will spread more.
To create a watercolor background, start with 3 colors that are all next to each other on the color wheel. Think green / blue / purple / orange / pink. This helps all the blending look cohesive. Then add in more colors as you get more comfortable with how the watercolors act on the paper.
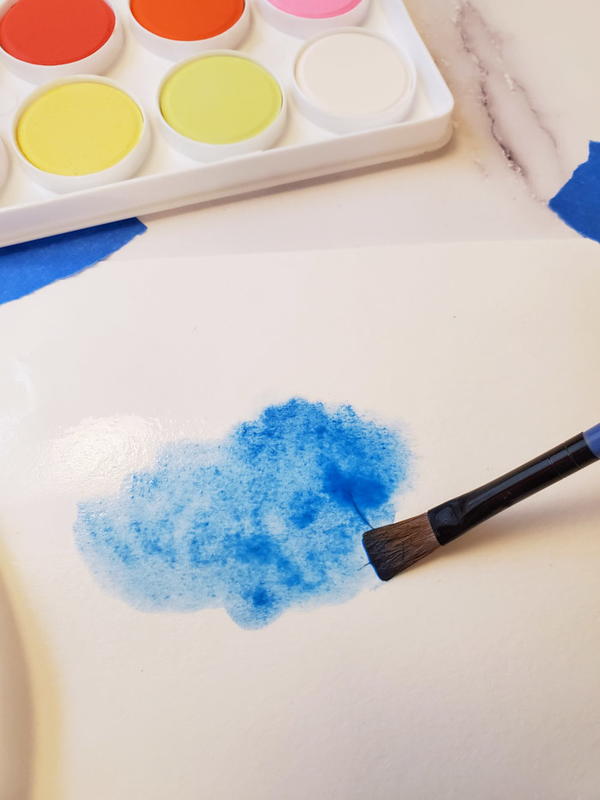
Paint one watercolor area, then adjust it by adding more water onto the brush, or more paint, and just touching down on the paper where it is wet.
This helps create the classic watercolor spread.
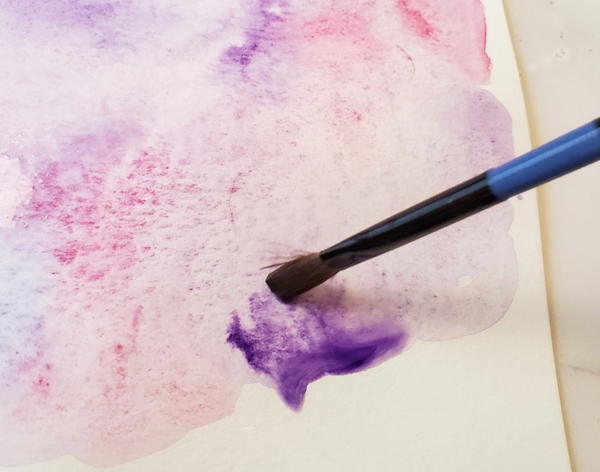
Continue the process with different colors. If a large pool develops on the paper, go ahead and blot it a little with a paper towel. Then walk away and let it dry!
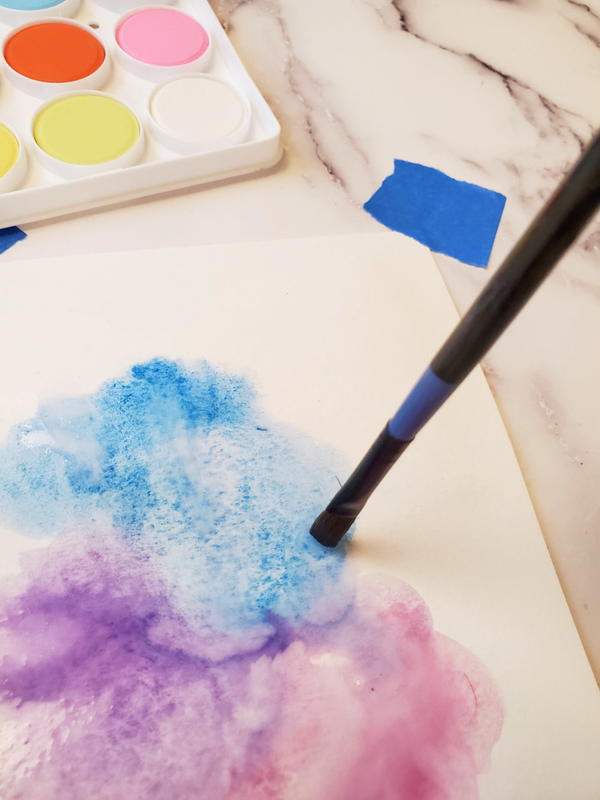
Watercolor backgrounds like this can be used for a lot of things. Paint a set and hang them all together. Use a tag punch to make gift tags. Cut and use as greeting card fronts.
It can also become beautiful quote art.
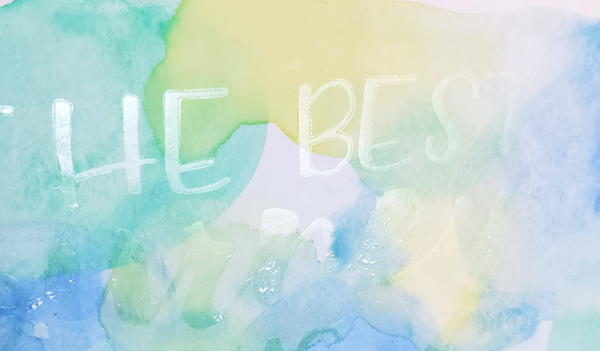
How to Create DIY Watercolor Wall Art:
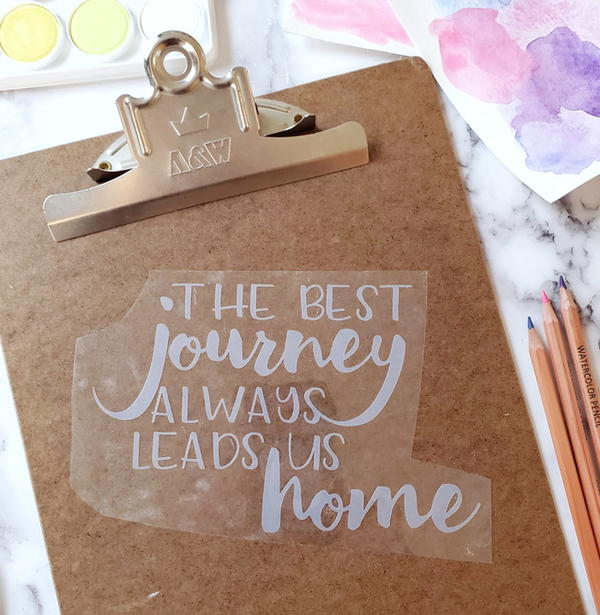
Use an electronic cutter to cut a quote from a heat transfer adhesive sheet. Mirror the image and cut on the back side of the sheet. Weed away the extra adhesive and position it on the watercolor paper.
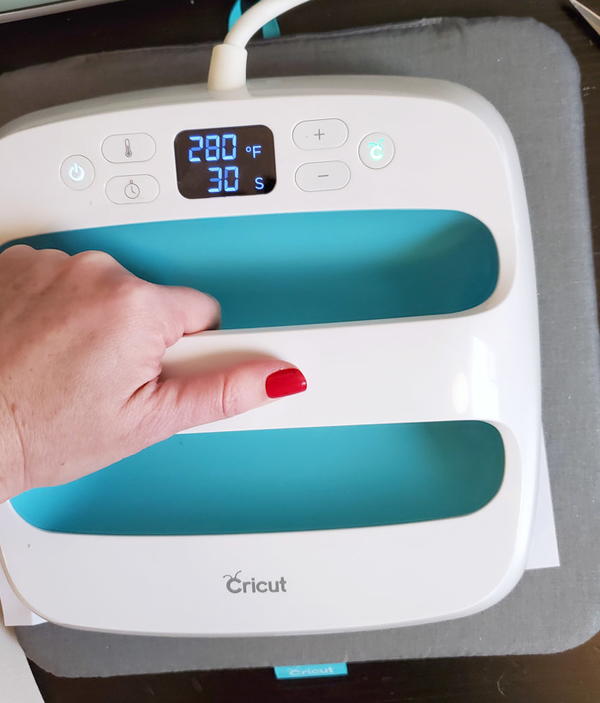
Press at about 280 degrees for 30 seconds and then let cool. Peel away the plastic carrier sheet and lay a foil transfer sheet across the adhesive. Press again for 30 more seconds.
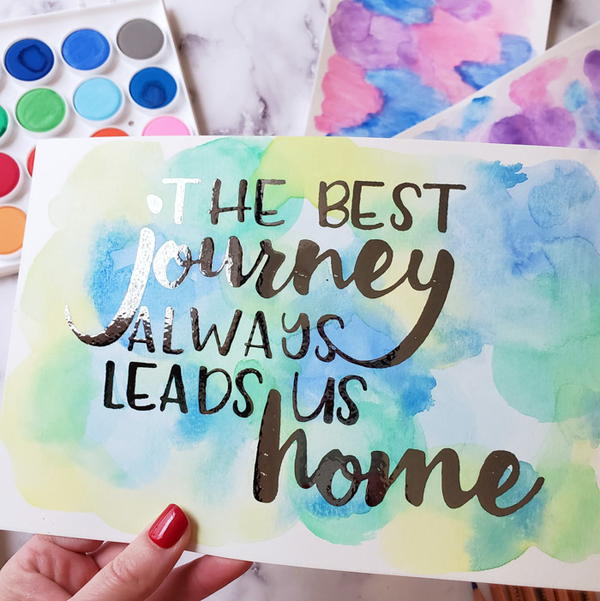
When the foil is cool, remove the sheet and watch as the foil layer remains stuck to the adhesive that was underneath!
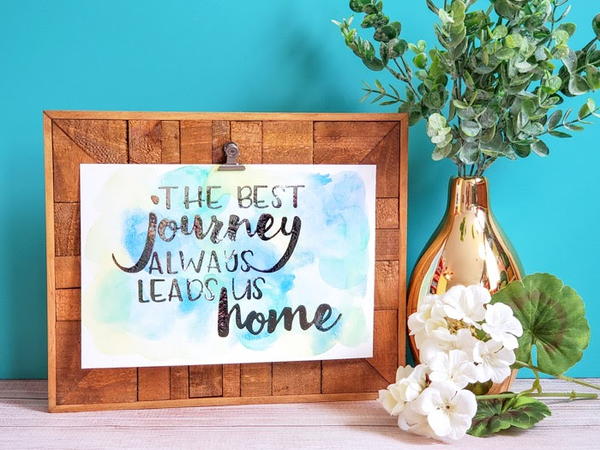
Frame your quote art and hang it in your home for beautiful DIY home decor sure to get you plenty of compliments.
Once you’ve experimented with a few watercolor backgrounds, search out some basic flower or landscape tutorials to grow your new skill!
Up Next:
Read NextGalaxy Painted Rocks

