Ice Cream Cone

For most of us, the love for ice cream is a lifelong affair. There is something about this dripping, sweet treat that keeps the child in us alive. I can literally feel the childhood excitement as I decide what kind of ice cream I want to paint. With so many flavors and topping options, ice cream can never remain a simple dessert. I love painting ice cream on a cone, as it presents an added opportunity to play with texture and color for the cone base along with the ice cream scoops. A delightful subject like this makes an excellent addition to your daily creative practice.
Let me show you a simple way of painting a slightly sophisticated-looking ice cream on a cone.

Materials List
-
Colors
- Permanent Rose
- Cadmium-Free Yellow
- Permanent Alizarin Crimson
- Transparent Orange
- Burnt Umber
-
Color Mixing
- Transparent Orange + Burnt Umber = Rust
-
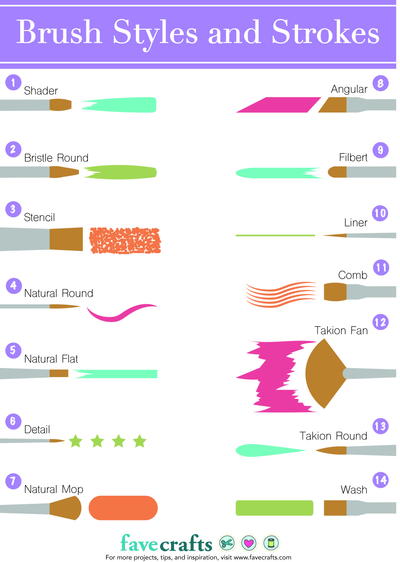
Brushes
- Pointed round no. 4
- Pointed round no. 2
-
Template
Note: A simple line drawing of the finished project is shown here. I often paint them without any drawing, but if you like you can add a light, thin triangular guideline for the cone and a curved mark for the ice cream scoop. You can also skip drawing for a loosely styled painting. Any excess graphite marks can be removed with an eraser before you start painting if you don’t want them to be visible.
INSTRUCTIONS
-
STEP 1
Tape down all the edges of the watercolor paper to a piece of cardboard to prevent warping.
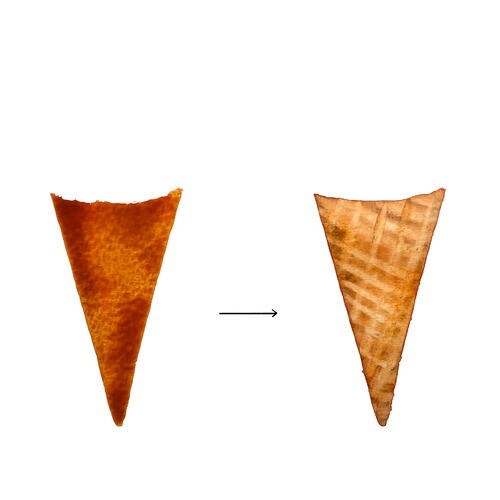
With a medium-consistency rust color made out of two parts Transparent Orange and one part Burnt Umber and the round no. 4 brush, add the color to the cone, intentionally adding a bit of extra color toward the two long edges.
Once the shine of this wash has gone, take a clean round no. 2 brush, rinse it in clear water, and press it against a paper towel to remove any excess moisture. Run this clean, damp brush along a line on the still-wet cone shape to lift some color. Keep rinsing and repeat this process to create parallel lighter lines. Lift some more lines in a similar fashion, but this time make them perpendicular to the earlier lines, leaving you with a mesh-like pattern of lighter marks. -
STEP 2
With the original rust color, you mixed for the cone and your round no. 2 brush, add small squarish shapes in between the lighter mesh lines for the cone texture. Once these squares have dried, glaze this color lightly along the edges to give the impression of the cone being curved.
Add a sliver of medium-consistency Burnt Umber with the round no. 2 brush near the bottom to show the cone’s waffle fold. -
STEP 3
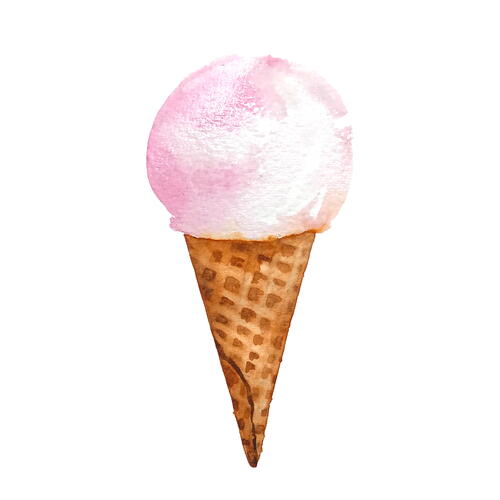
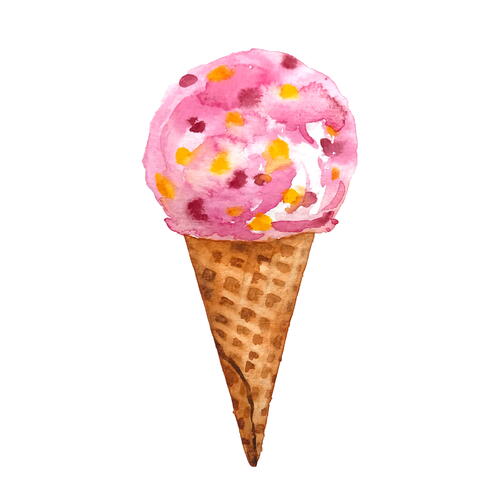
With a watery-consistency Permanent Rose and your round no. 4 or a bigger brush, paint the ice cream scoop. Paint the left curve of the scoop first and then, with some clean water, simply spread this color to create the rest of the scoop.
While this color is still wet, take some medium-consistency Permanent Rose and, using a round no. 2 brush, add a few wavy marks to give the impression of the texture of the ice cream. Keep these marks quite rough, leaving lots of lighter areas.
Drop in some of the medium- to thick-consistency Cadmium-Free Yellow for some candied fruit pieces. Do the same with medium- to thick-consistency Permanent Alizarin Crimson for deeper red fruit pieces. Add these spots to some wet areas and also to a few of the dried areas. -
STEP 4
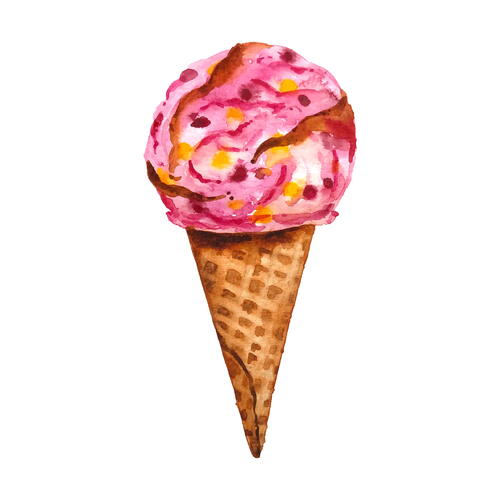
Once the base layer of the ice cream scoop has dried, with some medium-consistency Transparent Orange and your round no. 2 brush, add a few more wavy marks to the ice cream scoop, giving the impression of caramel streaks and additional texture.
Add some darker touches to these caramel marks with the rust color you mixed earlier for the cone.
Using a medium-consistency Burnt Umber and your round no. 2 brush, add darker shadow on the ice cream cone right underneath the ice cream scoop.


Credit:
Reprinted with permission from Watercolor in Ten Minutes a Day by Garima Srivastava. Page Street Publishing Co. 2024. Photo credit: Garima Srivastava.