Perfect Pearls: Chipboard Embellishments
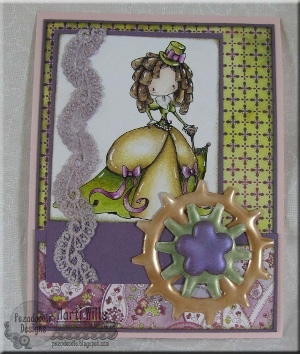
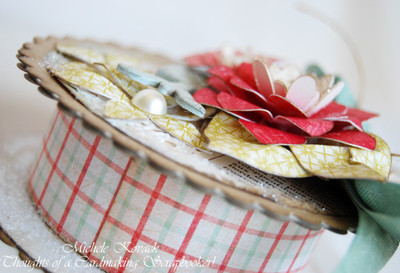
Perfect pearls techniques are so numerous! Thanks to Marti Wills, using perfect pearl mist on chipboard shapes is now a great way to add some texture and dimension to your paper craft projects while customizing the colors however you'd like.

Materials:
- Chipboard Die Cuts – either pre-done or cut with dies and sturdy cardboard (cereal boxes or the backs of paper pads work very well)
- Perfect Pearls Mica Powder by Ranger – multiple colors
- Versamark ink pad
- UTEE – Ultra Thick Embossing Enamel
- Heat Gun
- Small soft brush
Video:
Instructions:
- Smoosh the chipboard shape into the Versamark pad to coat it.
- Sprinkle on UTEE fairly thickly.
- Begin melting with a heat gun from a distance so the UTEE crystals do not blow all over the place. Gradually move in closer, stopping if they begin to blow around.
- Once the UTEE is all melted wait a minute or so and then quickly brush the entire surface with perfect pearls while it is warm and can bind with the UTEE. If you try to soon and mar the surface just heat again and re-melt until smooth.
Read NextEasy Giant Paper Flowers
Your Recently Viewed Projects
Weberme
Dec 20, 2016
I have never seen or heard of versamark or utee crystals before but what a great way to get those perfect colors or texture to your embellishments without having to look for just the perfect one you want. I love this video and directions on how to do this techique. It is very well done. You can see ever step perfectly and she speaks very clear and knows what she is talking about. Looks like a fun project and not too hard to follow. Makes a great finish to add to any scrapbook or anything. Anyone have some pictures of finished projects using this techinque? I would love to see them.
Report Inappropriate Comment
Are you sure you would like to report this comment? It will be flagged for our moderators to take action.
Thank you for taking the time to improve the content on our site.

