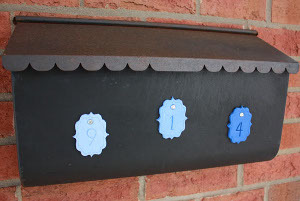
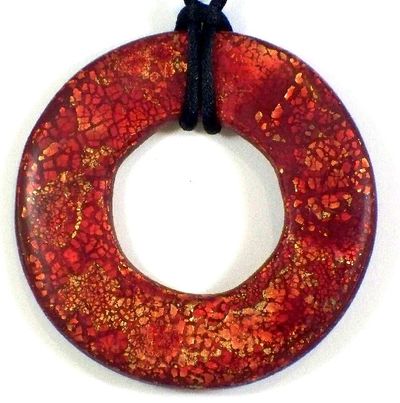
Polymer Clay Mailbox Numbers
 Visit Cristin at Eve of Reduction.
If you're looking for a quick and easy housewarming gift, you can't go wrong with these Polymer Clay Mailbox Numbers. Whether you're looking for home decor crafts or polymer clay tutorials for jewelry, you can use the techniques from this project. In a single afternoon, you can create a fantastic outdoor decor piece that really makes a statement. You only need four supplies for this project, making it a fun way and creative afternoon activity.
You can find this project, as well as many other fabulous blogger projects, in our new eBook, The Best Blogger Craft Ideas 2014: Decoupage, Sewing, Jewelry Making, and More free eBook. Download your own free copy today!

Materials:
- Premo Sculpey Oven-Bake Clay
- Sculpey tools
- Sizzix Flip-its Dies
- Hot glue (optional)
Instructions:
- Combine white and blue clay, in varying batches to achieve a light to dark color gradation. Make as many color gradations as you have numbers in your house number.
- Roll out your first color, large enough to fit in the Sizzix Flip-it die or a cookie cutter. Press into clay and cut out shape.
- Write house numbers in reverse on card stock using hot glue. Let dry; then press into clay. Or, create numbers freehand using the Sculpey tools. Cut out a hole large enough for a bolt or ribbon to pass through. Add additional designs if desired.
- Repeat Steps 2 and 3 with the remaining clay colors and house numbers.
- Bake at 275 degrees for 30 minutes in a glass baking dish.
- When cool, secure your clay house numbers to holes in the front of the mailbox. Or string ribbon through the numbers at increasing lengths so numbers can be hung vertically from a single knob on the door.
Read NextHow to Make Mokume Gane Polymer Clay


