Elegant Pumpkin Quilt Tutorial
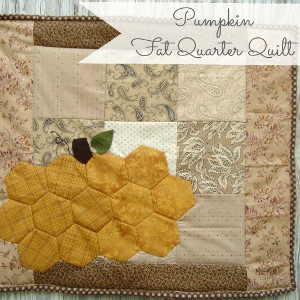
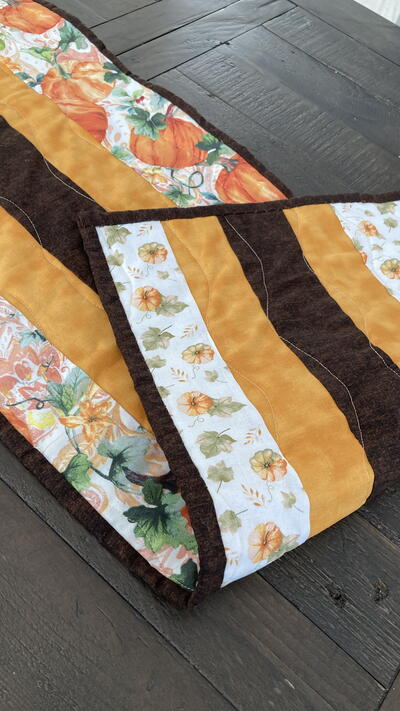
Even though it's always sad to see summer go, the cooler weather is the perfect time to learn how to make a quilt. This Elegant Pumpkin Quilt Tutorial will show you how to make an easy quilt in a short amount of time. In fact, if you settle into your favorite chair and make some apple cider, this quilt can be made in a day. If spooky skeletons and ghosts aren't your go-to fall decorations, try a little autumnal classiness and make this Elegant Pumpkin Quilt.

Materials:
- 13 Printed Hexagon Templates on cardstock
- Orange fabric scraps- pumpkin
- Brown wool felt- stump
- Green wool felt- leaf
- Brown embroidery floss
Instructions:
- Like always with these small fat quarter quilts, you will need to refer to the basic quilt tutorial. This is the background / quilt top for this project.
- Cut out 13 fabric hexagons, using the templates in the orange fabric scraps.
- Lay them out and decide what shape you would like your pumpkin to be. If you decide to go bigger, sew more hexi’s. Smaller, take some out. Feel free to lay them out and move them around until you are happy.
- Stitch the hexagons together in the shape you decide on.
- Pin the pumpkin shape on the top of your finished fat quarter quilt top. Applique the hexagons by hand or by machine.

- Cut out a trunk shape with your brown wool felt. Applique it in place.
- For the leaf, stitch right down the center with a running stitch. The edges are not sewn down at all.
- Hand embroidery with a chain stitch a little curly-cue.
- Bind your fat quarter hexagon quilt.


