Pretty in Pink Layout
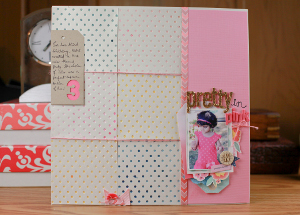
Want to give your letterpress projects a little pop of color? Instead of inks, try using watercolors! With this Pretty in Pink Layout, you can learn how to turn a simple letterpress design into something that literally pops with color.
You can find this project, as well as many others, in our free downloadable eBook, Fuse Creativity System Project Guide: Fun Party Themes, Ideas for Handmade Cards, and More Paper Crafts from Fiskars!
Materials:
- Fuse Creativity System® Starter Set
- Large Expansion Pack 101040 - Pillowbox
- Easy Action™ Micro-Tip Scissors
- Adhesive - Glue Dots®
- Alphabet stickers - Thickers
- Cardstock
- Paint brush
- Photo
- Ribbon bits
- Tag
- Twine
- Watercolors
Instructions:
-
For this layout, I letterpressed the tiny dots using a plate from the Large Pillowbox Design Set. This is a great way to use different letterpress plates. Simply wipe the letterpress plate clean with a damp towel after each use.
-
I chose to letterpress the small dots using pink, yellow and blue watercolor paints.
-
Next, trim the boxes to form squares. Adhere the squares onto cardstock to form the background.
-
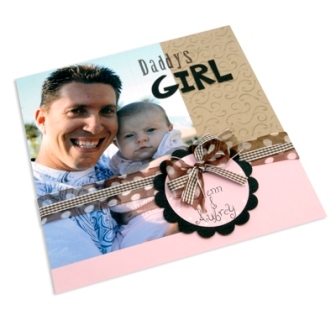
The rest is up to you! I layered patterned papers beneath my photo and adhered them together. I also added a title using Thickers, added journaling onto the tag and adhered them both. Finally, I topped the layout with some twine bows, and I was finished!
Read NextMom Scrapbook Layout

