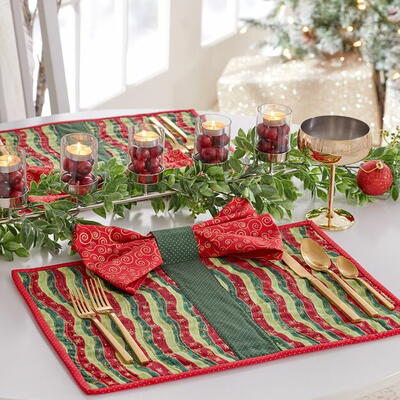
Bow Tie Quilted Placemats Sparkle With Metallic Thread

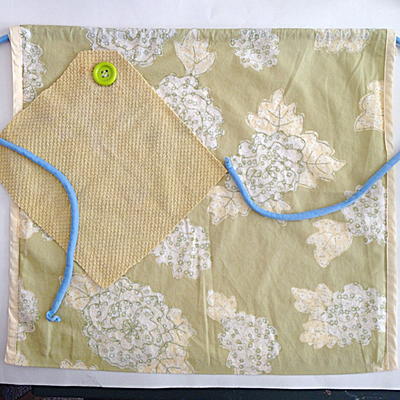
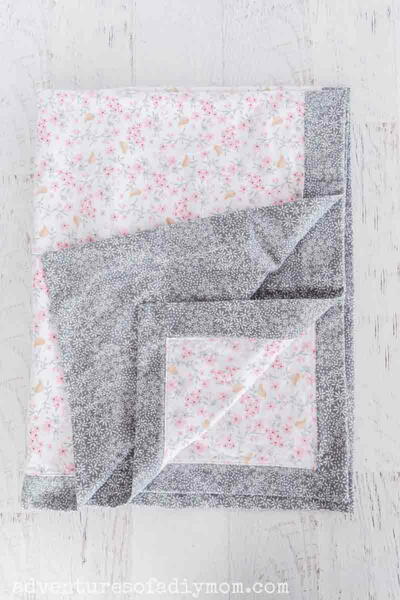
Add a bit of glitz to your holiday dining with these quilted placemats that look like a package—complete with a bow-tie napkin held in place by an accent loop. Quilt with Coats Metallic thread for extra dazzle.
Finished Size: 14” x 20” (35.56cm x 50.80cm)
PLUS Enter to win the Coats & Clark Dual Duty 50 Spool Thread Giveaway as part of our 12 Days of Christmas in July giveaways as well as our 12 Days Grand Prize!
Time to CompleteIn an evening
Primary TechniqueSewing

Materials List
- Coats® Metallic Thread
- Coats Dual Duty XP® All-purpose Thread
- 1/2 yd (45.72cm) main mat fabric
- 1/2 yd (45.72cm) backing fabric
- 1/8 yd (11.43cm) accent fabric
- 5/8 yd (57.15cm) napkin fabric
- 1/3 yd (30.48cm) binding fabric
- 1/2 yd (45.72cm) batting
- Metallic needle
Directions:
Cutting
-
From mat fabric, cut:
(2) rectangles, 14” x 20” (35.56cm x 50.80cm) -
From both backing fabric and batting, cut:
(2) rectangles, 16” x 22” (40.64cm x 55.88cm) -
From accent fabric, cut:
(2) strips, 3” x 16” (7.62cm x 40.64cm)
(2) rectangles, 3” x 5” (7.62cm x 12.70cm) -
From napkin fabric, cut:
(2) squares, 18” (45.72cm) -
From binding fabric, cut:
(4) strips, 2 1/2” x width-of-fabric (WOF) (6.35cm x WOF)
Note: Seam allowances are 1/4” (.64cm)
Assemble the Mats
-
Layer the backing, batting and mat top wrong sides together and pin.
-
Using metallic thread, quilt as desired, following the design lines in the fabric if applicable. Quilt about 2”- 3” (5.08cm-7.62cm) apart across the entire placemat width. Trim the batting and backing to match the upper mat.
-
With right sides together, sew the small accent rectangle to one end of the longer accent piece leaving the ends open. Turn right side out and press the edges. Continue pressing under 1/4” (.64cm) along both long edges of the accent strip. The faced area becomes the napkin loop at the top of the mat.
-
To apply the accent band, center it across the placemat width and pin in place matching the upper and lower raw edges.
Note: The band is longer than the placemat. Measure up 12” (30.48cm) from the placemat lower edge and place a pin across the width. -
Edgestitch both long edges of the accent strip to 12” (30.48cm) above the placemat lower edge, then stitch across the width. Stitch across the upper placemat edge, leaving the looped area free.
Finishing
-
Sew together the binding strip ends using diagonal seams. Press the seams open. Press the binding in half wrong sides together.
-
Bind the placemat edges, mitering the corners.
-
Turn the binding to the placemat underside and hand-stitch the folded edge in place.
Assemble the Napkins
-
Press under a double 1/4” (.64cm) hem on all napkin edges.
-
Stitch the hem in place and press
-
Fold the napkin as desired and tuck through the placemat loop to look like a bow.