This project was submitted by one of our readers, just like you.
Tie Dye Face Mask for Kids Sewing Pattern
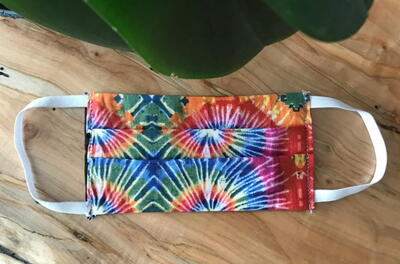
This colorful kids face mask pattern is stylish and perfect for back-to-school.
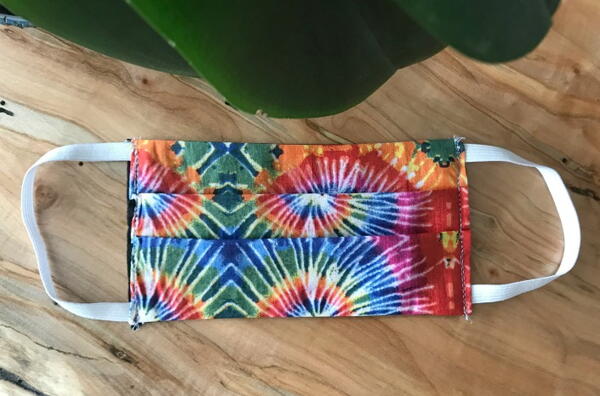
This stylish tie dye face mask for kids fits in perfectly with the current tie dye revival we are seeing. Tie dye might remind you of the '70s or the '90s, but it's certainly back this year. So, why not incorporate these bright and beautiful colors into your face mask patterns?
Of course, this mask isn't actually tie dyed. It uses a tie dye patterned fabric to achieve its effect. But we think it fits the bill in terms of style, and as an added benefit it can be made in an afternoon! You don't have to wait for dye to set or wash it in any special way like you do with tie dyed projects.
You can also make this face mask pattern using any colorful printed fabric that your child enjoys. Whether it's tie dye, rainbows, woodland animals, or another fun fabric, you can craft a face mask that fits your child's individual style.
From the Designer: "Since I first posted my tutorial for sewing an easy medical mask, I’ve received lots of questions about how to make one sized for kids. So here it is – a simple tutorial for sewing a kid’s mask. It's easy to make and once you make one, you can make several. Great for kids returning to school and needing to wear mask throughout the day. Also easy to be laundered. Make them in your child's favorite prints!"
Project TypeMake a Project
Time to CompleteUnder an hour
Sewn byMachine

Materials List
- 2 pieces of narrow elastic, each measuring 6.5″ in length
- cotton fabric
- sewing machine
Instructions
-
Cut 2 pieces of cotton fabric, each measuring 7″ x 6.5″. I used a bright pattern for the outside and black for the inside. It’s best to use different colors for front and back so children can easily know how to wear it.
-
With right sides together, stitch a straight seam down each of the two longer edges, as shown below. Trim seam.
-
Turn the mask right side out and press.
-
Next, fold the side edges towards the inside of the mask, as shown below, then press flat.
-
Fold two pleats into the mask, then press.
-
Insert the ends of the elastic into the side at the top and bottom and pin; pin both the elastic and the pleats in place. Then stitch side seams. For extra reinforcement, stitch along the seam a second time. Repeat this process for the other side.
-
And that’s it! A cute little kid’s mask in a custom print. This part was easy… but you’re on your own in making your child keep it on! And in these crazy Covid times, I wish you luck.


