This project was submitted by one of our readers, just like you.
Quilted Rainbow Garden
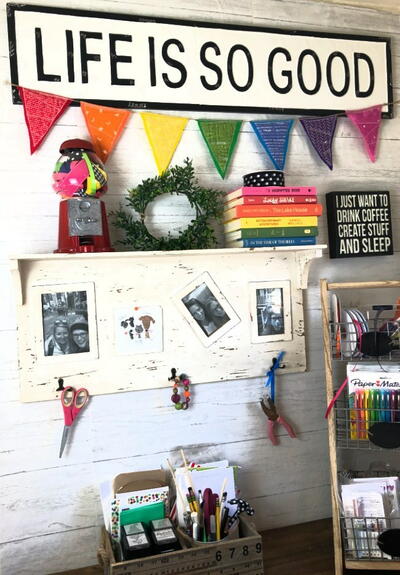
"Making a Quilted Rainbow Garland is a sure way to brighten up and add a pop of color to any space. It is also a super fabulous way to use old fabric scraps and turn them into something really special. My sewing machine has a ton of special stitches that I hardly every get to use so it was fun to pick them and apply them to this easy sewing project. Everything you need to get started on creating a bright and cheerful rainbow room starts with this project!"
Project TypeMake a Project
Time to CompleteWeekend project
Sewn byMachine

Materials List
- foam stabilizer
- fabric in a variety of colors
- felt in colors matching fabric
- sewing machine
- straight pins
- scissors
- twine
- printable pattern
Instructions
-
Start by printing the free pattern for the triangles in the garland.
-
Next, cut our seven pieces of the foam stabilizer using the pattern triangle labeled for BATTING. Any of the awesome battings from Fairfield World would work for this project. Some people like to draw the pattern on and use it as a guide for cutting. I prefer to pin the pattern to the batting and cut around it.
-
Do the same thing for the fabric and the felt. If you have tons of little pieces of fabric, sew the like colored ones together to get a larger piece. This would create a totally unique looking garland for sure.
-
Following the cutting, stack by color and pin the three pieces. together to prepare for sewing.
-
Sew the three pieces together by using the zig-zag stitch around the edge of the fabric piece. Then add decorative stitches throughout the centers.
-
Sew a piece of twine across the tops of the triangles to attach them all together.
-
Hang your garland somewhere that you love to brighten up the space.


