A Whale of a Tale Tote Bag
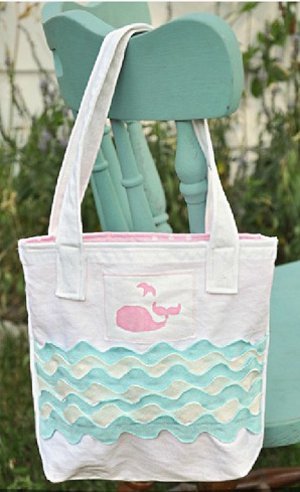
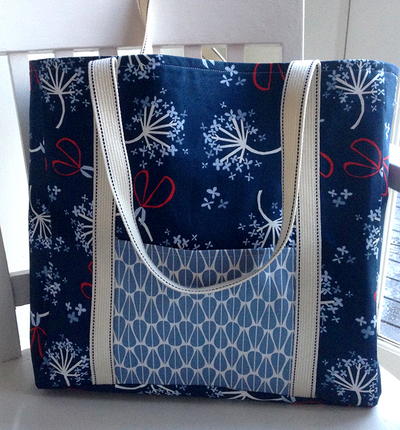
Little girls of all ages will love this adorable Whale of a Tale Tote Bag. Made with colorful ric rac and a nautical stamp, this simple sewn tote bag can be used by girls and adults like. While this bag shows a whale, you can use whatever image you'd prefer.

Materials:
- White fabric
- Ric Rac (I did 4 blue, 3 white of the ric rac)
- Piece of scrap fabric to paint your little whale
- Sewing machine and your basic sewing tools
- Invisible thread (to sew down the ric rac)
- Whale die cut or stamp

Instructions:
-
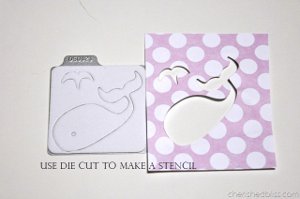
This is where I used my whale die cut. I used it just like I normally do.
-
Once you are done cutting it out you will be left with this:
-
Then I taped this down on a little scrap piece of white fabric and painted my little whale on with some regular acrylic paint. You can use a fabric medium if you want to get all technical, but I didn’t think it was that big of a deal since it’s such a small area.
-
Then I took my scrap fabric with my painted whale and attached it to the top center of one of my main fabric bag pieces. I didn’t follow applique techniques. I just used a zig zag stitch to attach it. Sort of like how you would a clothing tag.

-
Next I laid out my ric rac to see roughly how I wanted it to look.

-
Once you have it in place you will start sewing down your ric rac starting with your top piece (the one directly under your whale tag). I sewed as close to the bottom of the ric rac as possible, still staying in the center of it. I just kind of eyeballed it as I went making sure the bag didn’t show through and it looked like waves. Doesn’t have to be perfect!
-
Once you are done sewing them all down, you are going to trim of the edges with a straight edge, or scissors if you don’t have one.

-
Now take your lining fabric and your main fabric you just sewed the ric rac to and put them right sides together. Sew across the top.

-
Now repeat with your other Main Fabric and Lining pieces. When you are done, press your seams towards the main fabric on both pieces.
-
Now you will take both your pieces you just pressed and lay them right sides together. Make sure you line up your two seams.

-
Now stitch all the way around, starting on the lining pieces. Make sure to backstitch at the beginning and end and leave a small hole to turn right side out.

-
This is optional. I decided after I got this far to add gussets to the bottom, so I did that on all 4 corners (the lining and the main bag) If you don’t want to, just move on to the next step. Here is how the gussets look. I only made them about an inch. Just to give it a little shape.

-
Clip your corners (if you chose not to do the gussets), and turn right side out. Press your opening and topstitch closed.

-
Now put your lining inside your bag and top stitch all the way around the edge of your bag.

-
Now set that aside and let’s work on the straps.
-
Take your strips and press each raw edge in about 1/4” – 1/2” I was exact with this measurement either. You just want to make sure you have a solid straight line when you are done pressing. Once you do both sides fold it in half and press.

-
Now top stitch along each edge.

-
Now you are going to fold up your raw edge and pin it in place on the front of your bag.

-
Make sure you line up the front and back so it is all nice and pretty when you carry it.
-
Then sew them on in a square around the edges. You can do the “x” in the center of your square if you want, but I knew she wouldn’t be carrying much weight around so I didn’t do it.

- Repeat on the back and then you have a pretty little mini tote!
Your Recently Viewed Projects
Report Inappropriate Comment
Are you sure you would like to report this comment? It will be flagged for our moderators to take action.
Thank you for taking the time to improve the content on our site.

