In a Pinch Sewing Kit
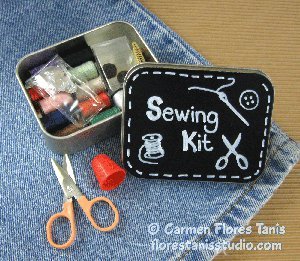
 Don't panic the next time you lose a button. Instead, take out your In a Pinch Sewing Kit and get to work. If you're new to the world of DIY, you can't go wrong with beginner craft projects. Throw in some thread and a small scissors and hit the road. Use paint pens and chalkboard paint to create an unmistakeable look. This is a great gift for a bride-to-be or frequent traveler.
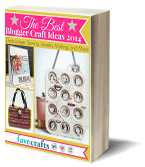
You can find this project, as well as many other fabulous blogger projects, in our new eBook, The Best Blogger Craft Ideas 2014: Decoupage, Sewing, Jewelry Making, and More free eBook. Download your own free copy today!

Materials:
- Simplicity Creative Group EZ Quilting Travel Sewing Kit
- Plaid Black FolkArt Chalkboard Paint
- Duck Prism Sheet - Swirls
- Metal Box - 3-1/2" X 2-3/4" X 1" deep
- Adhesive magnetic sheet - 4" X 3"
- White Paint Pen
- Scissors/Pencil
- Paint brush/plastic plate
- Extra small magnet
Instructions:
- Paint the lid of the metal box with black chalkboard paint. Let dry one hour before applying a second coat. Let dry 24 hours.
- Decorate the black lid with white paint pen.
- Cut a 4" X 3" piece of Duck Prism sheet and peel off the paper release liner. Peel the paper release liner from the magnetic sheet and press together the two sticky sides.
- Trim the magnet sheet so that it fits inside the box lid with the Prism sheet facing up. Press into place.
- Arrange the contents of the sewing kit in the box, using the magnetic sheet to hang the pins and needles inside the lid. Use an extra small magnet to hang the scissors.
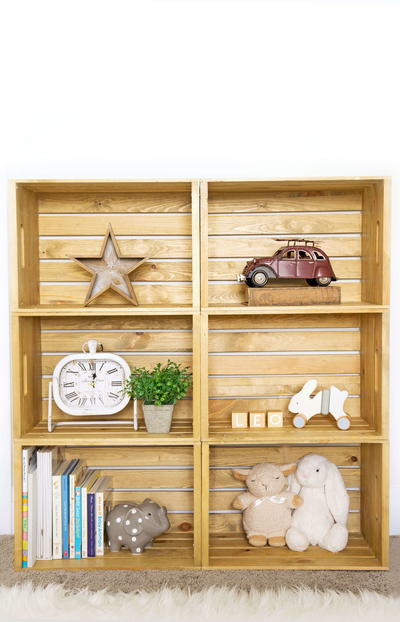
Read NextDIY Wooden Crate Shelves

