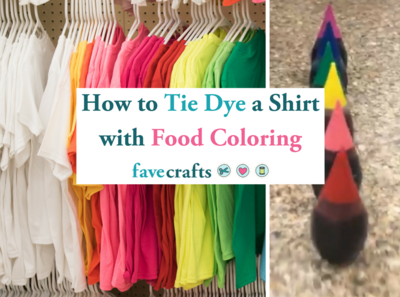
How to Tie Dye a Shirt with Food Coloring
Vinegar and food coloring tie dye have never looked so good!
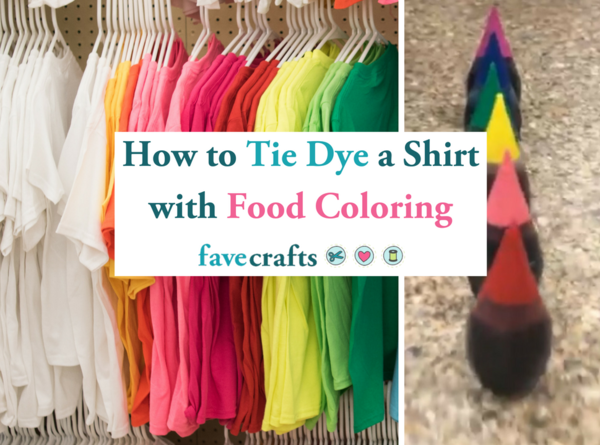
Learn how to tie dye a shirt with food coloring using this step-by-step tutorial. If you're interested in using more natural methods for tie dyeing, consider the vinegar and food coloring tie dye method. You can use items you already have at home, and you only need a few drops of food coloring to make your own tie dye!
If you're interested in unique methods for dyeing clothing, this is a fantastic tutorial to explore. It's easy to achieve a variety of tie dye looks using simple ingredients already in your pantry!
If you love what you're reading, please let us know by subscribing to our newsletter.
View our roundup of some of our absolute favorite patterns in100+ Tie Dye Patterns and Techniques
How to Tie Dye a Shirt with Food Coloring
Materials List:
- Tablecloth to protect your work surface (or do this outside!)
- White vinegar
- Large bowls or buckets
- White cotton T-shirt
- Rubber bands
- Gloves
- Old water bottle with a squeeze cap or condiment squeeze bottles
- Food coloring in colors of your choice
- Plastic wrap or ziplock bags
- Salt
Step 1: Soak in Vinegar
Often with normal tie dye, you soak your fabric in a soda ash solution in order to achieve the most vibrant colors. With this method, we suggest first soaking the shirt in vinegar.
-
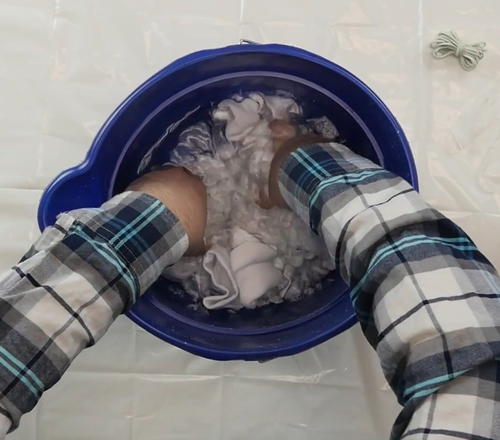
In a large bowl, mix one part water with one part vinegar until there is enough liquid in the bowl to soak your fabric. Soak for one hour.
Step 2: Choose Your Tie Dye Design
Take your item out of the vinegar/water soak and wring it out. Then choose your tie dye design, be it spiral, heart, crumpled, or another method. Scroll down to the bottom for some of our favorites.
-
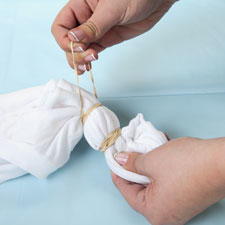
Rubber band your item so it is ready to be dyed.
Step 3: Make Your Food Coloring Tie Dye
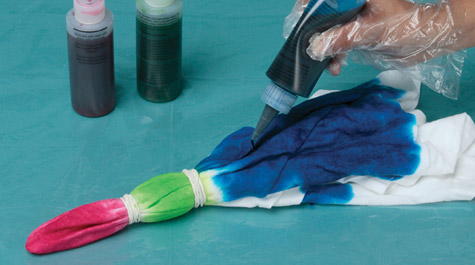
Use an old water bottle with a squeeze cap to mix your tie dye. In order to make dye with food coloring, fill the water bottle with a 1/2 cup of water and approximately 16 drops of food coloring. Use a different water bottle for each color of tie dye you make.
Step 4: Tie Dye Your Design!
Tie dye your garment as usual!
-
If you've never tie dyed before, consult our helpful article on How to Tie Dye Instructions: A Step-by-Step Guide.
Step 5: Wrap Your Tie Dye Design
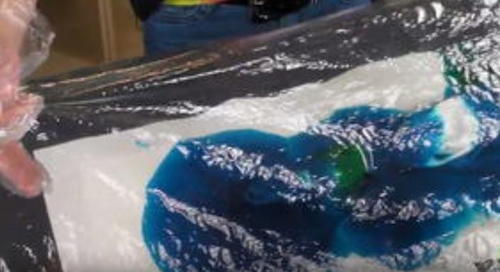
Wrap your design in plastic wrap or enclose in a ziplock bag to let the dye set. Let sit for at least 8 hours, or overnight to ensure the food coloring dye sets.
Step 6: Set the Tie Dye with Salt Water Mixture
You already took one step to prepare your project for tie dyeing and that was soaking in vinegar and water before applying food coloring. Further set your tie dye by soaking your project in a salt water solution.
Mix 1/2 cup salt with enough cold water to cover the shirt until dissolved. Let your T-shirt soak for 15-30 minutes.
Step 7: Wash Your Newly Dyed Item!
Take your fabric out of the bag and take the rubber bands off. Tip: use plastic gloves to avoid staining your hands with the food coloring. If you accidentally get tie dye on your hands, check out our article How to Remove Tie Dye from Skin.
Rinse your shirt in the sink with cold water until the water runs clear. Make sure you wash the shirt separately for the first three washes so the dye doesn't stain your other clothes.
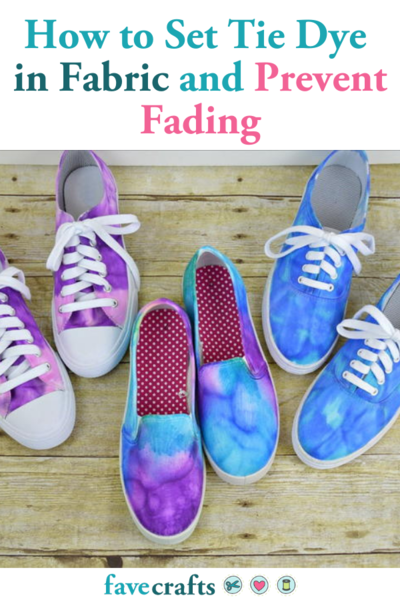
Even with the precautions taken to make this project last, food coloring is not a permanent dye like traditional tie dye kits. Note that food coloring WILL fade over time, but the vinegar and salt soak steps should help the project last longer than it otherwise would have.
Tie Dye Designs
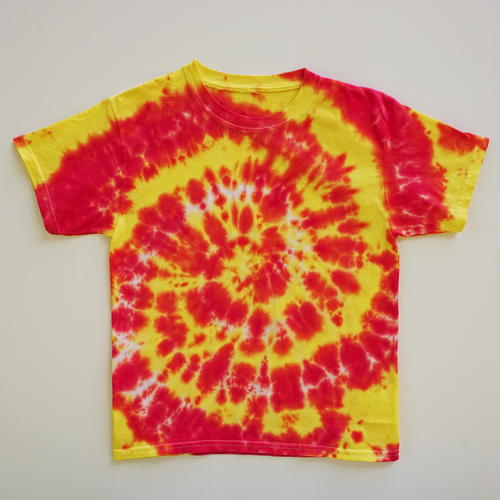
One of the most popular tie dye techniques out there is creating the spiral. This stunning circular design allows you to use multiple dye colors to create a vibrant pattern.
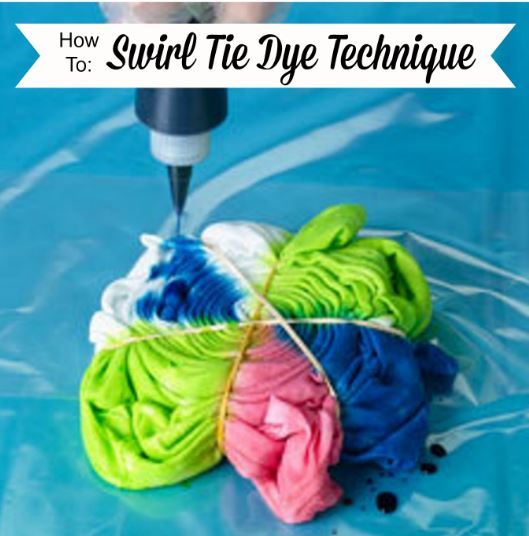
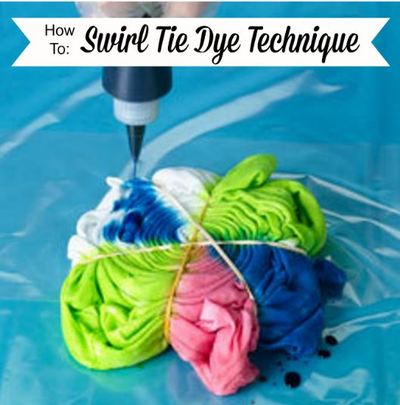
Creating a twisting spiral of bright colors with tie-dye is easier than you might think! Follow this photo tutorial for how to swirl tie dye.
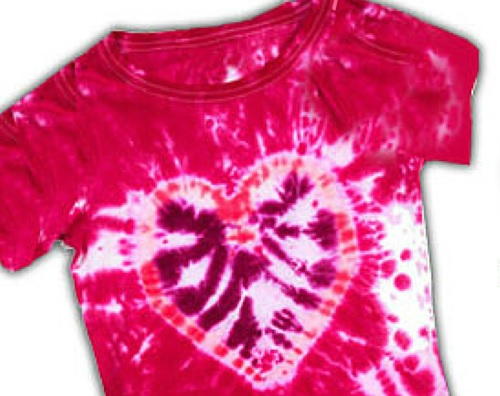
Follow the written instructions below to create a tie-dye heart design on fabric. The heart tie-dye technique is fun to do and makes a wonderful gift.
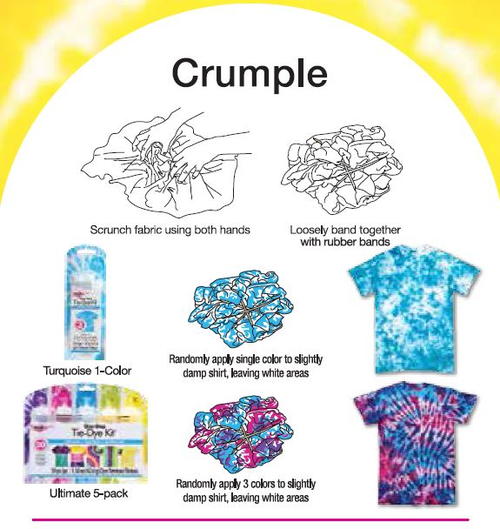
The crumple technique is a classic and easy way to create tie-dye designs in shirts and other fabrics. Follow this photo tutorial to do the crumple tie-dye technique.
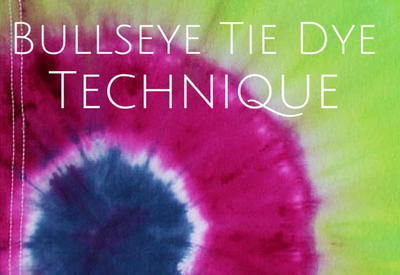
Learn to do the classic bullseye tie dye technique! Create circles of tie-dye color on shirts and other fabrics.
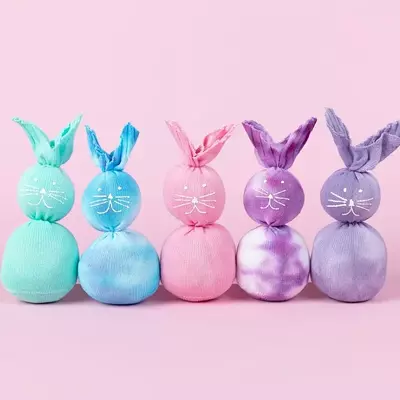
Read NextTie Dye No-Sew Sock Bunnies
Your Recently Viewed Projects
Report Inappropriate Comment
Are you sure you would like to report this comment? It will be flagged for our moderators to take action.
Thank you for taking the time to improve the content on our site.



![Pill Bottle Crafts: Reuse Pill Bottles [15 Ideas]](http://irepo.primecp.com/2017/06/334076/PILL-BOTTLE-CRAFTS-Header_Category-CategoryPageDefault_ID-2274135.jpg?v=2274135)
