Rainbow Tie Dye Pillows
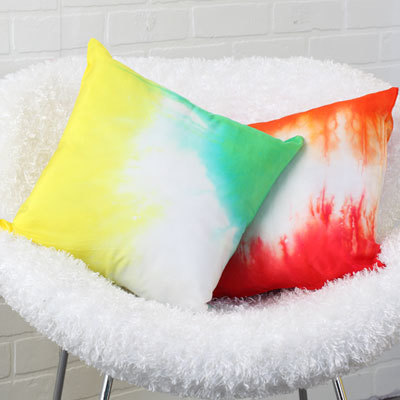
These Rainbow Tie Dye Pillows can brighten any room in your house with their colorful yet subtle design. After you tie dye the first pillows, you will want some for the rest of your house. Get into the hippie spirit with these adorable pillows, and perhaps you will even add a lava lamp to your decor. These pillows would be wonderful gifts, especially for teens and college students looking for anything to enhance their dorm rooms. Tie dyeing is a perfect summer activity for the family, so start with this easy tie dye pillow craft.
Primary TechniqueGeneral Crafts

SeasonSummer
Materials:
- Tulip® Surface Cover™
- Washing machine
- Disposable plastic tablecloth
- (3) Silk pillow covers
- Plastic shoebox sized containers (enough for each dye color selected)
- Large pastry cooling racks (optional)
Instructions:
- Wash pillow covers and leave damp.
- Cover work surface with plastic tablecloth then lay out pastry racks on top if desired. Tip: Placing items on pastry racks while dyeing helps to prevent colors from pooling into each other.
- Mix desired dye colors from kit according to package instructions. Pour each into a separate plastic container. Colors used in this project: red, orange, yellow and green.
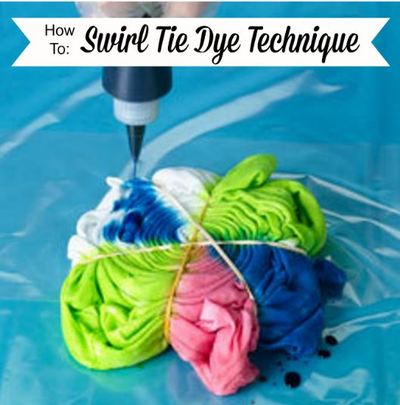
- For red and orange pillow, scrunch pillow cover horizontally. Holding it in the center, dip approximately one-third into orange dye. Wearing gloves included in kit, squeeze out excess dye.
- Dip opposite one-third into red dye and squeeze out excess. Keep fabric scrunched and lay out on pastry cooling rack while dye sets.
- For green and yellow pillow, scrunch cover horizontally. Dip one end into yellow dye and squeeze out excess.
- Carefully unscrunch pillow and dip one opposing corner into green dye. Squeeze out excess and lay out on rack.
- Allow covers to set for time suggested or overnight.
- Rinse each cover under cool running water to remove excess dye.
- Wash separately according to package instructions and allow to air dry.
Read NextTie Dye Dollar Store Flowers

