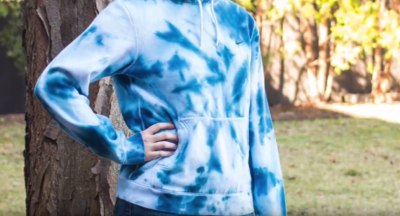
Spiral Tie Dye Technique
Learn how to tie dye the classic spiral tie dye design we all love.
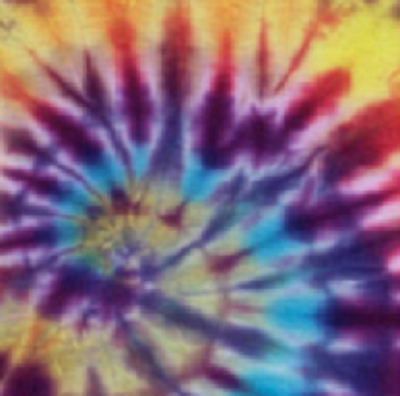
The spiral tie dye design is one of the most popular tie dye looks. In fact, this design might be the first thing you think of when you think tie dye. If you are looking to learn how to tie dye a t-shirt with this classic look and design, look no further than the easy instructions below. This three-step process is simple to follow and will result in a stunning tie dye t-shirt. The Spiral Tie Dye Technique allows you to tie dye with up to six colors, making it a great design to explore when at a tie dye party with lots of options. If you want to make a simpler and subtler shirt, you could easily use this tie dye technique with just two to three colors, as well.
Time to CompleteWeekend project

Project TypeMake a Project
Materials List
- Plain white t-shirt
- Tulip One-Step Tie-Dye
How to Tie Dye a Spiral
-
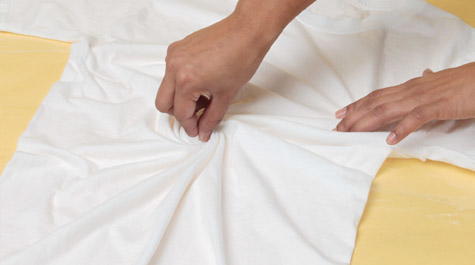
Pinch fabric at the center of where your spiral will start. Twist until all fabric is in a spiral shape.
-
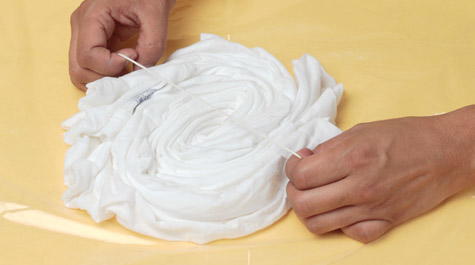
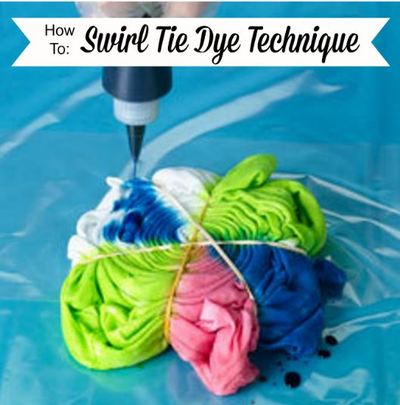
Bind spiral with 3 to 4 rubber bands, overlapping rubber bands to create 6 to 8 wedge shapes.
-
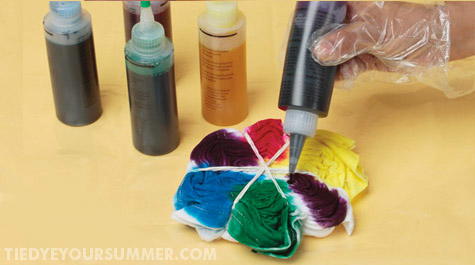
Apply desired Tulip One-Step Tie-Dye colors to wedge shapes. Flip spiraled fabric over and repeat on backside.
Read Next100+ Tie Dye Patterns and Techniques

