Beautiful Clay Buttons
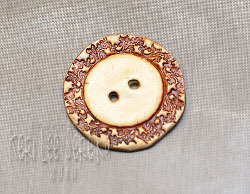
Show off your skills with this fun hand craft tutorial. Beautiful Clay Buttons from Keri Lee Sereika are a perfect embellishment and don't take long to create.

Materials:
- Polymer Clay- Here I used Studio By Sculpey: Buttermilk
- Water Misting Bottle
- Stamps - Memories Interactive Circles Large Stamp Set by Hampton Art
- Acrylic Roller
- Etch N Pearl
- Super Slicer
- Clay Dedicated work surface
Directions:
- Begin by softening and kneading your clay (also known as "conditioning"). Use clay dedicated Acrylic Roller and work surface to roll clay to 1/4" thick. I use a smooth floor tile from the home improvement store so I can roll, cut, shape and bake all on one area.

- Use a small spritzer to spray the surface of the stamp lightly with water.

- Firmly press the stamp into the top of the clay.

- Remove the stamp to reveal the beautiful impression.

- Trim the excess from around the image using the Super Slicer or razor blade.

- Smooth the edges of the clay to make the button round.

- Pierce two matching holes in the top of the button using an Etch N Pearl or other sharp tool. Move the tip around in a small circular motion to create two holes of same size, large enough for ribbon to pass through.

- Bake finished button according to manufacturer's directions.

- Once baked and fully cooled, apply Antiquing Medium using a small brush. Be sure to get into all the crevices.

- Wipe the surface using a clean paper towel. Allow to dry.

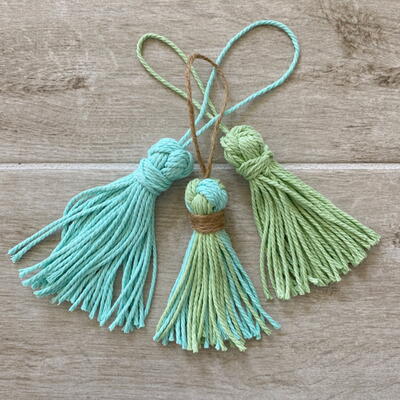
Read NextHow To Make A Tassel

