Faux Stained Glass Hummingbird Window Film
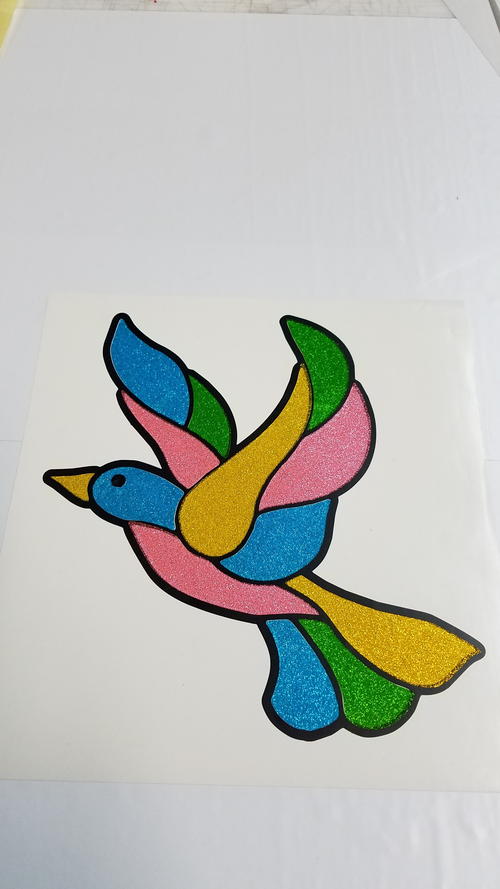
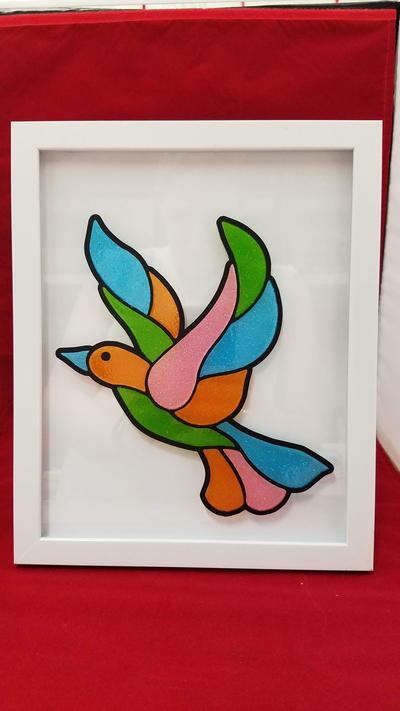
The hunt is over for beautiful bird decoration ideas! DIY window film has never looked more exquisite than with this gorgeous glitter hummingbird art project.
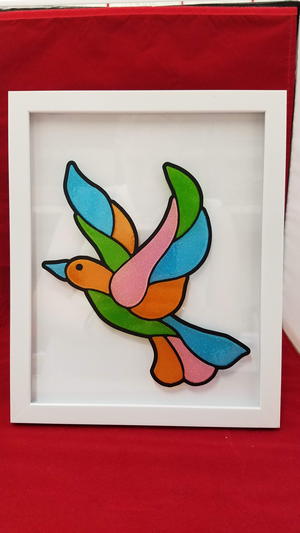
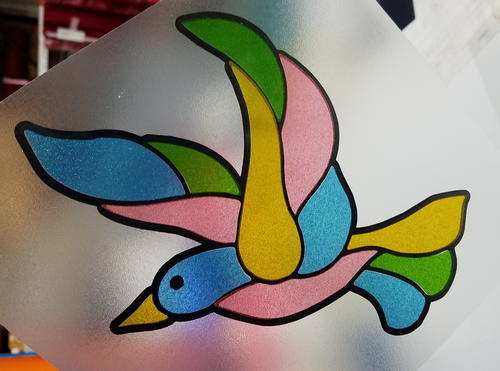
Ornithologists and home decorators have something to celebrate with this handsome hummingbird craft! Though it’s easy to decorate walls with pictures of birds, why not brighten up your windows with the delicate beauty of birds as well? This peel and stick window film by Tape Technologies/Styletech Craft is a piece of cake to make and attractive to boot. The elegant glitter design and premade hummingbird graphic of this DIY decorative window film will have your home guests all in a titter. They won’t believe how winsome your interior design can be after you put this color-blocked beauty on a window!
Time to CompleteIn an evening
Primary TechniqueHome Decor

Project TypeMake a Project
Materials List
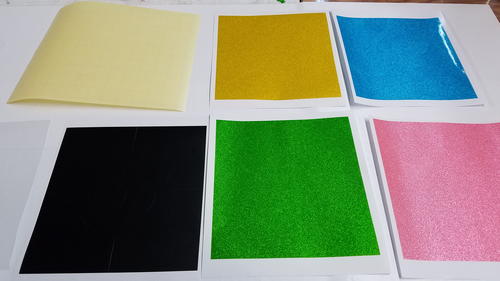
- 4 pieces of StyleTechCraft’s transparent glitter film with plotted graphic (bird)
- 1 piece of matte black film with plotted graphic (bird)
- 1 sheet of premask
- 1 sheet of poly
- Squeegee
- Picking tool
- Hummingbird Template
Instructions
Note: Our vinyl will stick to most clean surfaces. However, StyleTech’s Transparent Glitter is also permanent, so, please only apply this bird where you want to see it for a while.
-
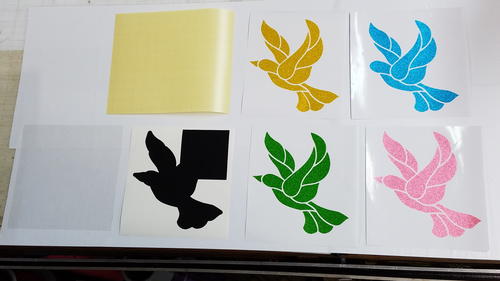
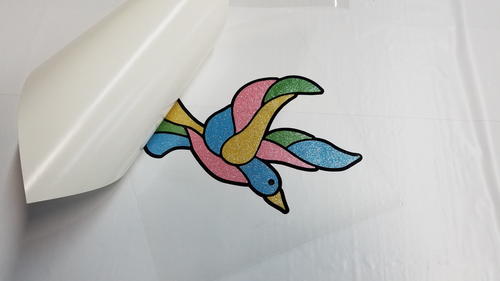
The matte black bird will be the base. Using a picking tool, you will need to remove all the inside pieces of the bird along with the surrounding material leaving only the outline.
-
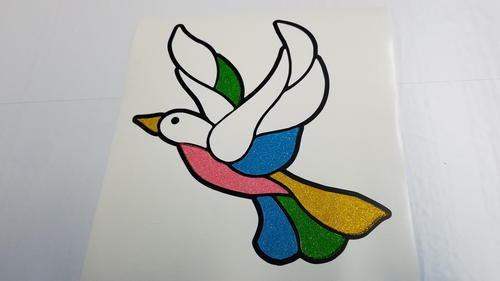
After you have removed all the inside pieces of the bird, you have a blank canvas to add your color transparent glitter pieces.
-
We have included four different colors for you to choose from. You can use all of the colors or just a few; it is entirely up to you!
-
Using your picking tool, weed the material from around the colored birds that you want to use, leaving only the interior pieces.
-
Using your picking tool, remove a piece from the TG bird and place that piece in the same spot on the matte black base.
-
Continue these steps until you have filled in all of the empty spots of the matte black bird.
-
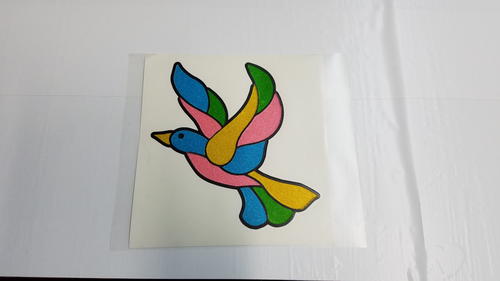
After you have completed your bird, take the sheet of transfer tape and, starting from the top, gently place the transfer tape directly on top of the bird.
-
Use the squeegee to press the transfer tape down fully on the bird.
-
To transfer the bird to its new home, starting at one corner, lift the transfer tape up, pulling the transfer tape and completed bird with it. Gently place your bird where you would like it to live.
-
Once it is pressed down, slowly remove the transfer tape from the bird and you have a finished project.
What's your favorite bird? Let us know below in the comments!
Read NextColorful Cross Wall
Your Recently Viewed Projects
pgevansnm 4431399
Apr 17, 2019
I find this a very frustrating tutorial since there is no link to order the items nor does the manufacturer's website list a pattern, etc. I believe this was only included to gather email addresses when people enter the contest in the false hope of winning the materials to make the project.
Editor Dana
Apr 18, 2019
Hi there! You are welcome to visit the Styletech Crafts website to order to browse their products, and it looks like their products are sold on Amazon as well. That said, I'm glad you mentioned the missing bird pattern! I checked our files and we don't have the pattern in our system, but I will reach out to Styletech to see if they have one available. We always seek to provide all of the information necessary to make a project. Thank you for reaching out.
Editor Dana
Apr 22, 2019
Hi there! I wanted to let you know we received a template from the company and it is now linked in the materials list. Please let me know if I can help with anything else!
Report Inappropriate Comment
Are you sure you would like to report this comment? It will be flagged for our moderators to take action.
Thank you for taking the time to improve the content on our site.

