Thankful Wood Wall Art
Use Cricut vinyl on wood to make this lovely project.
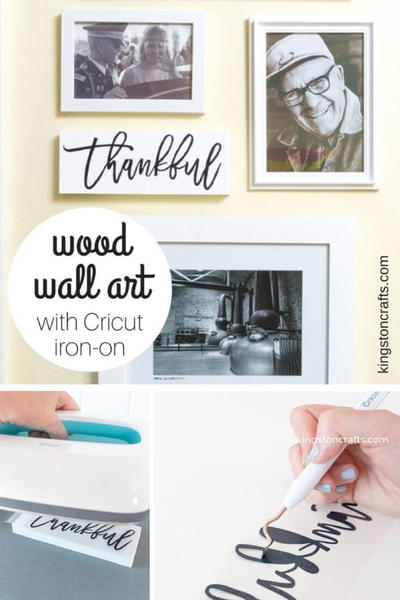
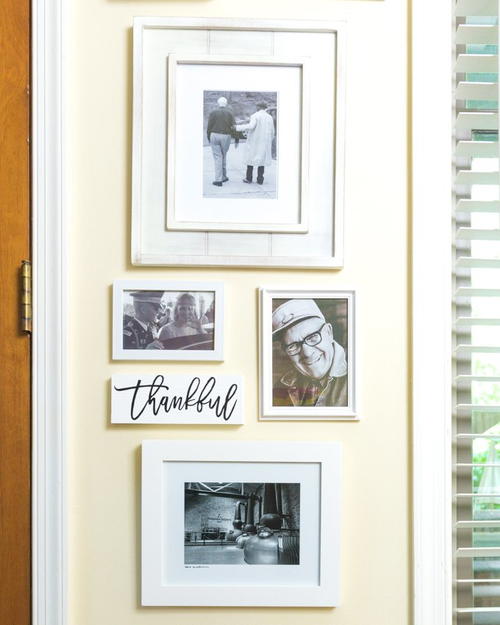
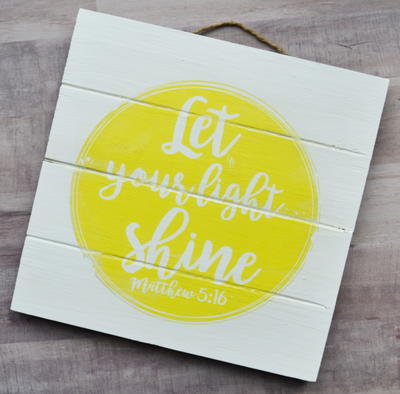
Create some of the easiest and loveliest wall art ever using simple craft materials. Use Cricut vinyl on wood to make this simple yet beautiful project. If you have a gallery wall that can use some additional features, this is the perfect opportunity to add interest to the space. It's wonderful to offset framed photos with other decorative wall art like this Thankful Wood Wall Art. An entire gallery wall of just photos can look a bit busy, but when you include other decorative elements, the wall really turns into an incredible work of art. Easily create one of these decorative elements using craft vinyl and wood.
Estimated CostUnder $10
Time to CompleteUnder an hour

Materials List
- Piece of wood
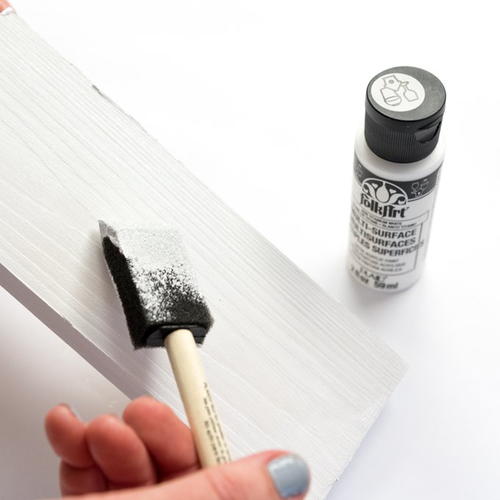
- Plaid paint – I used FolkArt multi-surface Titanium White
- Foam brush
- Cricut machine – I used my Maker but this could be done with an Explore machine as well
- Cricut Iron-On – I used Everyday Iron-On in Black
- Cricut LightGrip Mat
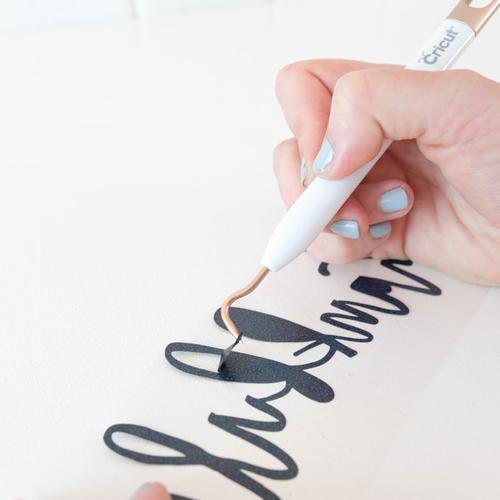
- Cricut weeding tool
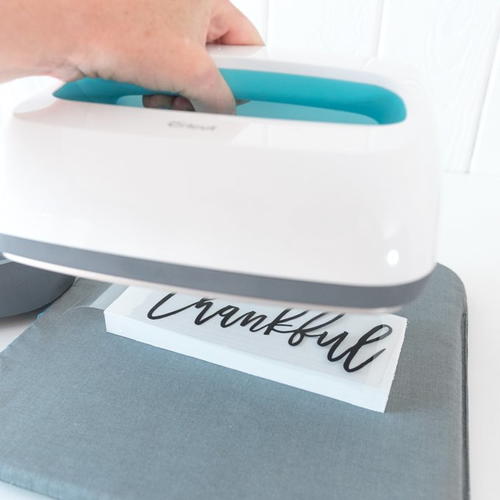
- Cricut EasyPress
- Cricut EasyPress Mat
Instructions for Thankful Wood Wall Art:
-
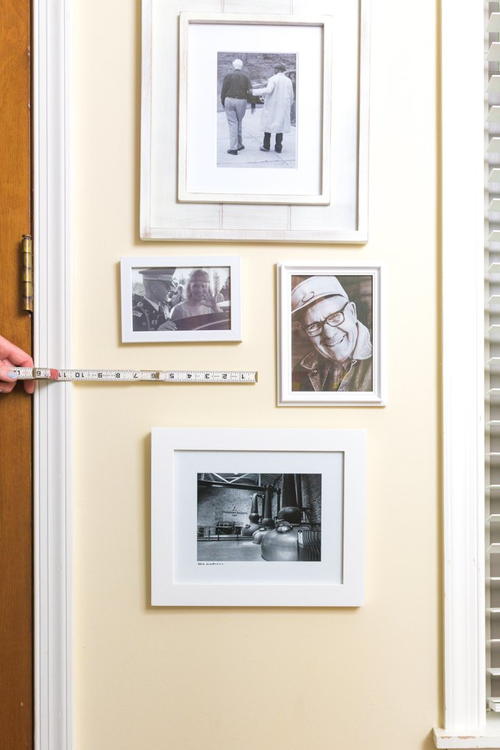
Measure wall space and cut block to size.
-
Paint wood block and let dry (may need several coats).
-
Scale image in Design Space to fit block and cut iron-on. Remember to mirror your image!
-
Weed image and place on wood block.
-
Use EasyPress to apply iron-on to wood block using the recommended settings chart on cricut.com. They list wood as one of the materials!
-
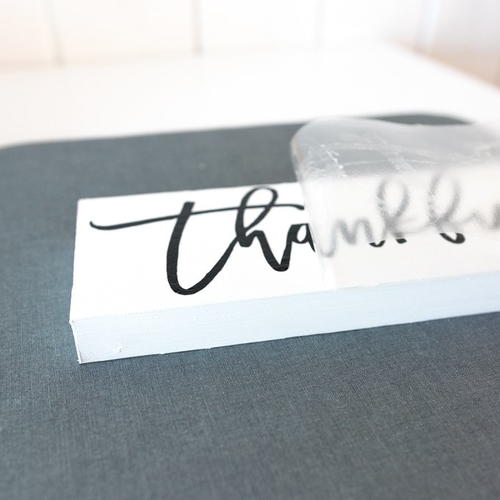
Remove clear film.
-
Drill hole in the back of the block for the nail and nail to your wall.
Read Next“Lucky” Penny Wall Decor

