This project was submitted by one of our readers, just like you.
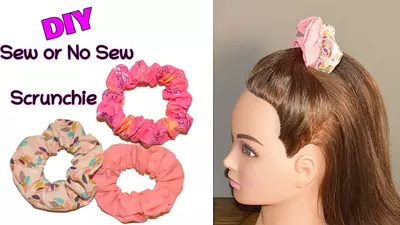
Diy Scrunchie
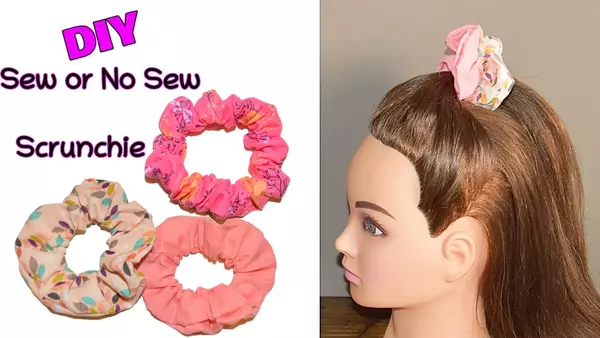
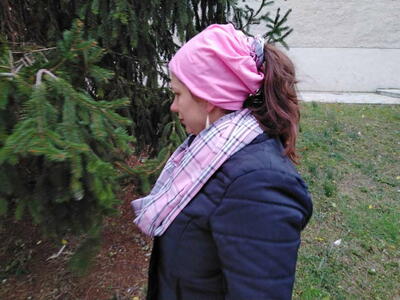
"Crafting your own scrunchie is a delightful blend of nostalgia, practicality, and creativity. Whether you're using a sewing machine or stitching by hand, the process allows you to customize this iconic accessory to suit your style and mood. Selecting the fabric sets the tone for your scrunchie. From vibrant patterns to soft solids, the choice is yours. Consider the texture and stretch of the fabric, ensuring it's both comfortable to wear and resilient enough to withstand repeated use. Cutting the fabric into a strip is the first step in shaping your scrunchie. The width of the strip will determine the fullness of the finished scrunchie, so experiment with different measurements to achieve your desired look. Whether you're using a rotary cutter or fabric scissors, precision is key to ensuring clean, even edges. If you're sewing with a machine, the next step is to stitch the long edges of the fabric strip together, creating a tube. Backstitch at the beginning and end to reinforce the seam, then turn the tube right side out using a turning tool or a safety pin. For those sewing by hand, a simple running stitch along the long edge of the fabric strip will join the ends together. Take care to maintain an even seam allowance and secure the stitches with a knot at each end. Once the tube is formed, it's time to insert the elastic. Using a safety pin or bodkin, feed the elastic through the tube, gathering the fabric as you go. Be sure to secure the ends of the elastic with pins to prevent them from disappearing into the casing. For the final step, join the ends of the fabric tube together, enclosing the elastic. Whether you're using a sewing machine or hand stitching, take care to ensure a secure closure, as this will determine the longevity of your scrunchie. With your scrunchie complete, you're ready to enjoy the satisfaction of wearing a handmade accessory that's as unique as you are. Whether you opt for bold prints, soft florals, or shimmering solids, your DIY scrunchie is sure to add a touch of charm to any hairstyle."
Project TypeMake a Project
Time to CompleteUnder an hour
Sewn byBoth Hand and Machine

Read Next33 Red Heart Patterns for Hats


