Screen Fabric Panels
Transform a plain wood screen into a pretty room divider with homemade fabric panels. You can also hang these fabric panels to create a screen in a doorway or other section of your home. Project excerpted from Make it You- Your Space by Shannon Mullen published by C&T Publishing.

Materials:
The yardage given is for 3 screen panels, each 16˝ × 40˝. Measure the length and width of your panels to determine the yardage you need.
- 5⁄8 yard each of 5 coordinating fabrics
- 13⁄4 yards backing fabric
- Low-loft cotton batting at least 42˝ × 56˝
- 12 buttons approximately 5⁄8˝ in diameter
- Decorative trim such as lace, braid, roping, or pearls (optional)
- Water-soluble marker
- 3-panel room divider
- Fasturn tool (optional)
- Basic supplies
Cutting:
- Measure the height and width of the panel you wish to cover and add 1˝ to each measurement for seam allowances. These are the base dimensions.
- From the backing fabric, cut 3 pieces the size of the base dimensions determined in Step 1.
- From the 5 coordinating fabrics, cut various strips 21⁄2˝, 31⁄2˝, 41⁄2˝, and 5˝ by the width of the fabric.
NOTE: The number of strips will depend on the size of your panel.
- From the backing fabric, cut 3 strips 2˝ by the width of the fabric for the buttoned ties.
Instructions:
Sew all pieces right sides together, using a 1⁄2˝ seam allowance, unless otherwise indicated.
- Using a 1⁄4˝ seam allowance, piece the assorted coordinating fabric strips together until you have a panel that is at least the width of the base dimensions. Press the seam allowances toward the darker fabrics as you piece. Make 3 panels and trim them to the base dimensions.

- Layer each panel as follows and sew around the edges, leaving a 4˝–5˝ opening at the center of the bottom edge: BATTING + BACKING FABRIC RIGHT SIDE UP + PIECED PANEL WRONG SIDE UP
Remember to back tack at both ends of your opening.

- Trim the seam allowances at the corners and turn the units right side out Hand sew the opening closed and press. Add decorative trim if desired.
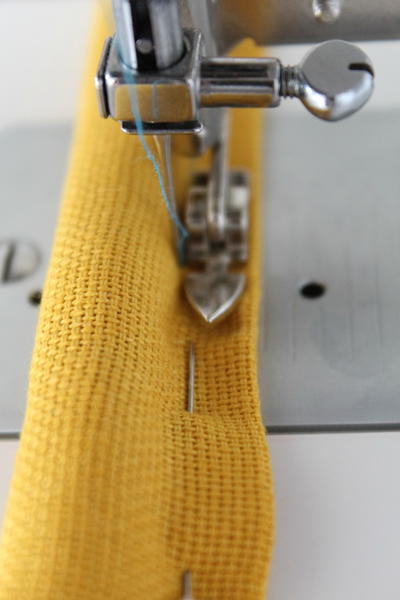
- Fold each 2˝-wide backing strip in half, right sides together, and using a 1⁄4˝ seam allowance stitch along the long edges. Turn the tubes right side out and cut them into 9˝ sections until you have 12 tubes total.
NOTE: Using a Fasturn tool makes turning fabric tubes quick and easy.
- Fold the raw ends to the inside of the tubes, press, and topstitch close to each folded end. After consulting your sewing machine manual for instructions on making buttonholes, stitch a buttonhole the size of your decorative buttons about 5⁄8˝ in from one end of each tube.
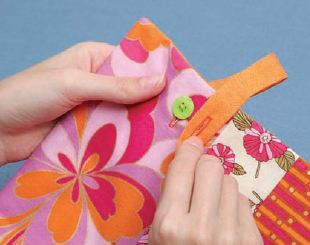
- Sew a button to each tube at the end opposite the buttonhole. If you are using flat buttons, sew on the buttons loosely, leaving 1⁄4˝ of threads between the button and the fabric. After sewing on the button, wrap the thread several times around the 1⁄4˝ of threads between the button and fabric, insert the needle into the fabric, pull the thread through to the back, and then tie a knot. This “shank” will allow you to button through multiple layers without creating ripples.

The back of the button card indicates the size of the buttons. Add approximately 1⁄8˝ to that measurement to determine the size of the buttonhole, and the button will fit in the buttonhole perfectly every time.
- Button the tubes around each screen post. Place the screen flat on the floor with the panels on top and mark where each buttonhole needs to be on each panel to correspond to the tube button. Refer to your sewing machine manual to see how to sew buttonholes on the top and bottom of each panel. Button the panels to the tubes, wrapping the tube around the post.

Read NextDIY Clothespin Trivets

