Personal Dream Journal
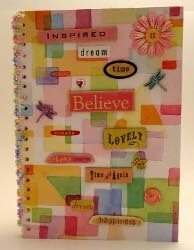
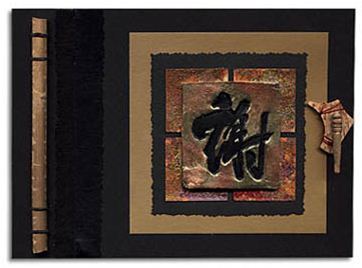
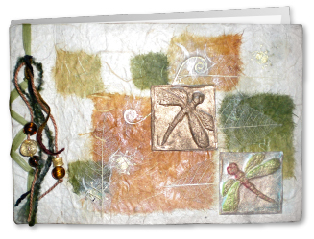
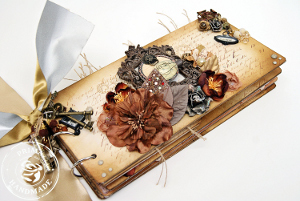
A Personal Dream Journal from Candace Jedrowicz is a great way to remember your dreams and understand your subconscious. So often, we have thoughts or dreams we mean to remember but quickly forget. With this paper craft idea, you don't have to worry about that again!

Materials:
- Decorative paper
- Decoupage medium – I used Aleene’s Collage Pauge
- Cereal box or other cardboard for the journal covers
- Paper for journaling
- String or thread
- Beads
- Needle
- Embellishments
Instructions:
- For this version of the journal, I used a blue paper that I thought would look great with copper accents.
- The cardboard for the front and back covers was cut to be a little larger than a piece of standard computer paper folded in half, so about 6″ x 9 1/2″.
- The flap piece was as tall, but half as wide as the covers.

- For the back cover and the flap, the decorative paper needs to cover both pieces with a 3/4″ gap to make the pen holder. I used masking tape to hold the cardboard in place and give the spine extra strength.
- I mitered the corners of the decorative paper and used the Collage Pauge on the card board to minimize wrinkling of the paper. I put it under the masking tape, as well.

- I used a piece of the decorative paper to cover the inside and took care to burnish and smooth the paper.
- Repeat these steps for the front cover.

- I cut two small pieces of the paper to make the pen holder.
- I folded each in half with glue on the inside.

- I measured each piece around a pen and pencil and glued the ends together then glued them onto the inside of the spine.
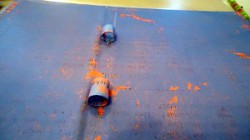
- I used centimeters for the placement of the holes, marking them on the back cover only.

- Next, I punched the holes in the back cover and used those hole as the template for the holes in the front cover and the writing paper.

- Before I put the journal together, I used a paper cutout of a spider web to make a pattern with copper ink.
- In some cultures, the spider is known as the dream weaver.

- I lined the paper and cover holes up and put 3″ lengths of wire through one of the middle holes and one through the end opposite of where I would start stitching the covers together. That helped me stay aligned while I worked.

- I used a copper color embroidery thread to bind the book.
- Here you can see that I threaded both ends of the floss onto beading needles.
- My intention was to lace the book up like a shoe, adding three or four beads between holes.

- The only difference between this and lacing shoes is that both ends went through each hole – one front to back and the other back to front.

- I laced it up with very little tension, so the pages would turn easily.

- I finished this design with a blue cabochon and copper glitter. Sweet!

- This is the version I made for the Inspired At Home Dream show. I left extra thread after I knotted the spine stitching to add a charm.

For a comprehensive video tutorial, check out How to Make a Dream Journal.
Read NextFiber Minder Journal
Your Recently Viewed Projects
Report Inappropriate Comment
Are you sure you would like to report this comment? It will be flagged for our moderators to take action.
Thank you for taking the time to improve the content on our site.

