Dotty DIY Serving Tray
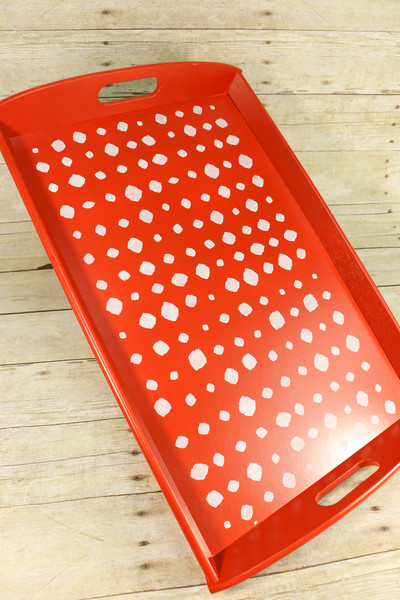
Liven up serving breakfast in bed or at parties with the Dotty DIY Serving Tray. Easy painting ideas similar to this one allow you to have some say in what your DIY home decor looks like. This tutorial will show you how to stencil the adorable dot pattern on your serving tray in order to transform it into something spectacular. You can use this project for DIY kitchen ideas or generally for DIY home decor ideas. Nevertheless, this DIY serving tray is a ridiculously easy craft to make.
Primary TechniquePainting

For more great home decor craft projects from Stencil Ease®, check out 13 DIY Home Decor Ideas.
Materials:
- Stencil Ease® Nolita Dots Border Stencil
- Stencil Ease® Repositionable Adhesive Spray
- Ikea® KLACK Tray, rubberwood - 23”
- Rusto-Leum Painter's touch® Ultra Cover 2X Satin Paprika
- DecoArt® Americana® Acrylic Paint, White Wash
- Shurtape Technologies LLC Frog Tape®
- Stencil Ease® 5/8” Stencil Brush, White Bristle
- Paper Towels
- Paper or Plastic Plate
- In a well ventilated outdoor space, spray the Ikea® KLACK Tray with the Paprika Rust-Oleum Painter's touch® Ultra Cover 2X Satin.
- Let dry overnight.
- Spray the back of the Stencil Ease® Nolita Dots Border Stencil very lightly with the Stencil Ease® Repositionable Adhesive Spray and let the adhesive dry.
- Position the stencil onto the tray making sure to align it with the edge of the tray so it’s straight.
- Adhere Frog Tape® to the tray under each triangle registration mark and mark them.
- Pour some of the Deco Art® White Wash Acrylic paint onto the plate.
- Load one end of your Stencil Ease® 5/8” Stencil Brush with the White Wash paint then swirl the brush onto your paper towel until it seems like all of the paint is removed. This creates a dry brush and leaves the perfect amount of paint on your bristles. Using a dry brush prevents paint from seeping under the cut-outs of the stencil. This part of the process is essential if you would like clean/ crisp lines when you lift your stencil.
- Either stipple (lightly tapping over the stencil cut-outs) or swirl the paint onto the tray.
- Remove the stencil.
- You can immediately remove the stencil and line up the registration marks for your next repeat, either vertically or horizontally. The instructions on how to use the registration mark system are included with your stencil.
- Repeat this process until you have completely covered the tray.
- Allow the tray to dry completely overnight.
For more information about Stencil Ease® or to purchase Stencil Ease® products, please visit www.stencilease.com.
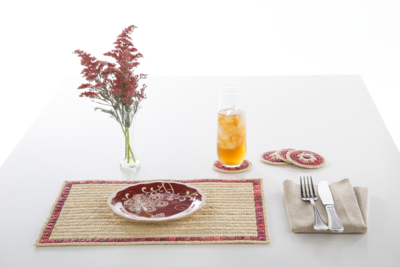
Read NextSpice Islands Placemat Pattern