Dancing Butterflies Tee Shirt
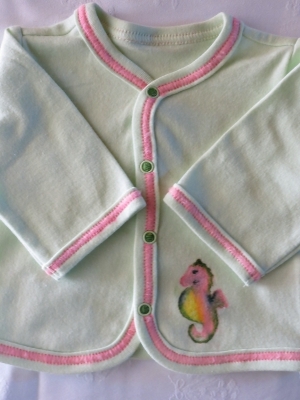
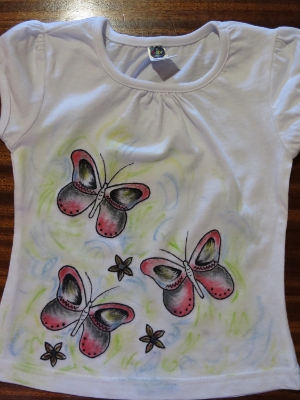
Welcome a new baby girl into the world with this Dancing Butterflies Tee Shirt. This simple design is easy to make and new parents will love that you took the time to make this shirt yourself. Want to make a tee shirt for a little boy? No problem! Use stars, cars, or animals instead of butterflies for a great tee shirt that's perfect for little boys!
Materials:
- A white tee shirt (I used one for a baby of 12-18 months)
- Artline 750 laundry marker
- Pentel Fabric Fun Pastel Dye Sticks
- Pencil
- Piece of old cardboard
- Sheet of unprinted paper
- Iron and ironing board
- Pattern
Instructions:
-
Before starting with the design project, wash the T-shirt in baby shampoo and rinse it thoroughly in cold water to remove any sizing agent from the material. Do not add fabric softener.
-
Allow the T-shirt to dry thoroughly and iron it lightly to remove any wrinkles from the material.
-
Put the T-shirt flat on the working surface.
-
Slide a sheet of cardboard inside the T-shirt, between the back and front sides of the T-shirt ~ this will prevent the ink from staining the back side. Keep this cardboard in place until you have ironed the design.
-
Put the printed design on top of the cardboard, underneath the front side of the T-shirt, so that the design will show through on the front side.
-
Trace the design with a pencil first. If you want more than one butterfly on the T-shirt, move the design to the next position and trace it with the pencil again.
-
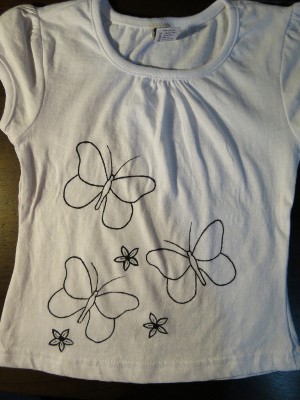
Now draw the design with the Artline laundry marker.
-
Add some free-hand flowers to finish the design.
-
Add some color to the design: color the butterflies’ wings black and pink, with a hint of yellow and blue. Color the flowers with a combination of yellow, blue and red.

-
Use green, yellow and blue to shade the background. Use your finger to rub over some of the strokes, to blend them together and to create an uneven effect.
- Cover the design with a sheet of unprinted paper and iron it to set the dyes.
Read NextFolksy Flower Dress

