Pamper Me Bath Salt Jar Toppers
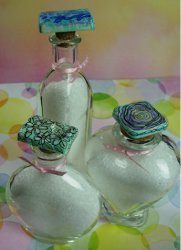
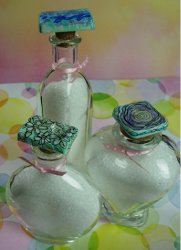
Give a friend the gift of tranquility with these Pamper Me Bath Salt Toppers from Tiffany Windsor. Homemade gifts are a great way to say you care and are inexpensive to produce! Use crayons to create a wax-resist surface. Once the wax is applied, use acrylic paints to create your own designs!
Materials:
- Cool2Cast Shapes
- Crayons
- Acrylic paint
- Wet wipes
- Sakura 3D Crystal Lacquer
- Aleene’s Super Thick Tacky Glue
Optional Materials:
- Heat gun (for encaustic technique)
- Tile for use with heat gun (or heat resistant surface)
- Fine tip permanent marker (for outlining design)
Instructions:
Resist technique:
- Select desired colors of crayons and Cool2Cast shape.
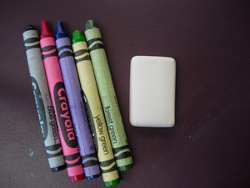
- Draw desired design onto shape.
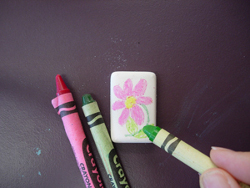
- Place puddle of acrylic paint on wet wipe.
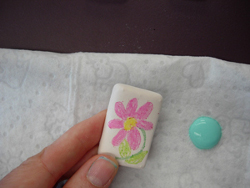
- Use fingers to spread acrylic paint over entire front and back of Cool2Cast shape.
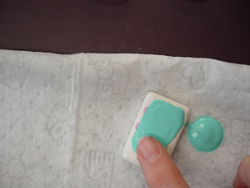
- Wipe away excess paint from shape. Do not wipe too hard or you will wipe off some of the crayon color.
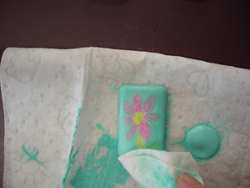
- You can leave the colored shape at this step and glue to cork for bottle stopper or…
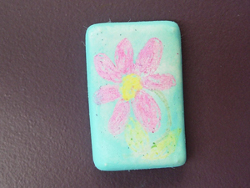
- You can outline the design with black permanent marker.
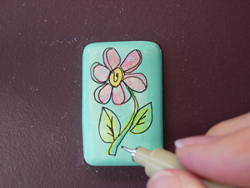
- Here’s a fun design option with just stripes of crayon in blue, yellow and white.
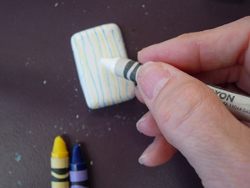
- Antiqued with dark purple acyrlic paint and applying 3D Lacquer. Set aside to dry overnight (and the Lacquer will turn clear).
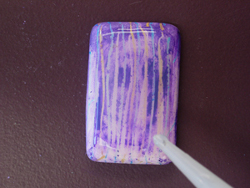
Encaustic technique:
- Apply heat to Cool2Cast shape with heat gun.
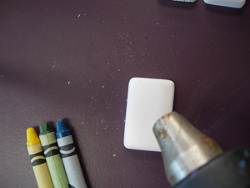
- Draw with crayon on heated surface. BE CAREFUL!! The surface can be too hot to the touch for many people so if you need to hold your shape in place, you might want to use a craft stick or some other tool so that you do not need to touch the shape. When the shape is warm, the wax should flow smoothly.
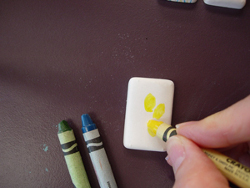
- When you start to feel that the wax is not flowing on smoothly, that means you need to heat it up again with the heat gun.
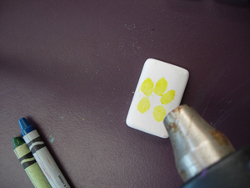
- Apply the next color.
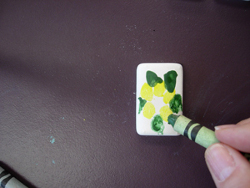
- Continue to apply all the colors repeating the coloring and heating steps as needed. Set aside to cool for a few minutes.
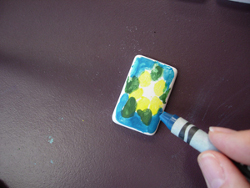
- Squeeze puddle of acrylic paint onto wet wipe. Use wet wipe or finger to apply acrylic paint to all sides of Cool2Cast shape.
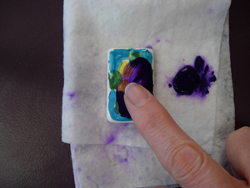
- Gently wipe away excess paint leaving enough for a nice antiqued effect.
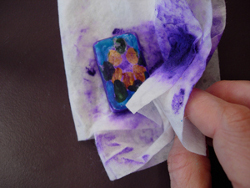
- With this thicker encaustic wax technique, if you like, you can scratch into the surface using a push pin or other sharp object.
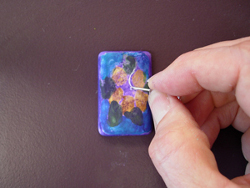
- Continue to outline object and add decorative swirls.
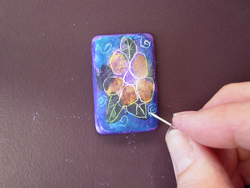
- Here’s a close look at one of the finished bottle toppers. On this piece, I used the wax resist technique and outlined with permanent marker and applied a coat of 3D Lacquer to the top.
- To complete your bath bottle, glue the finished piece to cork. Let dry completely. You can add a ribbon or decorative trim to the bottle.
- I like to fill my bottles with epsom salts or bath salts scented with a few drops of 100% organic essential oils. Some of my favorites are rose, lavender and geranium.
- Just pour the salts into a glass bowl and sprinkle with several drops of essential oil. Stir thoroughly. Fill bottles with scented salts and re-cap tightly.
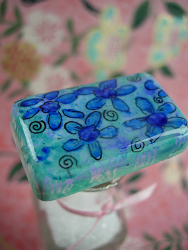
- On this example, I used the wax resist technique and outlined with permanent marker and applied a coat of 3D Lacquer to the top.
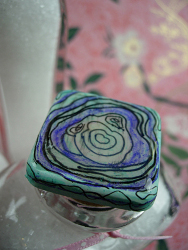
For a comprehensive video tutorial of this project, check out How to Make Decorative Bottle Stoppers with Wax Resist.
Read NextSoap Dispenser Mason Jar Craft
flowergirl
Apr 30, 2017
What a fun project!! I love the patterns made here. I bet kids would have fun making these with me. I cant Wai to make these gifts.
Report Inappropriate Comment
Are you sure you would like to report this comment? It will be flagged for our moderators to take action.
Thank you for taking the time to improve the content on our site.

