Girly Water Bottle Friendship Bracelets
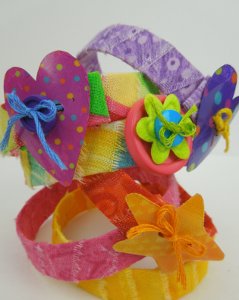
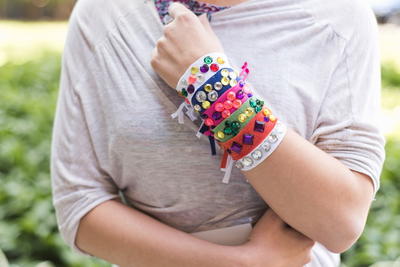
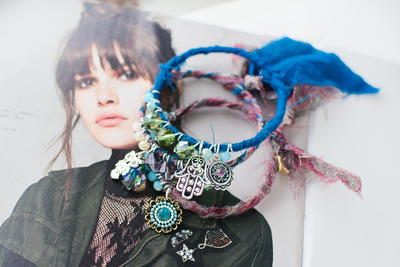
Stay hydrated and look cute at the same time with these Girly Water Bottle Friendship Bracelets. Water bottle crafts for kids show just how easy it is to help the Earth, plus it's a great excuse to get creative. Make a bunch and wear them all year long.

Materials:
- Aleene’s Original Tacky Glue
- Water bottles (smooth sided water bottles are the best for this project)
- Craft knife
- Blue masking tape (1/2″ wide or 1″ wide cut down to 1/2″)
- Scissors
- Small hole punch (for embroidery floss)
- Fabric – torn into approximately 1/2″ wide strips
- Buttons
- Embroidery floss and needle
Instructions:
-
Wrap masking tape around water bottle to measure off cutting area for one bracelet. Use craft knife to carefully cut through water bottle. If needed, use scissors to straighten cutting lines. Remove masking tape (as use again for additional bracelets.)
-
If you plan on stitching on buttons or embellishment, use hole punch to punch two small holes side-by-side in bracelet.
-
Apply line of Aleene’s Tacky Glue to end of first fabric strip. Glue end to inside of bracelet near the two holes you punched. This will make it easier to find those two holes again.
-
Begin wrapping fabric around and around bracelet overlapping each section and pulling tight. When you reach the end, cut off excess fabric and glue end to the inside of bracelet.
-
Thread embroidery floss onto needle. Use needle to find punched holes.
-
Thread two buttons onto floss. Working from the outside of the bracelet, press needle through first hole and back up through second hole, bringing thread back through buttons. Tie ends of thread into double knot to secure buttons to bracelet. If desired, tie floss into bow. Apply small dab of glue to center of bow to hold in place.
- For another embellishment idea, cut shapes from water bottles (heart or star). Paint back of shape. Let dry. Punch two holes and attach to bracelet with embroidery floss.
Read NextStunning Beaded Wrap Bracelet

